Practising Before Making

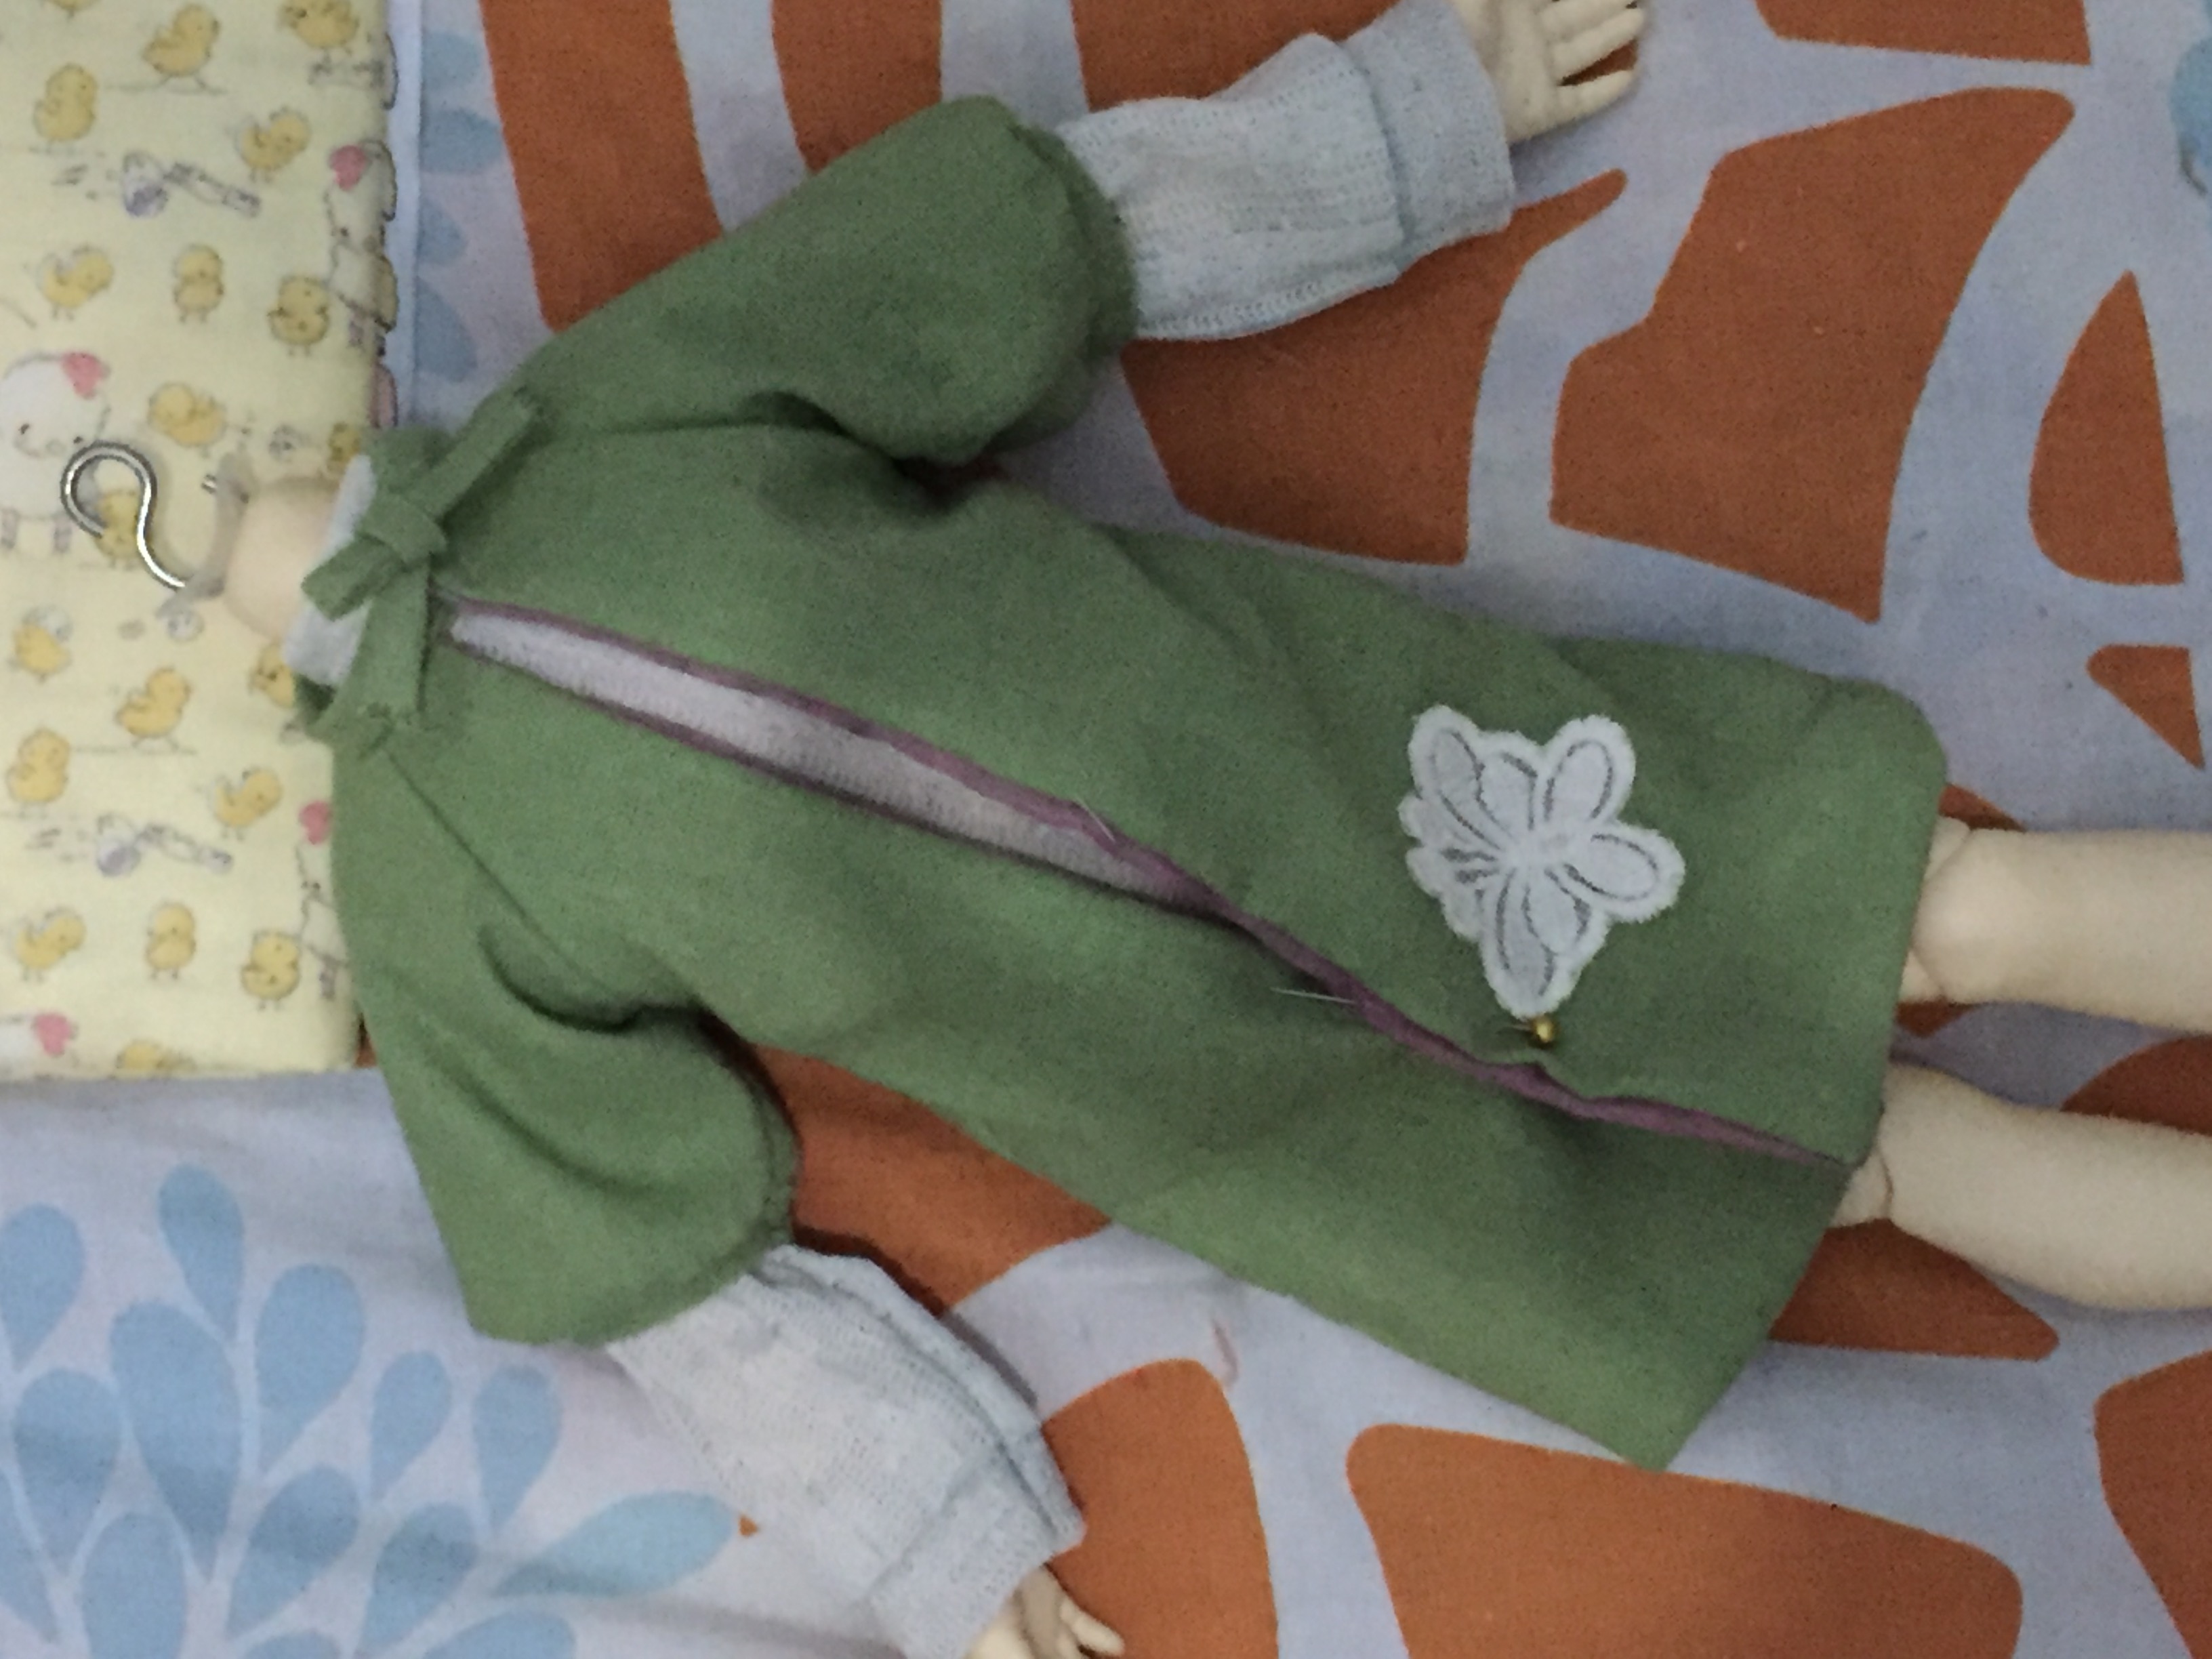
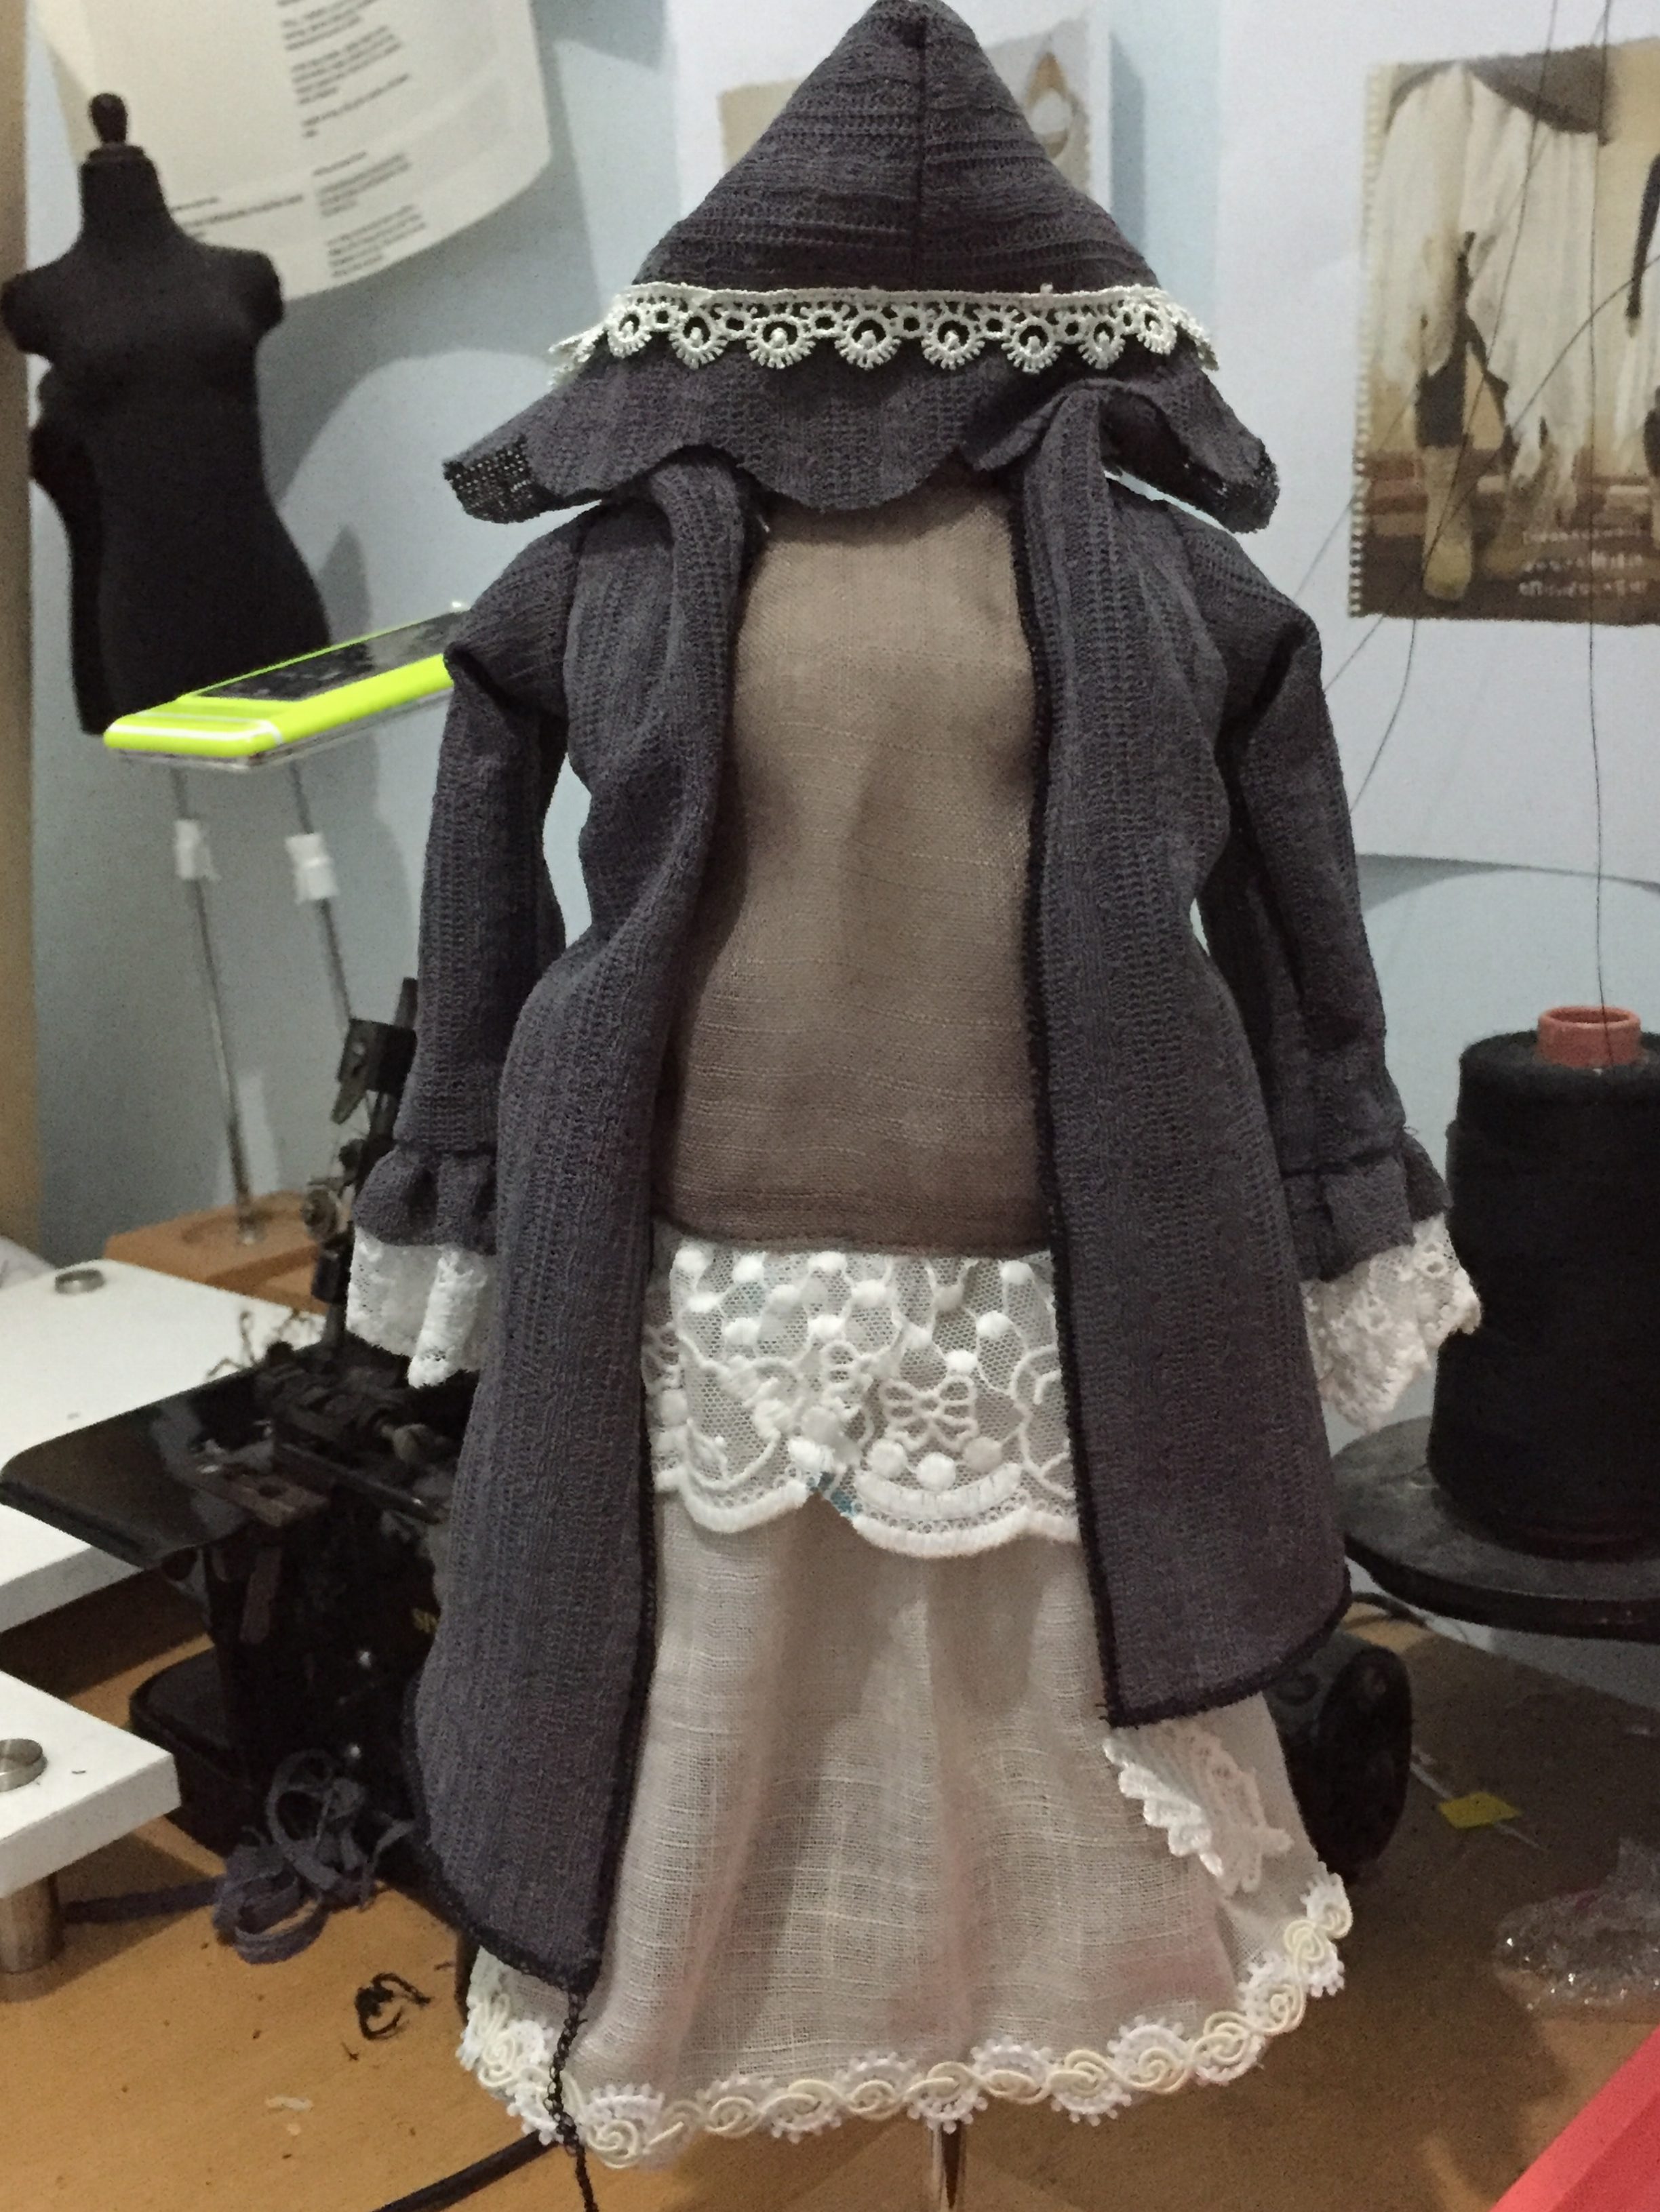
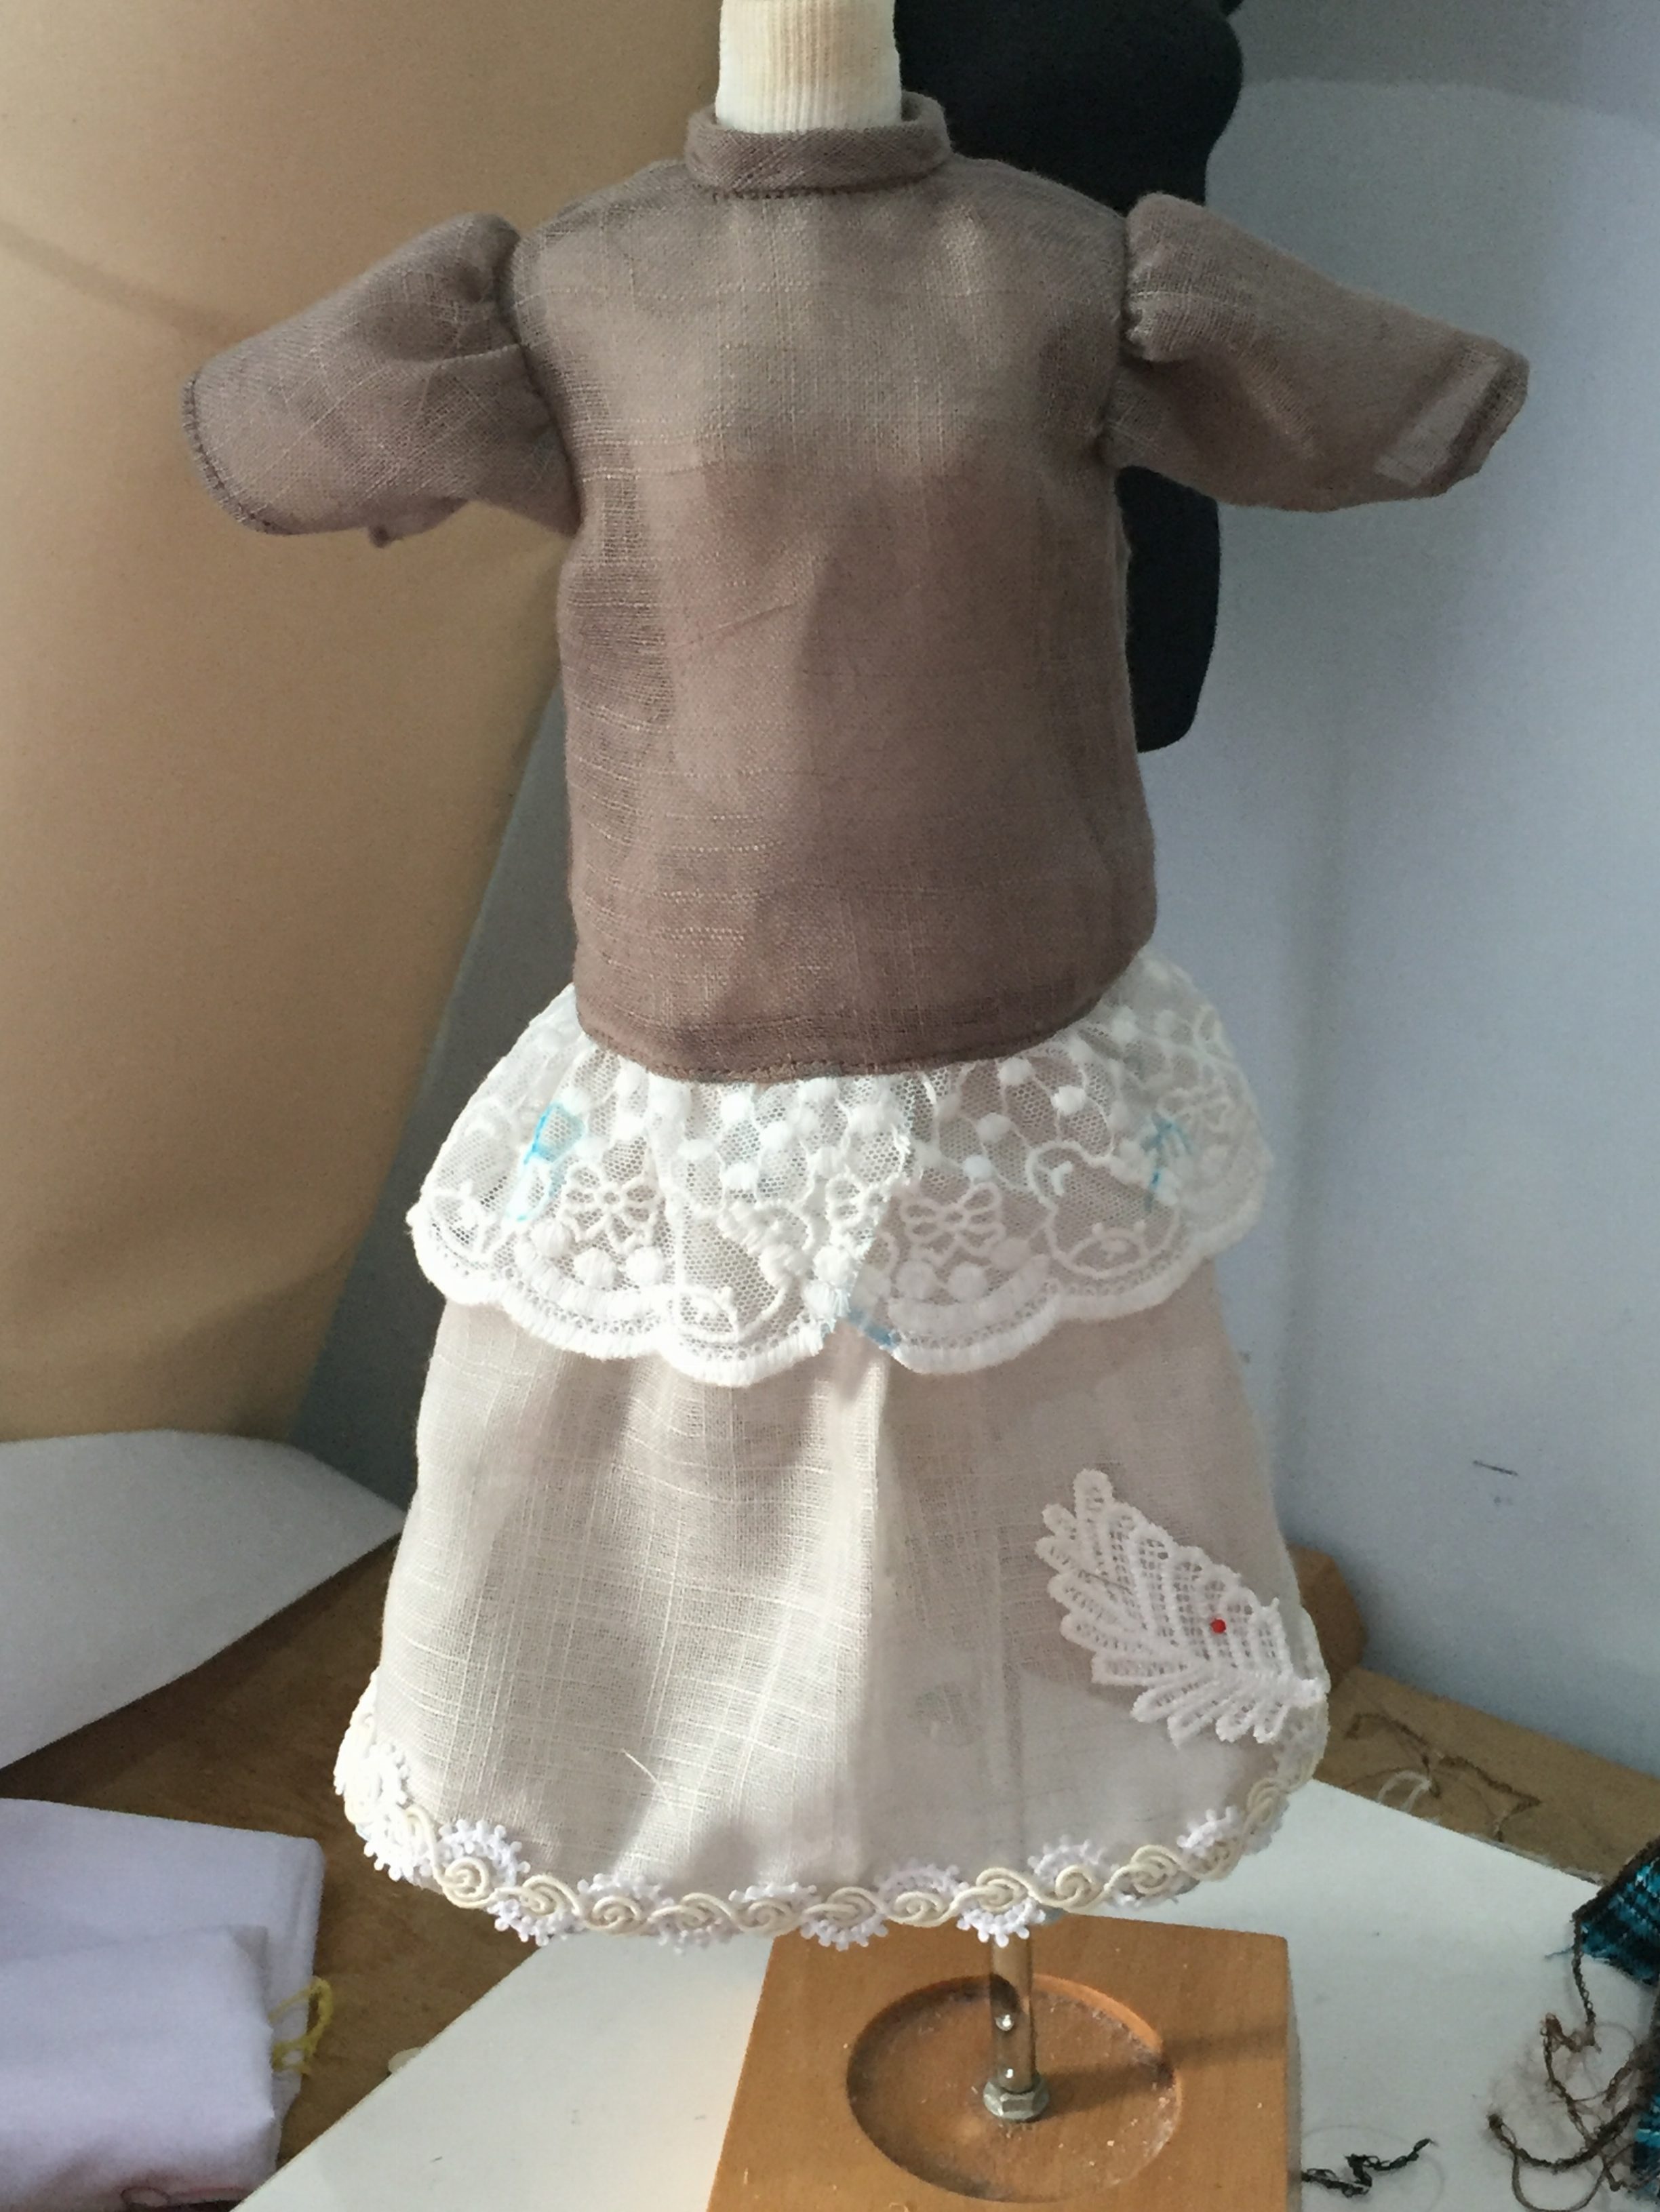
I’m having a Doll clothes project that will need some particular details that looks ‘easy’ to be done but actually not easy. Just because something looks simple, it means it’s easy to be done. It’s not.

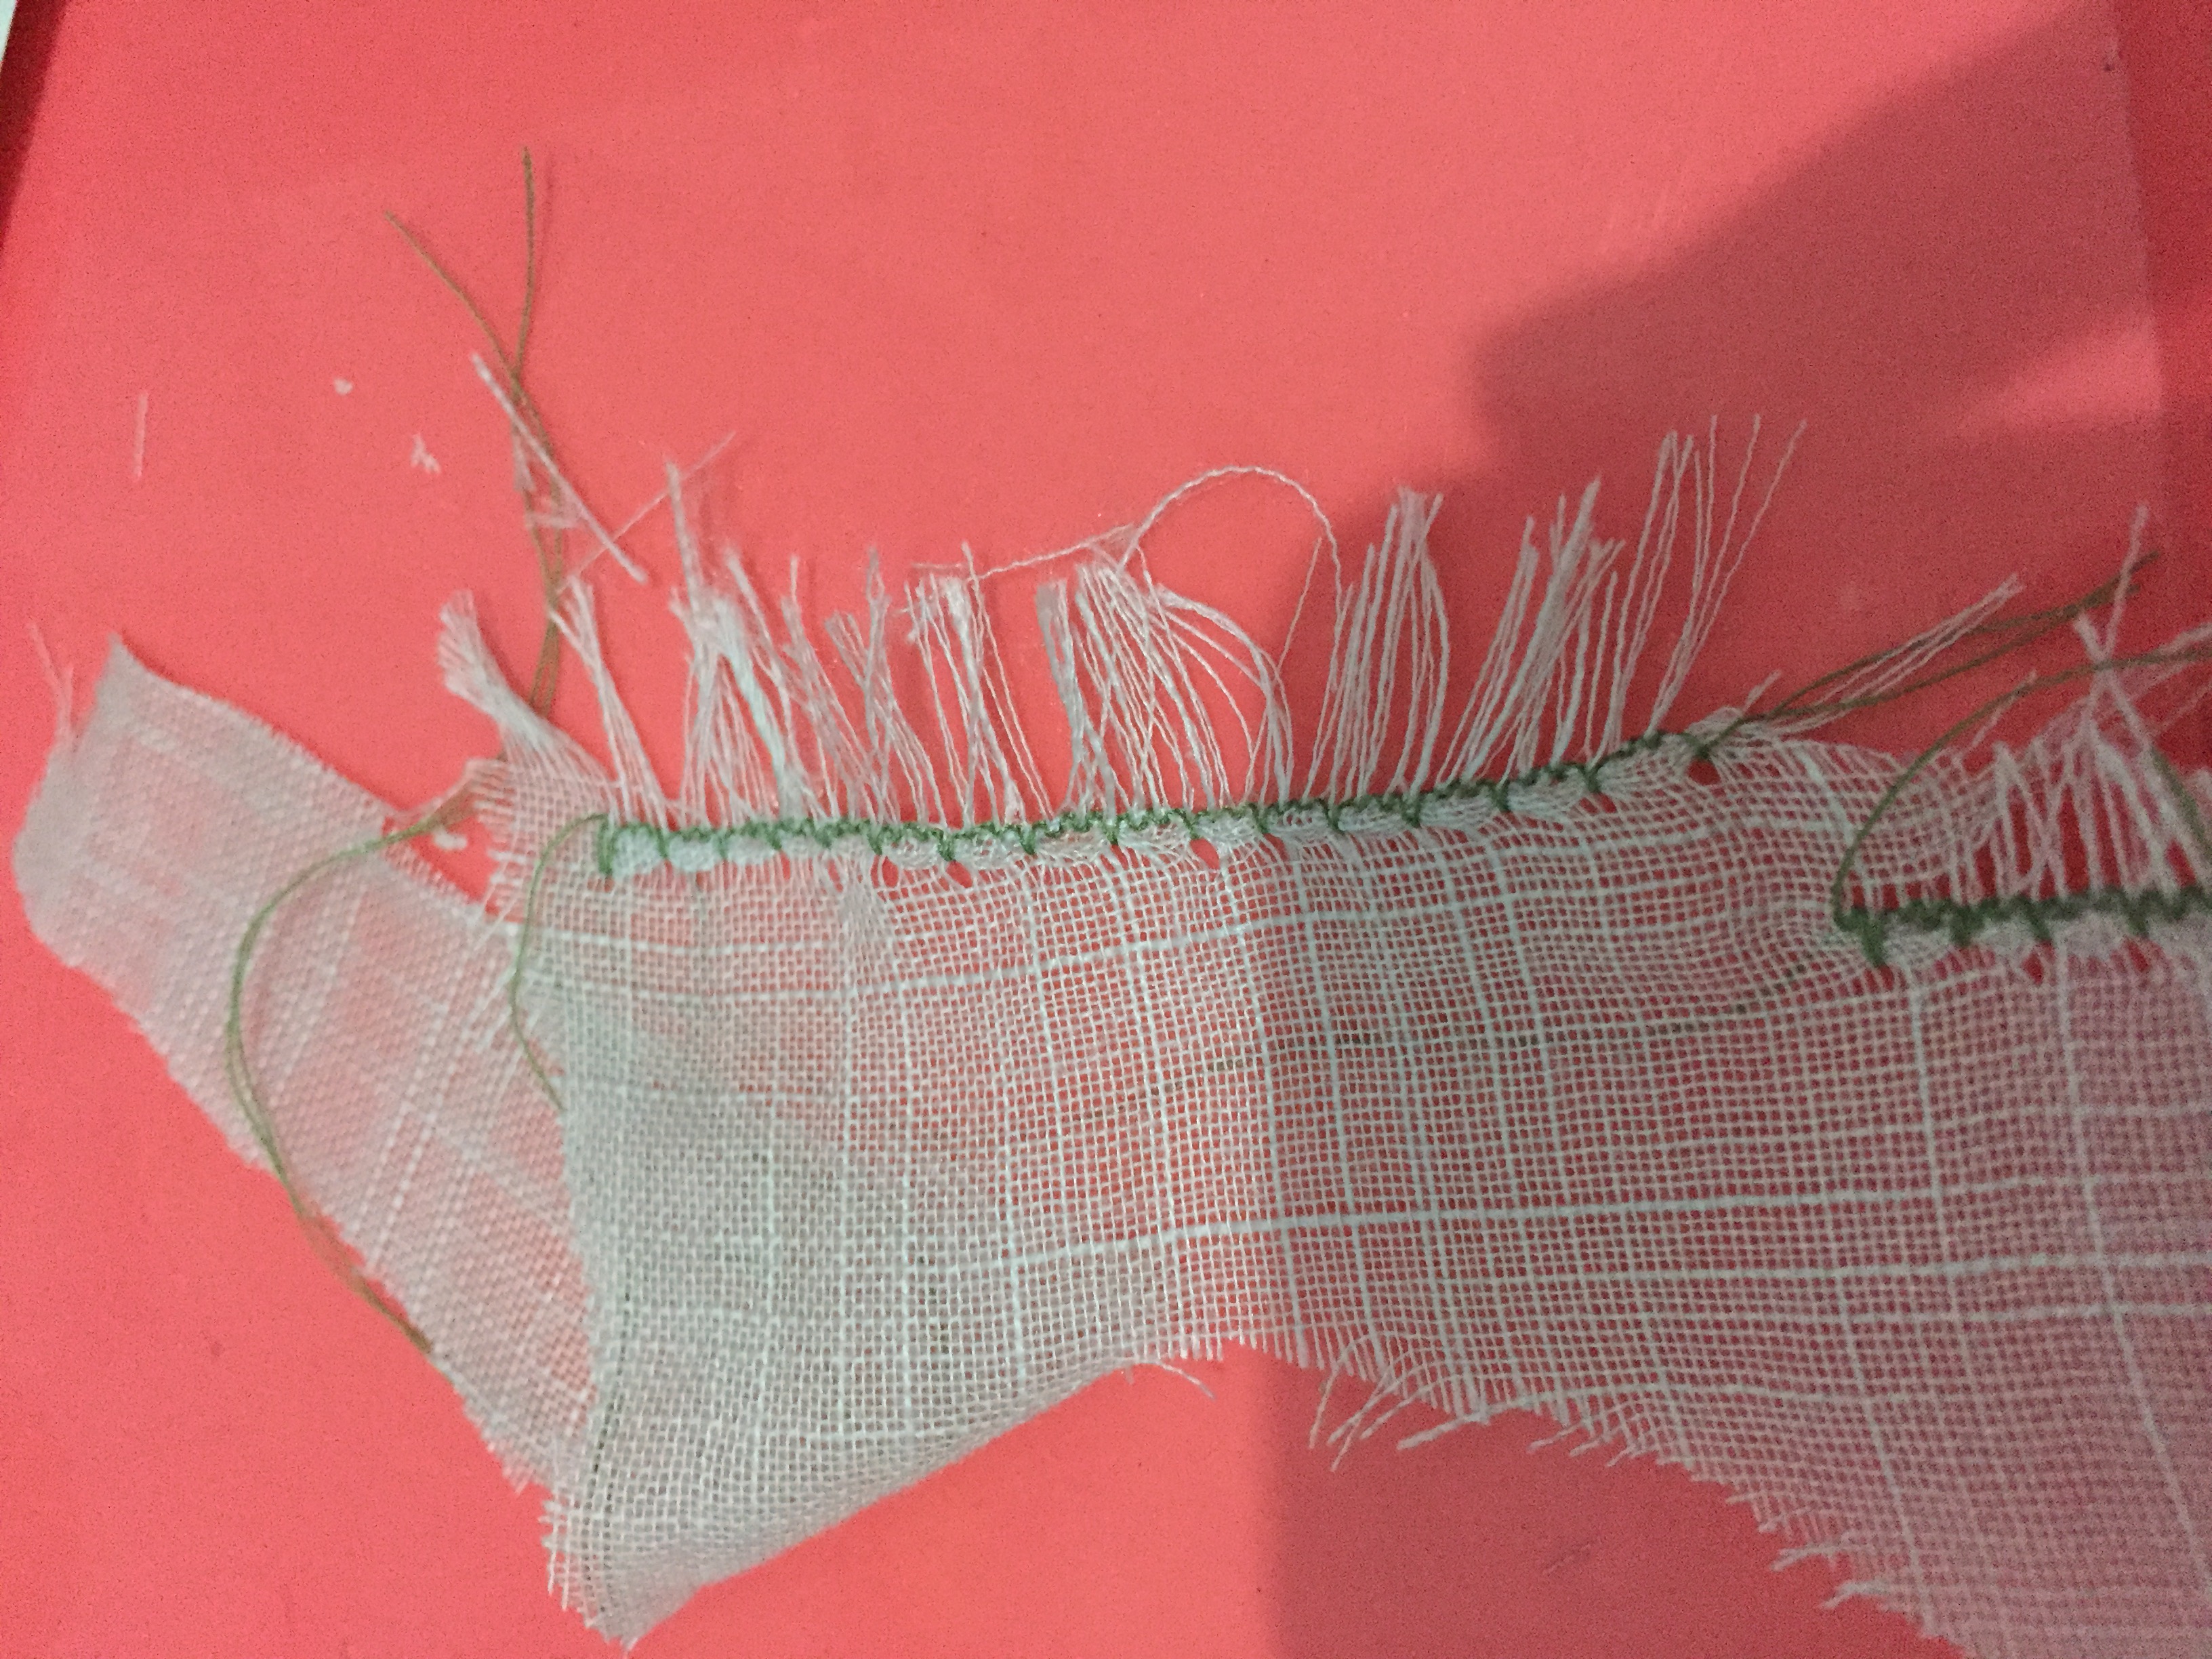
Before I start my project, I had been practicing to make small pleat.

  1. I used varied ways, start from using particular sewing feet up to regular sewing feet. I ended up  making it in ‘manual’ way, using regular feet, mark the fabric using ruler, and pleat-sew it using sewing machine.
  2. I found that some fabrics are not good for creating small pleats like this. Small and ‘close’ pleat for exactly.
    1. Using thin and paper-feel linen fabric is the best but we can’t always use this fabric for our any project, like my current project.
    2. I found a very good fabric with colour I needed but the price is a big NO. I think, the store was a bit thrifty. The fabric was like ‘abandoned’ but they didn’t want to give more discount. Good quality one yes, but I am not sure either it’s kind of colour that will sold out quickly. The length is also too short for man clothes but the colour is rarely used for woman clothes. It’s also slightly dust-dirty as well (and i don’t know whether it can be washed or not). So, yes, NO buy.
    3. I used another fabric, brand TOYOBO. It’s cotton. the thickness is good for my project, it’s slightly thicker than i need but it’s ok. The texture is good. The price is good, too.
    4. There are several fabrics that actually i can use, too but again, sometimes, we can’t compromise with the design and the whole look we want to see.
    5. The problem that should be underlined is that when making pleats like this, we can feel, the fabric ‘becomes’  slightly stretchable. That’s why, I said before, the linen on no.1 is very good, because I didn’t feel the stretch too much. Yet, again, back to number 4.
  3. It’s difficult to make a consistent pleat width
    1. I used ruler to help at first but then I did another way.
    2. I fold the fabric and try to fold as same width as previous pleat and then sew it. The previous pleat position is not ‘opened’; if it faces to the left, then let it be. It is to make me keep focusing on the width pleat i’m sewing. I found it’s more difficult to do it when I change the previous pleat direction or open the previous pleat while sewing the current pleat. I’m always distracted and can’t sew it consistently.
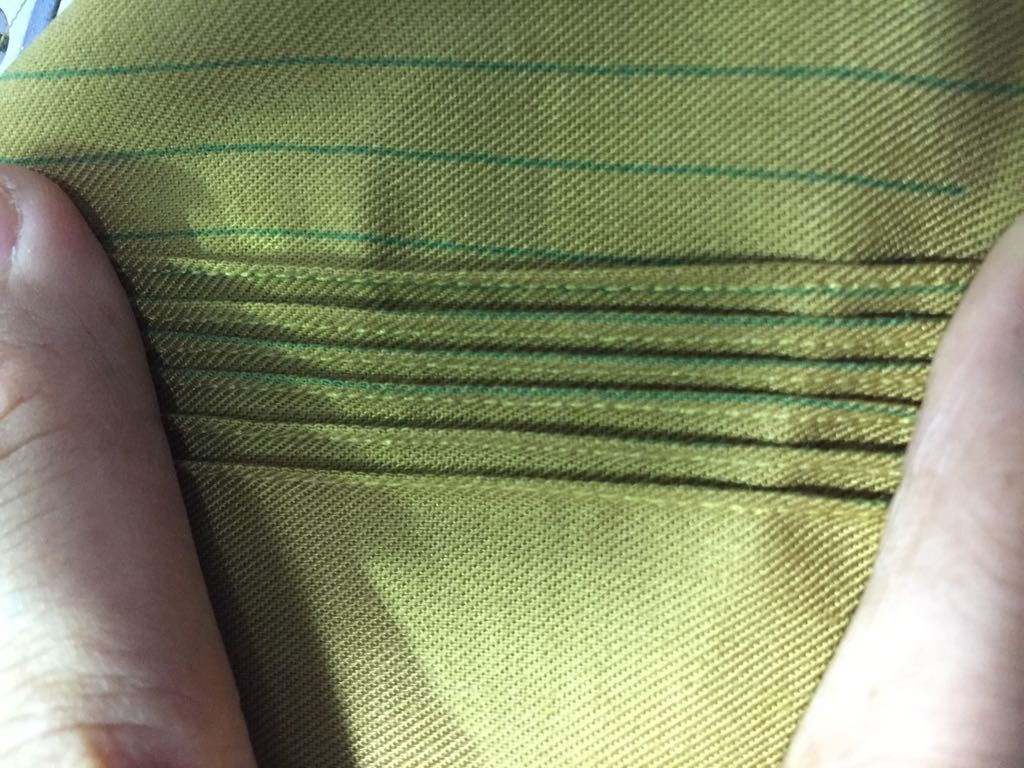
  4. I used small stitch size and try to sew about 1mm or may be slightly less than that from the edge/folding. I didn’t sew current-pleats ‘under’ previous-pleat. I don’t know, I feel like the feel of the fabric becomes ‘thicker’ and not like i want. Feel like I’m making ‘accordion’. I really don’t know how to explain it in detail but the point is I just feel it doesn’t become what I want it to be if I didn’t sew it like that (^_^)”. If you think, you prefer to sew the current-pleats ‘under’ previous-pleats a.k.a the stitch is under the previous-pleats, then do it. No-restriction in this case (^_<). You can of course have your own R&D, too!
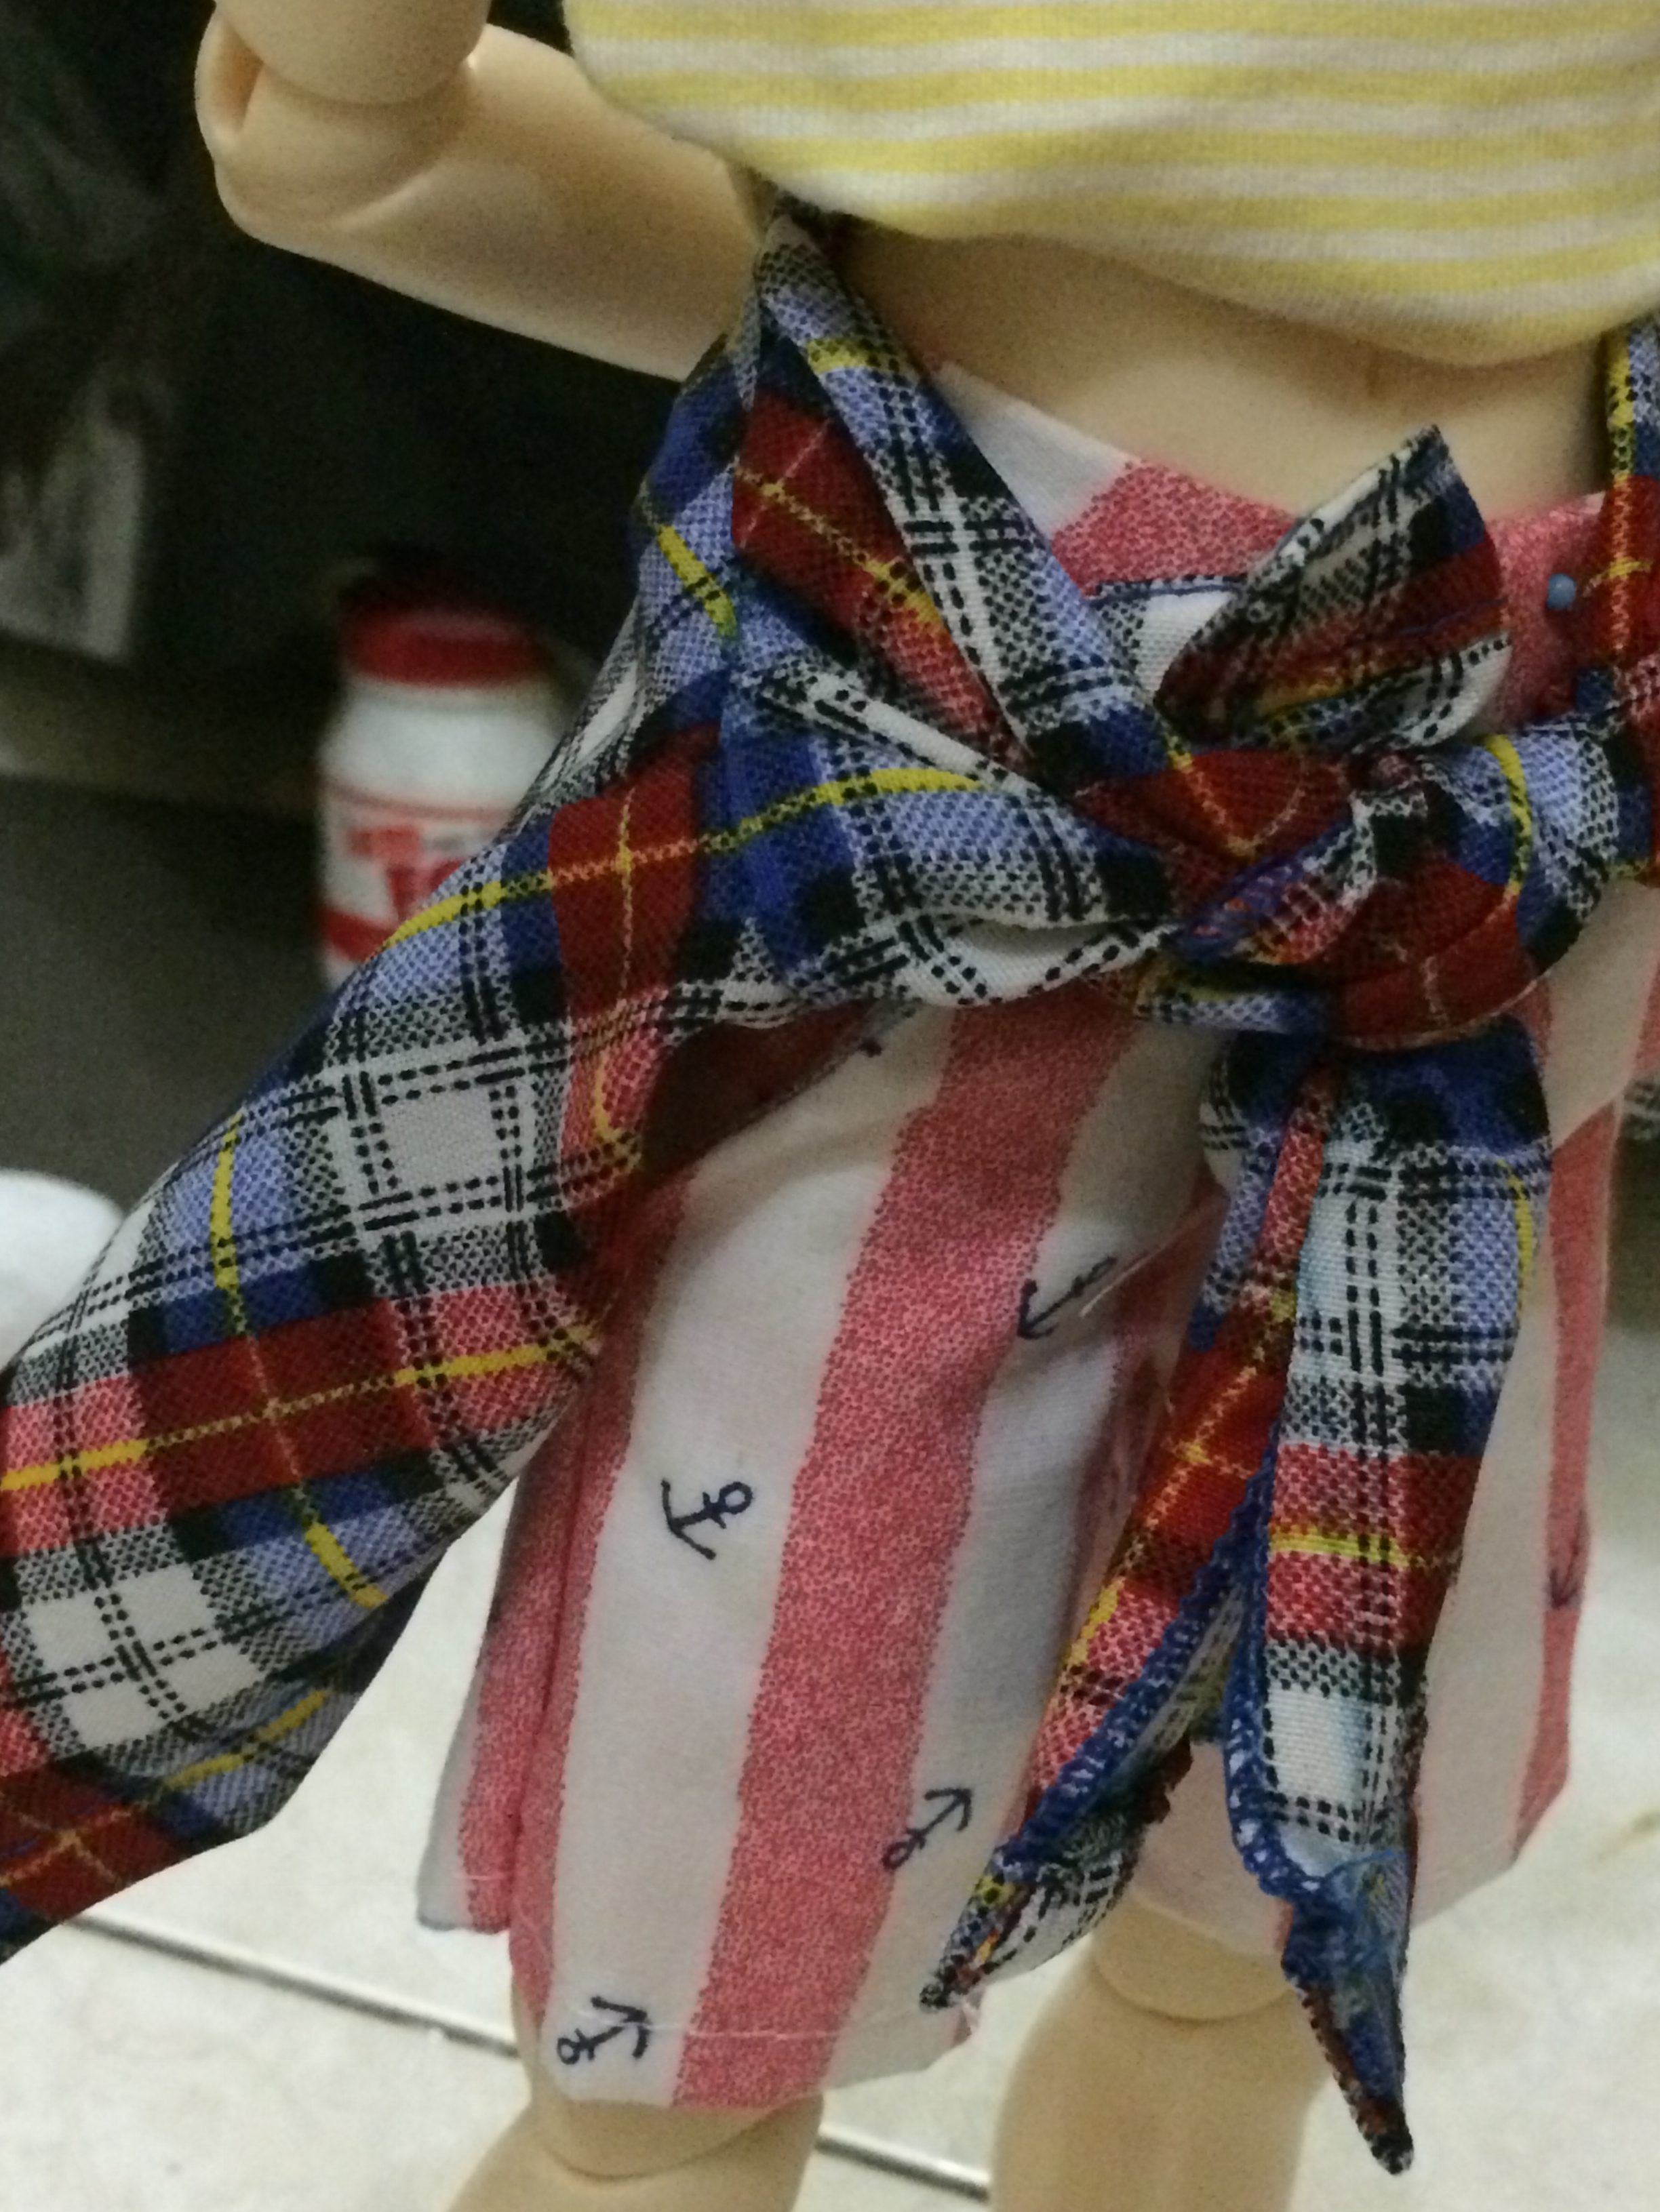
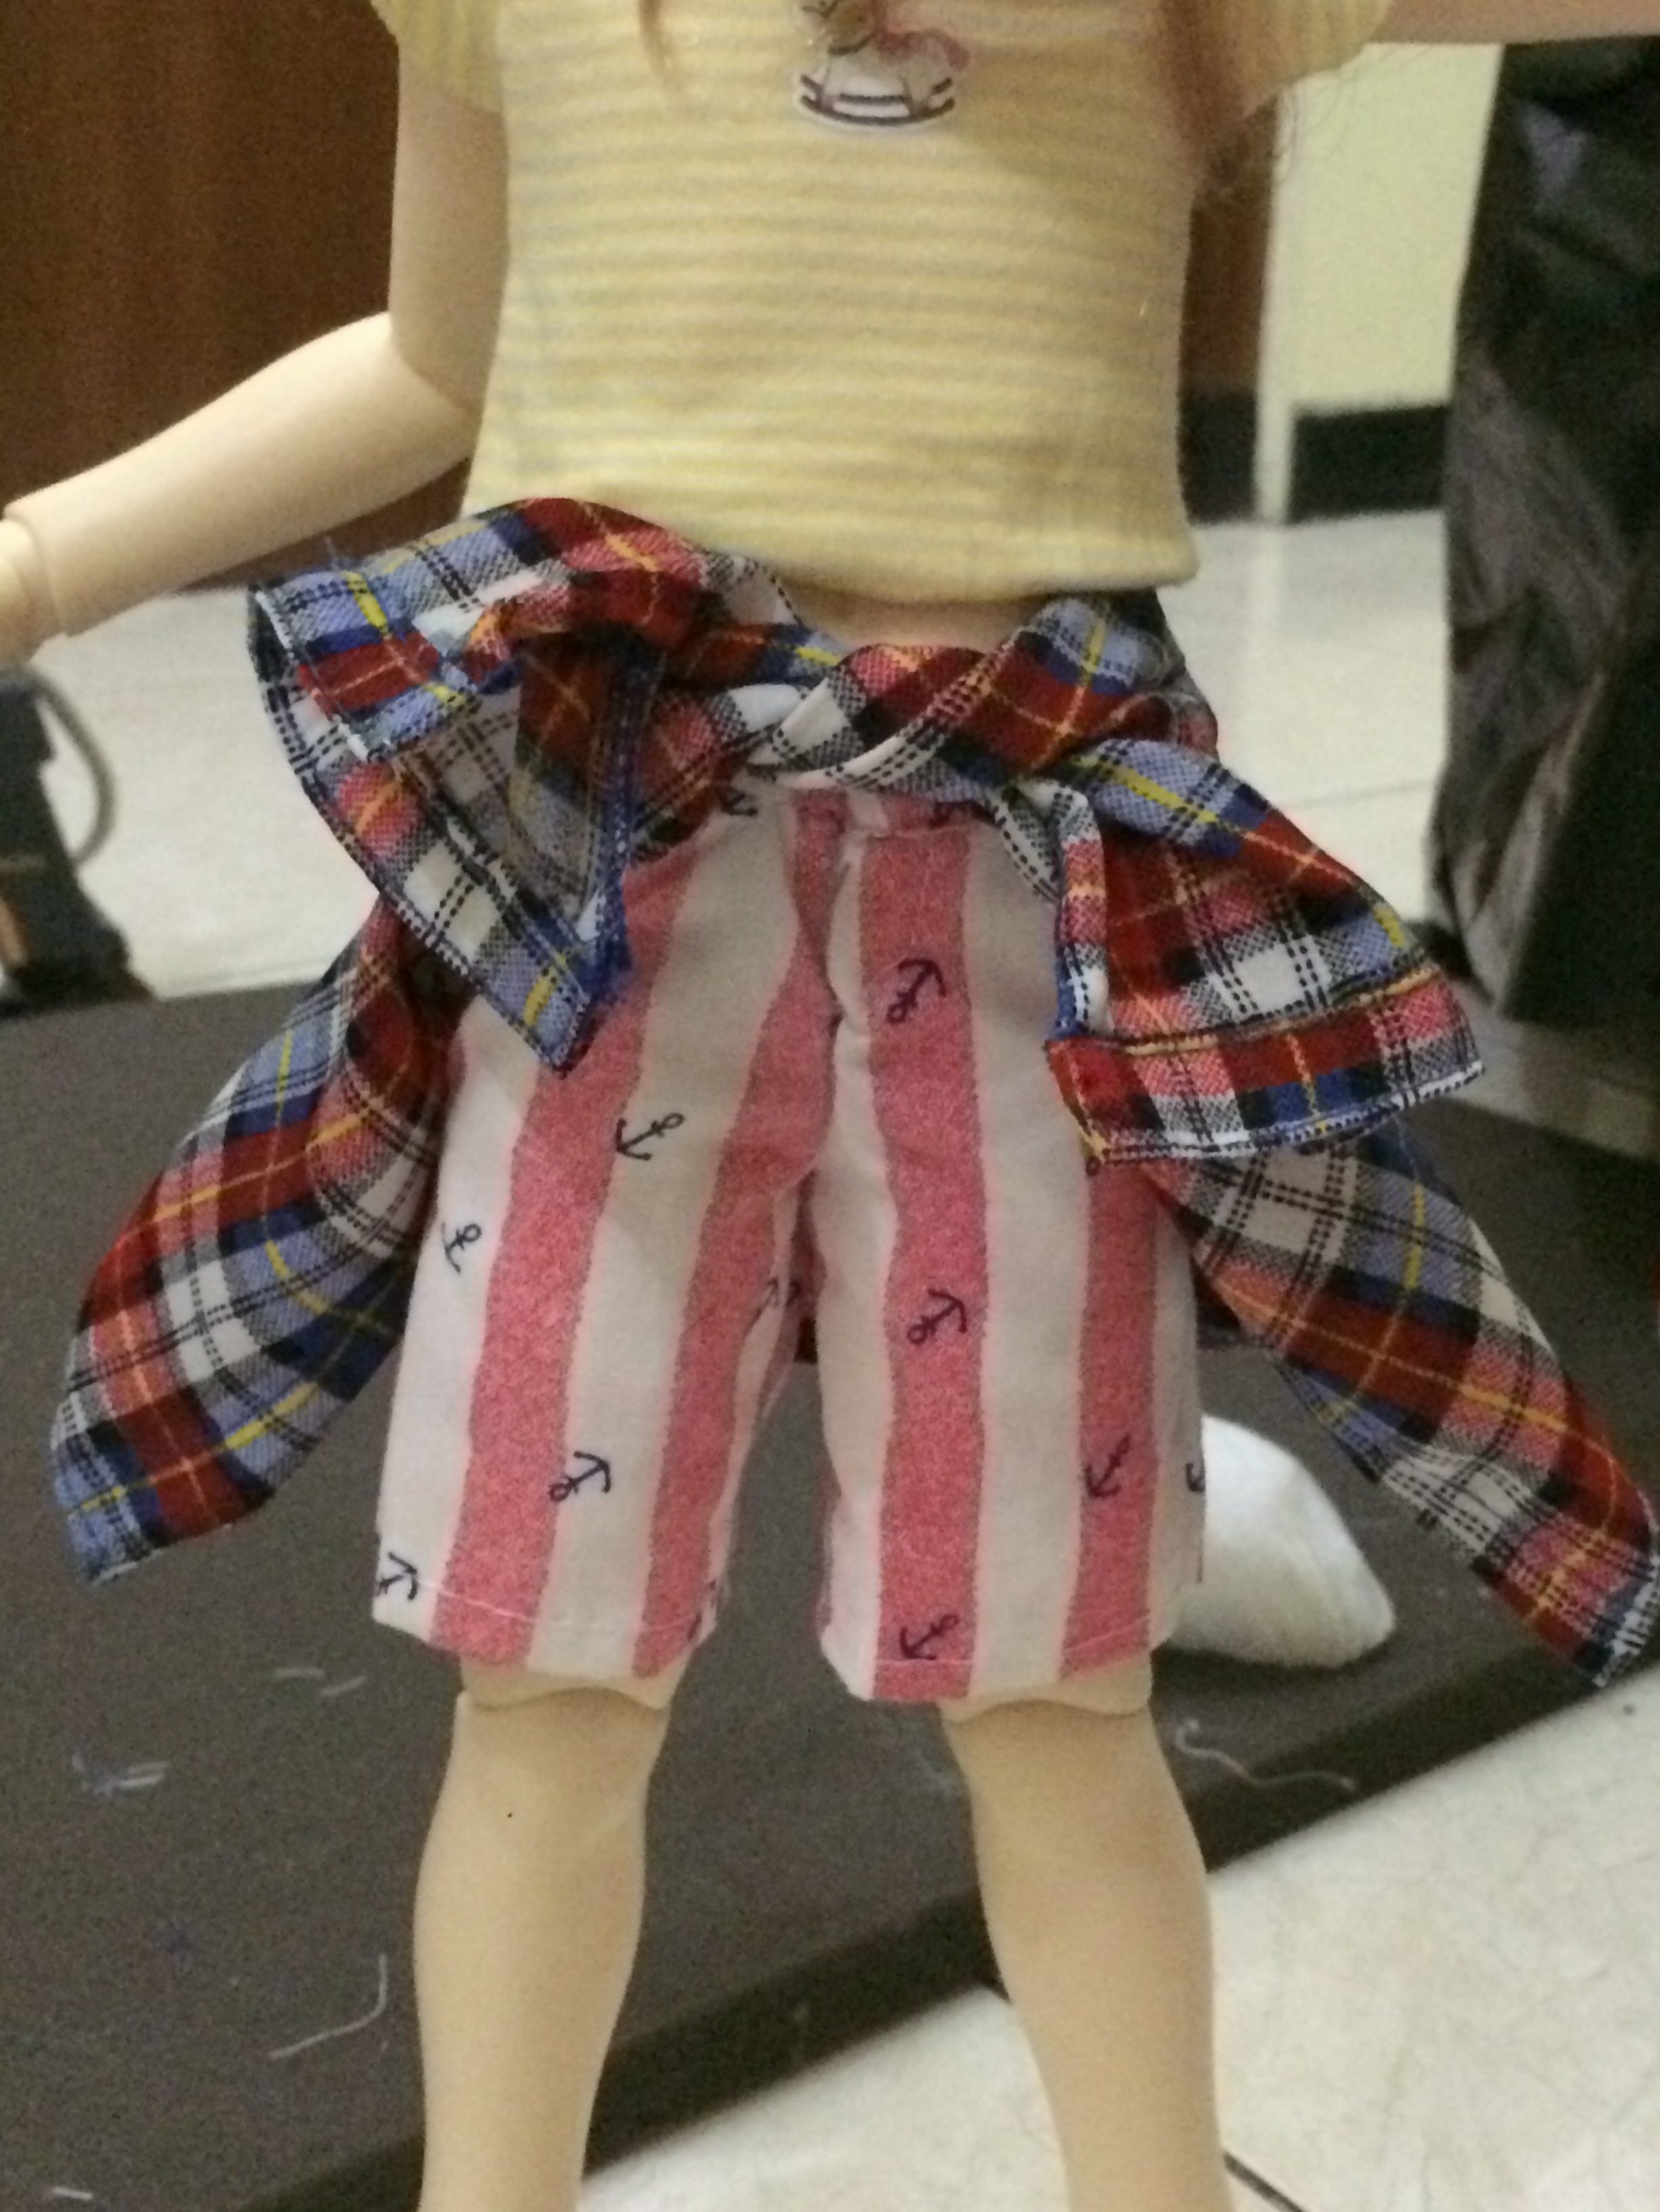
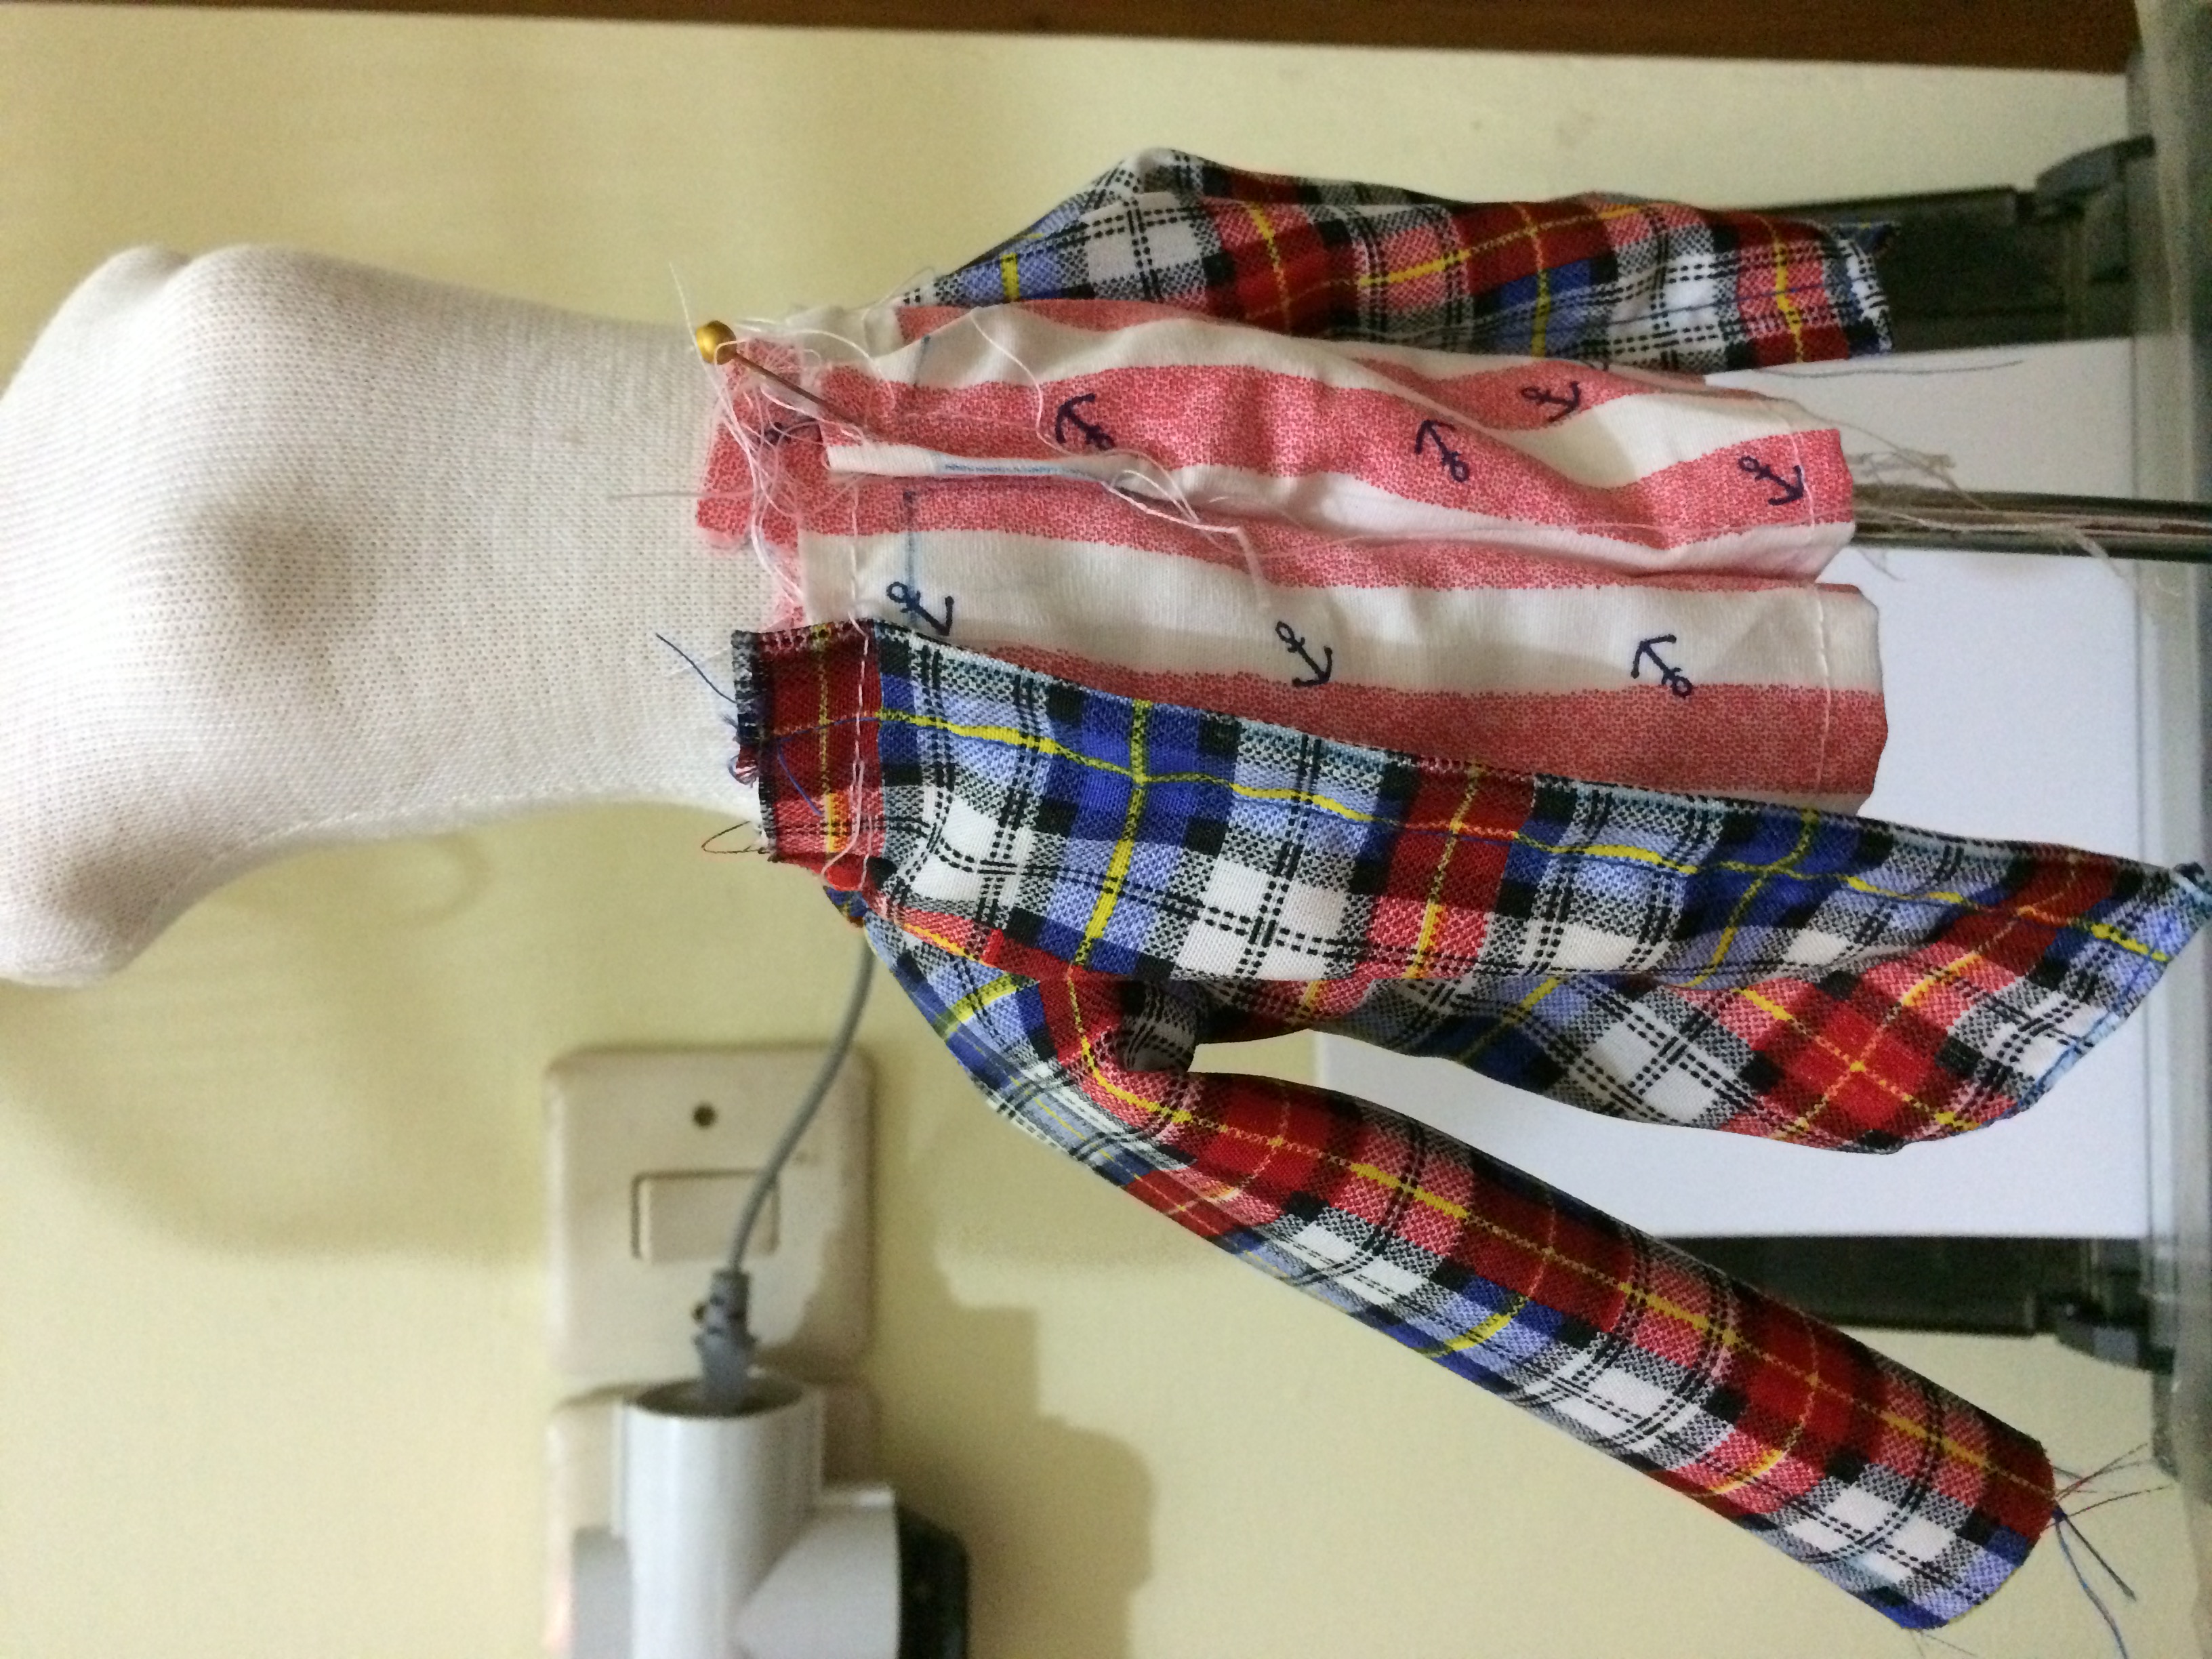
  5. If you see the pictures above, I haven’t reached what i can call consistency. Even so, it’s the best so far I can get and quite good progress compared to many failures (^_^)”. I still want to do 1-2 practice on ‘real’ project before real-real project is made. Haha. You know what? in real-real project, i only need 2-maximum 4 close pleats actually. Yet, i practice more than 4 pleats in ‘every practice-batch’ because I want to get used to the technique I think it’s the best for me.

I can sewing like this in easy way and fast but the result will not as good as i want it to be. Besides, actually, sewing will be easy and fast if I practice hard and harder. First important is to practice while analysing the BEST way to do it and then keep practicing the best way I find. The more I’m getting used to, the faster i can sew well

It would be different if I sew like a mess and keep sewing like a mess and get used to it. The habit and skill that i will get is skill to sew like a mess.

So, let’s not be lazy and keep practicing a GOOD sewing.

Mori Kei : A New Love

I watched Honey and Clover dorama once again  last time. My eyes were then on Hagu’s outfit. It’s so adorable. The style looks so messy but very comforting. I looked in the internet and it’s mori style. I remember i have read about that mori means forest, and the outfit is about forest-style fashion, yet, I hadn’t paid attention until I watched again Honey and Clover. I also found about the guide of Mori-kei fashion (and life). After reading it, I googled the mori style clothes. I printed them, too, and put it on my sewing room wall so i could remember well the style. The style is ‘totally’ new to me (my feel). It’s not sexy. It’s not ‘cute’. The cuteness is totally different from what I have always done. After some reading and watching, I tried designing some ‘simple’ mori kei clothes and then sew it for my doll. It’s not easy, I must be very careful as using different other than guidance color will create a non mori style feel. Using wrong lace will create a different feel.

These are some work in progress pictures.

So, not yet washed, ironed, button added, etc etc. I totally hate to explain this but some people really don’t know what the WIP is and throw harsh and stupid comments.

The robe is slightly ‘stiff’ because I used lining in purpose. The green one is a linen and the lining is a thin interfacing. I want to give a different color from main fabric lining because I want the lining to be seen as well as give a feel of ‘flowing’ to the whole colours of the other outfit. From what I have watched, mori kei robes were mostly  from light fabric and very ‘flowing’. So, it may be different feel we have when see the robe here.


I even did a short r&d for this skirt. I locked the fibre using kind of stitch in my sewing machine. it locked very well (^_^)d. It’s not the basic zigzag stitches by the way. Try other stitches that looks like arrow or else on your machine.

I used french-seam on the fraying-skirt part. As for the dusty-pink skirt, i used serge technique for finishing.


This is the first mori style. I used a stretched textured fabric for the robe. It’s challenging too. I didn’t use lining.

I also made another robe but didn’t take the picture. It used cotton with lining so how the look-feel looked like the green linen robe above which was not too flowing and a bit stiff. It is a bit stiff because it’s doll size. The fabrics themselves are actually thin ones.


I think, i still want to do something with the blouse lace. It’s an overlapped on the front but somehow not quite seen. Not yet get a good and fixed idea until now. I might also leave it as it is.

I gathered the lace long time ago using special  sewing feet. I’m glad that the result doesn’t have too high density. If it does, the bear pattern would be seen

I sew the leaf on the skirt using sewing machine, following the ‘bone’ shape of the leaf. It’s quite challenging. The fabric was better than I thought. I thought it would be a messy sewing but not. The back/wrong side is good, too. I used burning/hot knife technique on this skirt.

I’m still influenced by my sewing style that is in-order, balance, ‘neat’ while in mori kei, it’s totally different. So, sometimes, it’s already ok but I still have that feel to fix here and there and add something while actually it might not be needed after all. Putting pictures on the wall is quite helpful to keep reminding myself on track.

I still call my ‘current’ mori kei sewing is ‘pure’ style. In the future, i might combine mori kei with my own style.


One Head Doll is Weird O.o

I don’t know…other heads are ok…never experience like this before. This AE Doll Head is weird. No body even AE itself looks fine with this head EXCEPT Be Yours body. Yet, I don’t want to put her on BY body(ies) as I used them all for other heads. The head looks fine on the company listing. She’s cute and adorable but somehow, I can’t match her with the bodies at home. The height of the head is like odd so when it is put on a body, the head looks too high. I was just thinking the chin or face part (cheek and so on) is slightly smaller. Should be longer like others.

May be the height of the head is ok but the proportion is odd. The most up part of the head (on which the wig is put on) is ‘high’. I felt it when i put the wig. So, the ‘wig’ place is like slightly bigger and the ‘face’ place is like slightly smaller than usual. May be…that’s why when put on a ‘general’ body, it looks like too high. The neck is like giraffe. Too long for the head.  Perhaps, on BY body, it looks ok because the the length of the neck isn’t as long as other bodies’ neck.

May be the trick is to put long, layered wig to cover the neck and disguise the not proportioned head.

But…i’m too annoyed with this…want to sell but not sure…I will just use it as head wig model. i hope the head is not too odd and the wig i will make using the head can be used by other dolls

MSD Volks Body

Goodness…

MSD volks body…i wonder if restringing will do. The pose ability is the worst. Perhaps, I should give it a try ti replace the string itself and start from zero.

Finished: Trial 1

imageimage

i really still have to search  suitable fabric for the shirt. i am washing it now. i will be processing it with softener afterwards. I will try rayon next time.

This is r&d for both pants and this style at the same time. i was working on volks pants and this style at the same time. so i just made it as i could achieve 2 goals at the same time.


Shirt-Around-Waist Pants

image image

because i was too lazy to make two pants, I made 1 pants but put the shirt on in different way. That’s why you see left and right side are different. It’s not a mistake. It’s intended. Personally, I like the left picture. It’s more natural. When I wrap my shirt around waist, it is like that.


image

When wrapping, i pull up the back of the shirt. As you see, it look ‘folded’ inside. It’s because i pull up the shirt. Somehow, it looks more natural dan if i just let the shirt pulled down. It looks too tight on the hips.

Pattern technique:

You have to know how to make shirt and pants. I won’t give you any pattern of it as it’s BASIC sewing. You can find it anywhere in google or buy it from simplicity or purchase burda sewing magazine.

If you have known the technique, here I just want to share where to begin with.

I didn’t use the collar. I thought about it but it’s not necessary even if i want to make it look close to as if the real shirt is wrapped around pants/waist.

I start the pattern from the lower shoulder ‘line’.

The arm sleeves are FULLY made. and sew to the bodice like usually we do when sewing shirt. In this case, that lower shoulder back and front must be ‘a bit’ sew so the sleeve can be sewn on.

After that,  arrange the ‘line’ of lower shoulder back to the front on the pants waist and sew it on.

I actually serge the shirt. It’s difficult to explain how I do it even if I show the pic. My suggestion is, just serge it as you usually do, and you’ll find  a way how to do it next (aka sewing to the waist) naturally. It’s actually easy but a bit ‘confusing’ when doing serge on the sleeves part. Yet, as I said, just do it as you usually do and the rest will come naturally. It’s OK though if you don’t want to serge. Here, i just want to say that it’s POSSIBLE to serge.

This pants is kind of trend but not too hits. My friend asked me to make one. She gave me an example picture which the placement of the front shirt on the waist is like the right picture. She actually gave me not too clear picture. The focus of of the camera is ok but the pattern of the pants is kinda confusing and makes me hard to read how the maker sew the pants. So, I just figured out myself about the pattern. All I want is the shirt can be natural look when it’s wrapped around the waist.

My problem now is finding the right fabric. I thought this shirt fabric is thin enough. It may be thin but how it falls is stiff! I’m still going to finish this project because I’ve been thinking of using softener to tame the fabric. Checker fabric for making shirt like this do not have many option in terms of kind of fabrics.

Stretch Fabric Learning

WIP-Stretch Fabric Learning

fabric: jersey stretch

needle: special for stretch fabric #9

This is my second trial. The hand part is bulky because i used interfacing on my lining and the lining covered the bodice’s hand holes. May be for next learning, I should use thinner interfacing. I used common/standard interfacing for this.

I didn’t serge the edge. It may ruin the shape and elasticity. It’s ok for not serging it. My purpose for this learning is to sew stretch fabric for simple shape of clothes as well as learning the finishing technique for this kind of neckline.

Using special needle for stretch fabric is really helpful. I would try this first before using special sewing feet. If it’s sufficient, then it’s ok. I didn’t use special stitch for this as this is for doll. It may not be able to be applied to human clothes sewing. It’s also unable to apply on doll projects like stockings and socks.


Bra R&D Continued

-________- …. i didn’t mean to but i was curious. So, i made another derivation from pattern version 5. I called it Bra version 5-c. -____- . I think, bra R&D has the most numbers of version after asleep eidolon’s pants R&D. I did pants until 5 version too, I think but no such a b c . (^O^)”’.

I plan to stop for a while until bra version 5-c.

One thing I realize after making this version. Big bust tend to suit with ‘low’ shape of bra. I mean, they will look good if the bra doesn’t cover a ‘whole’ bust. Leave out the ‘skin’ and ‘shape’ to show. Perhaps, why my older or first bra versions looked a bit ‘odd’ and ‘conventional’, it was because I made it to cover the ‘bust-skin’ and ‘shape’.

R&D is (temporarily) finished

20160320_191737.jpg

Finally, arrived at 3 shapes of bra. From here, i will develop more. At least, my theory is correct (and ‘confirmed’ after I read http://mydollyadventures.blogspot.com/2014/02/making-of-doll-bra.html#.Vu2Tz0vHeHp ).

Actually, I always know that doll is resin and human is ‘flesh, thus, the pattern or clothes making sometimes is different but somehow, i forgot that when making bra. I use push up bra or any other modern (but not sport/classic) bra. The bra shapes my bust but in doll bra making, the resin is hard and thus, I don’t need bra to shape the doll’s bust. All I need is to make a bra that looks like it’s shaping the bust (You may want to read the link I gave above. The author seems to have quite the same theory. I feel confident about my theory though after reading that…haha).

What I do first after thinking about theory is to notice more carefully and detail about how bra hang on human body (I wear it every day but I don’t really notice it). I googled a lot of bra picture (as well as look at mine…haha). I noticed how it shaped the bust and how it ‘should’ hang on human body. From there, I revised my previous pattern.

First to notice is on the bottom part (bottom stripe): it should fall slightly under the bust (bottom bust). We can make it wide or not.

Second to that is where the bottom part of the cup should ‘fall’ on the bust. Yes, it can fall on the bottom-bust line too but since I want to make a ‘push-up’ effect, I raised the bottom part a bit. In human bra, we can use rubber as string and belt to push the bra up (by shorten the string); the bust will adjust.  While in doll clothes, even if we use belt, the bust won’t adjust as it’s resin and hard. In this case, we raised the bottom part of the cup to create effect AS IF the bust is ‘raised’ . The length of the string must be correct for the bra to fall on the bust correctly. The author of the link above use rubber lace. It’s auto adjusting then.

So, yes, the pattern revision is to create effect. It was ok but the effect didn’t really show.

Making this bra is ‘simple’ but not simple. Do not underestimate the size and the shape. As the author of the link said, she did math. So did I. Some other people use ‘drapery’ technique by wrapping their doll with papers and then make bra based on that. It can create good accuracy but if I can’t rely it as if I cut it wrong or still not satisfied, I must repeat it over and over again and it’s too fuzzy. I have twins toddler with syndrome. So, that way isn’t my option.

About finishing: I use lining for my doll bra. I put interfacing too on the lining as the lining is thin. Why I didn’t use thicker lining? Because interfacing will give a shape, I need thin lining so it won’t be too bulky if I apply interfacing on it. Interfacing also protects from fraying. Thicker fabrics are still able to fray. If I use interfacing, it can be too bulky.

PS: Sorry i didn’t put the bra on my doll. I want to make it with a better fabric and neater sewing. I havent made the pants. I want to take a picture with proper sewing project

Suede Fabric

Been working with this fabric lately. I’m tired. I think, this fabric i have has stretch nature a little bit. I feel, the shape of the clothes didn’t come out as expected. It changed somehow. And when the shape didn’t come out well,  so did the fitting! I don’t know, why it looks weird while i was quite sure, it was supposed to be alright and fit well. 

I’m thinking to use interfacing to ‘control’ the stretch nature a little bit.