
Category Archives: R&D
R&D : Sewing Ribbon on Collar
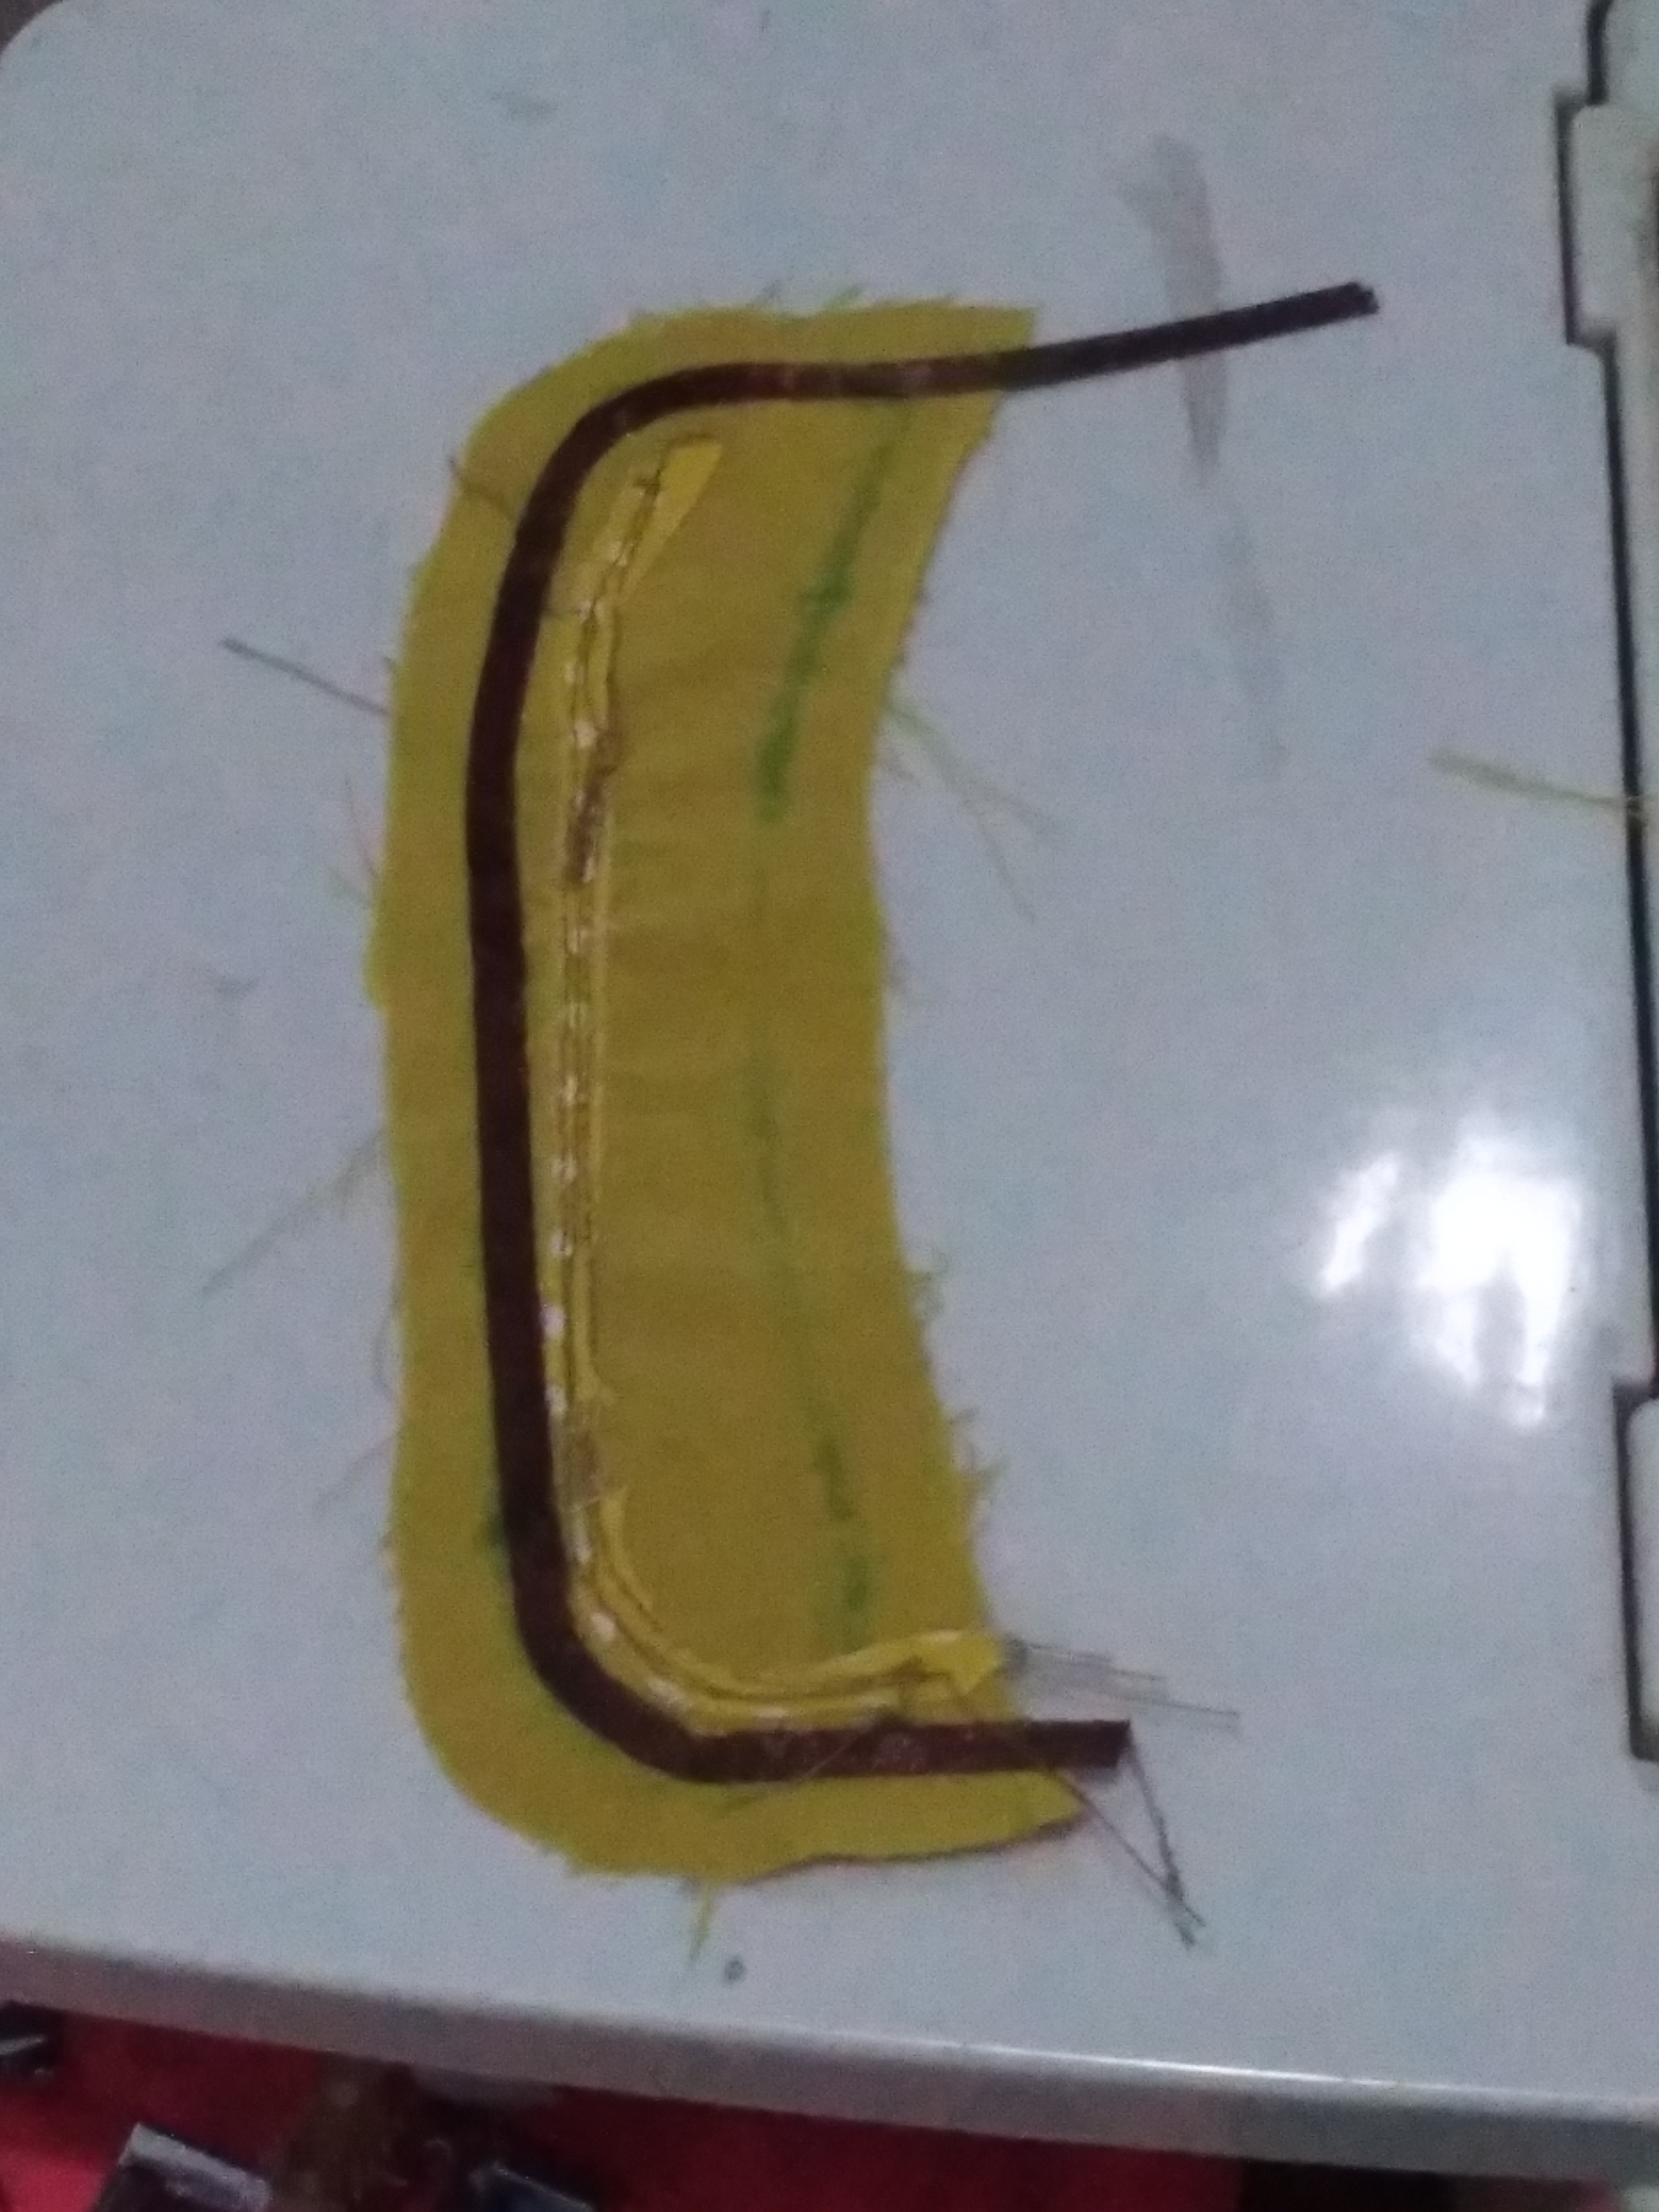
In current project, I am going to R&D sewing ribbon on collar. It is quite challenging for me because the curve side make it difficult for ribbon to follow when is being sewn.
I forgot from where I got the idea but here I am using FABRIC GLUE to attach the ribbon on. It is under process. I have not known if the pen marker can be washed. I have not know if it’s better to sew it. It is a very raw idea under process. I will write more about this later.
The first step was just glue the ribbon then iron it to make the ribbon stay. Do it gradually. Apply glue then iron, apply again and iron again until we finish. It may need some practice to make it perfect.
Using Tricot On Doll Clothes Collar
It’s been a mystery to me how companies can make good collar. There are solution for small size collars:
- fabrics.
- The fabric must be thin yet not too thin.
- Thin is not enough. The fabric must not ‘stiff’. If you think, chiffon is thin and good for doll, no. It’s not always like that.
- No use of interfacing.
- Interfacing can add thickness. Even if with thin interfacing, still.
With those theory, I still don’t feel satisfied with my doll collar.
One day, i bought esadol school suit/jacket. The collar is very nice and fall on the bodice well. I then started watching the collar. The bottom collar uses very thin kind of fabric. yet, it’s sticky. I didn’t know what it is and how come it was sticky to the top part of collar.
I’m working on a project with collar right now. I was thinking about esadol jacket. I then think, perhaps… TRICOT? (please google: tricot interfacing to get to know what it is). Could it be? I was not sure myself but I did cut tricot as the bottom part of collar instead of same fabric or thinner fabric.
I am processing it so I don’t know the result yet. Wanted to do it this evening but i was afraid, it might take more concentration than usual. I couldn’t do it if my boys are around. If I did a mistake or if the theory is wrong, I might doomed.
Wig R&D No.2
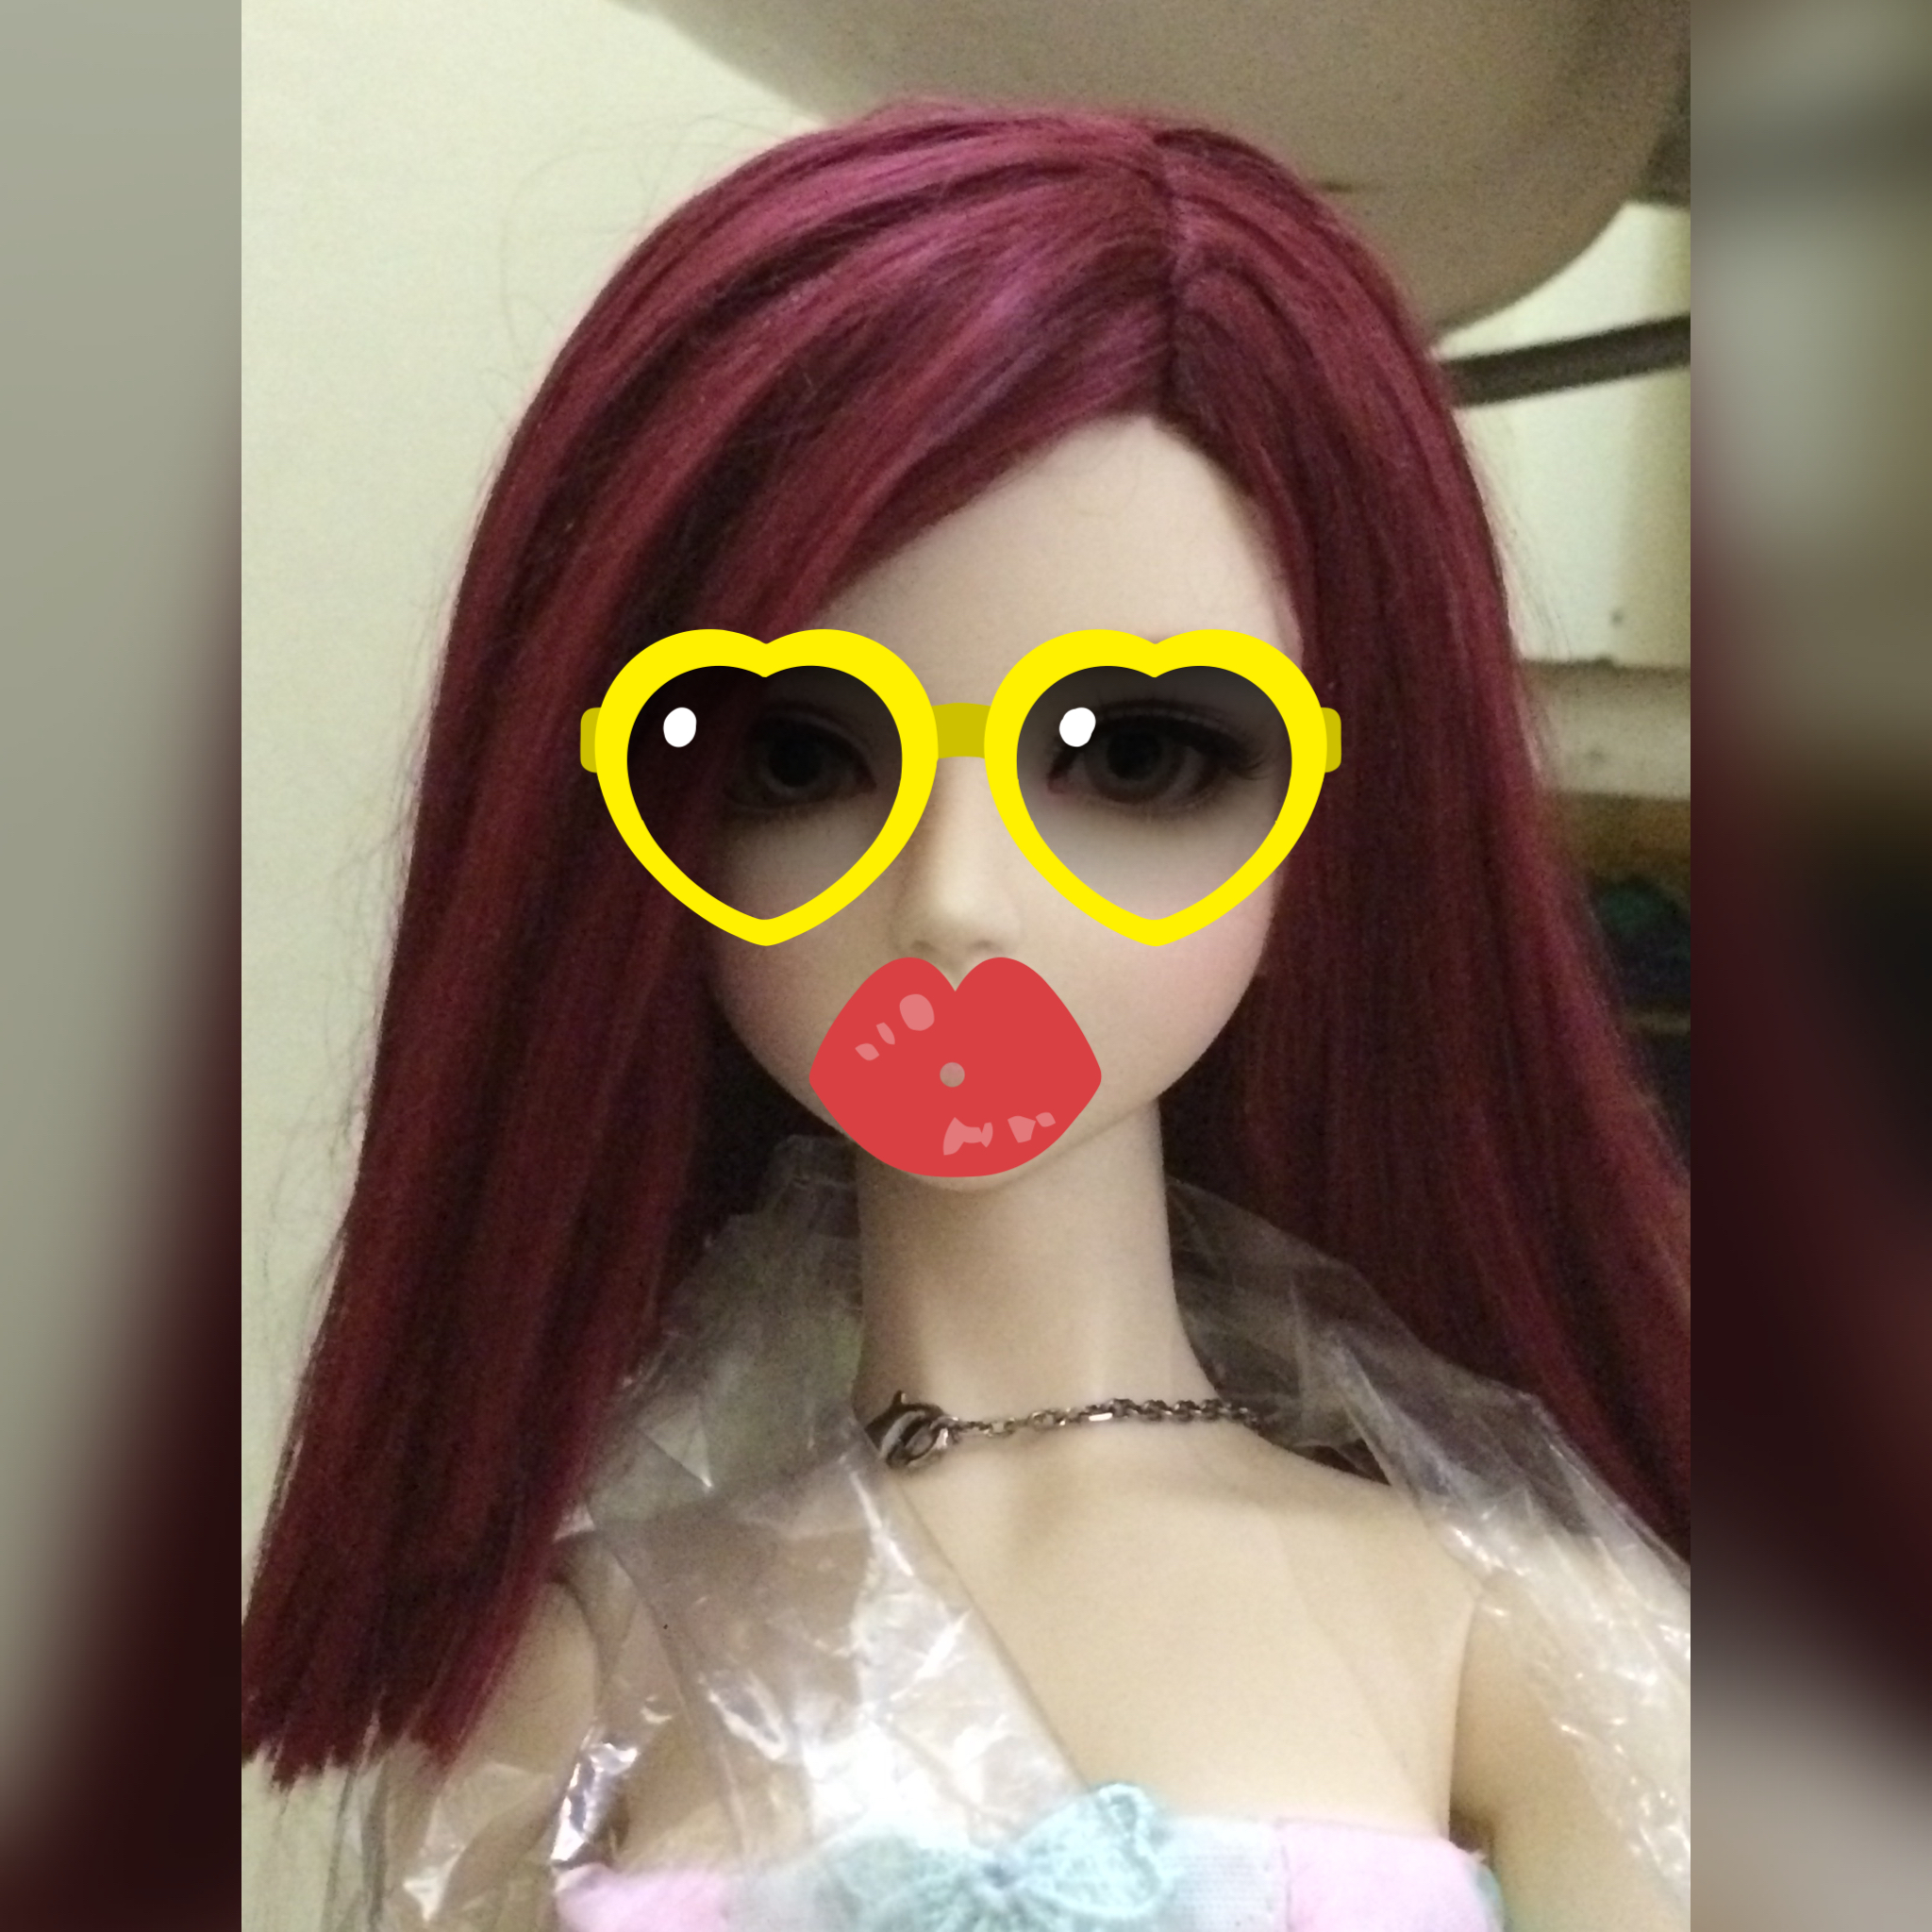
This is my second R&D wig. It was a mess. the fibers weren’t enough so I had to cut it again so i could finish it. The parting line is still the hardest so far. It is the fiber handling versus glue that makes it difficult. Need to practice more.
Wig Project no 1.5
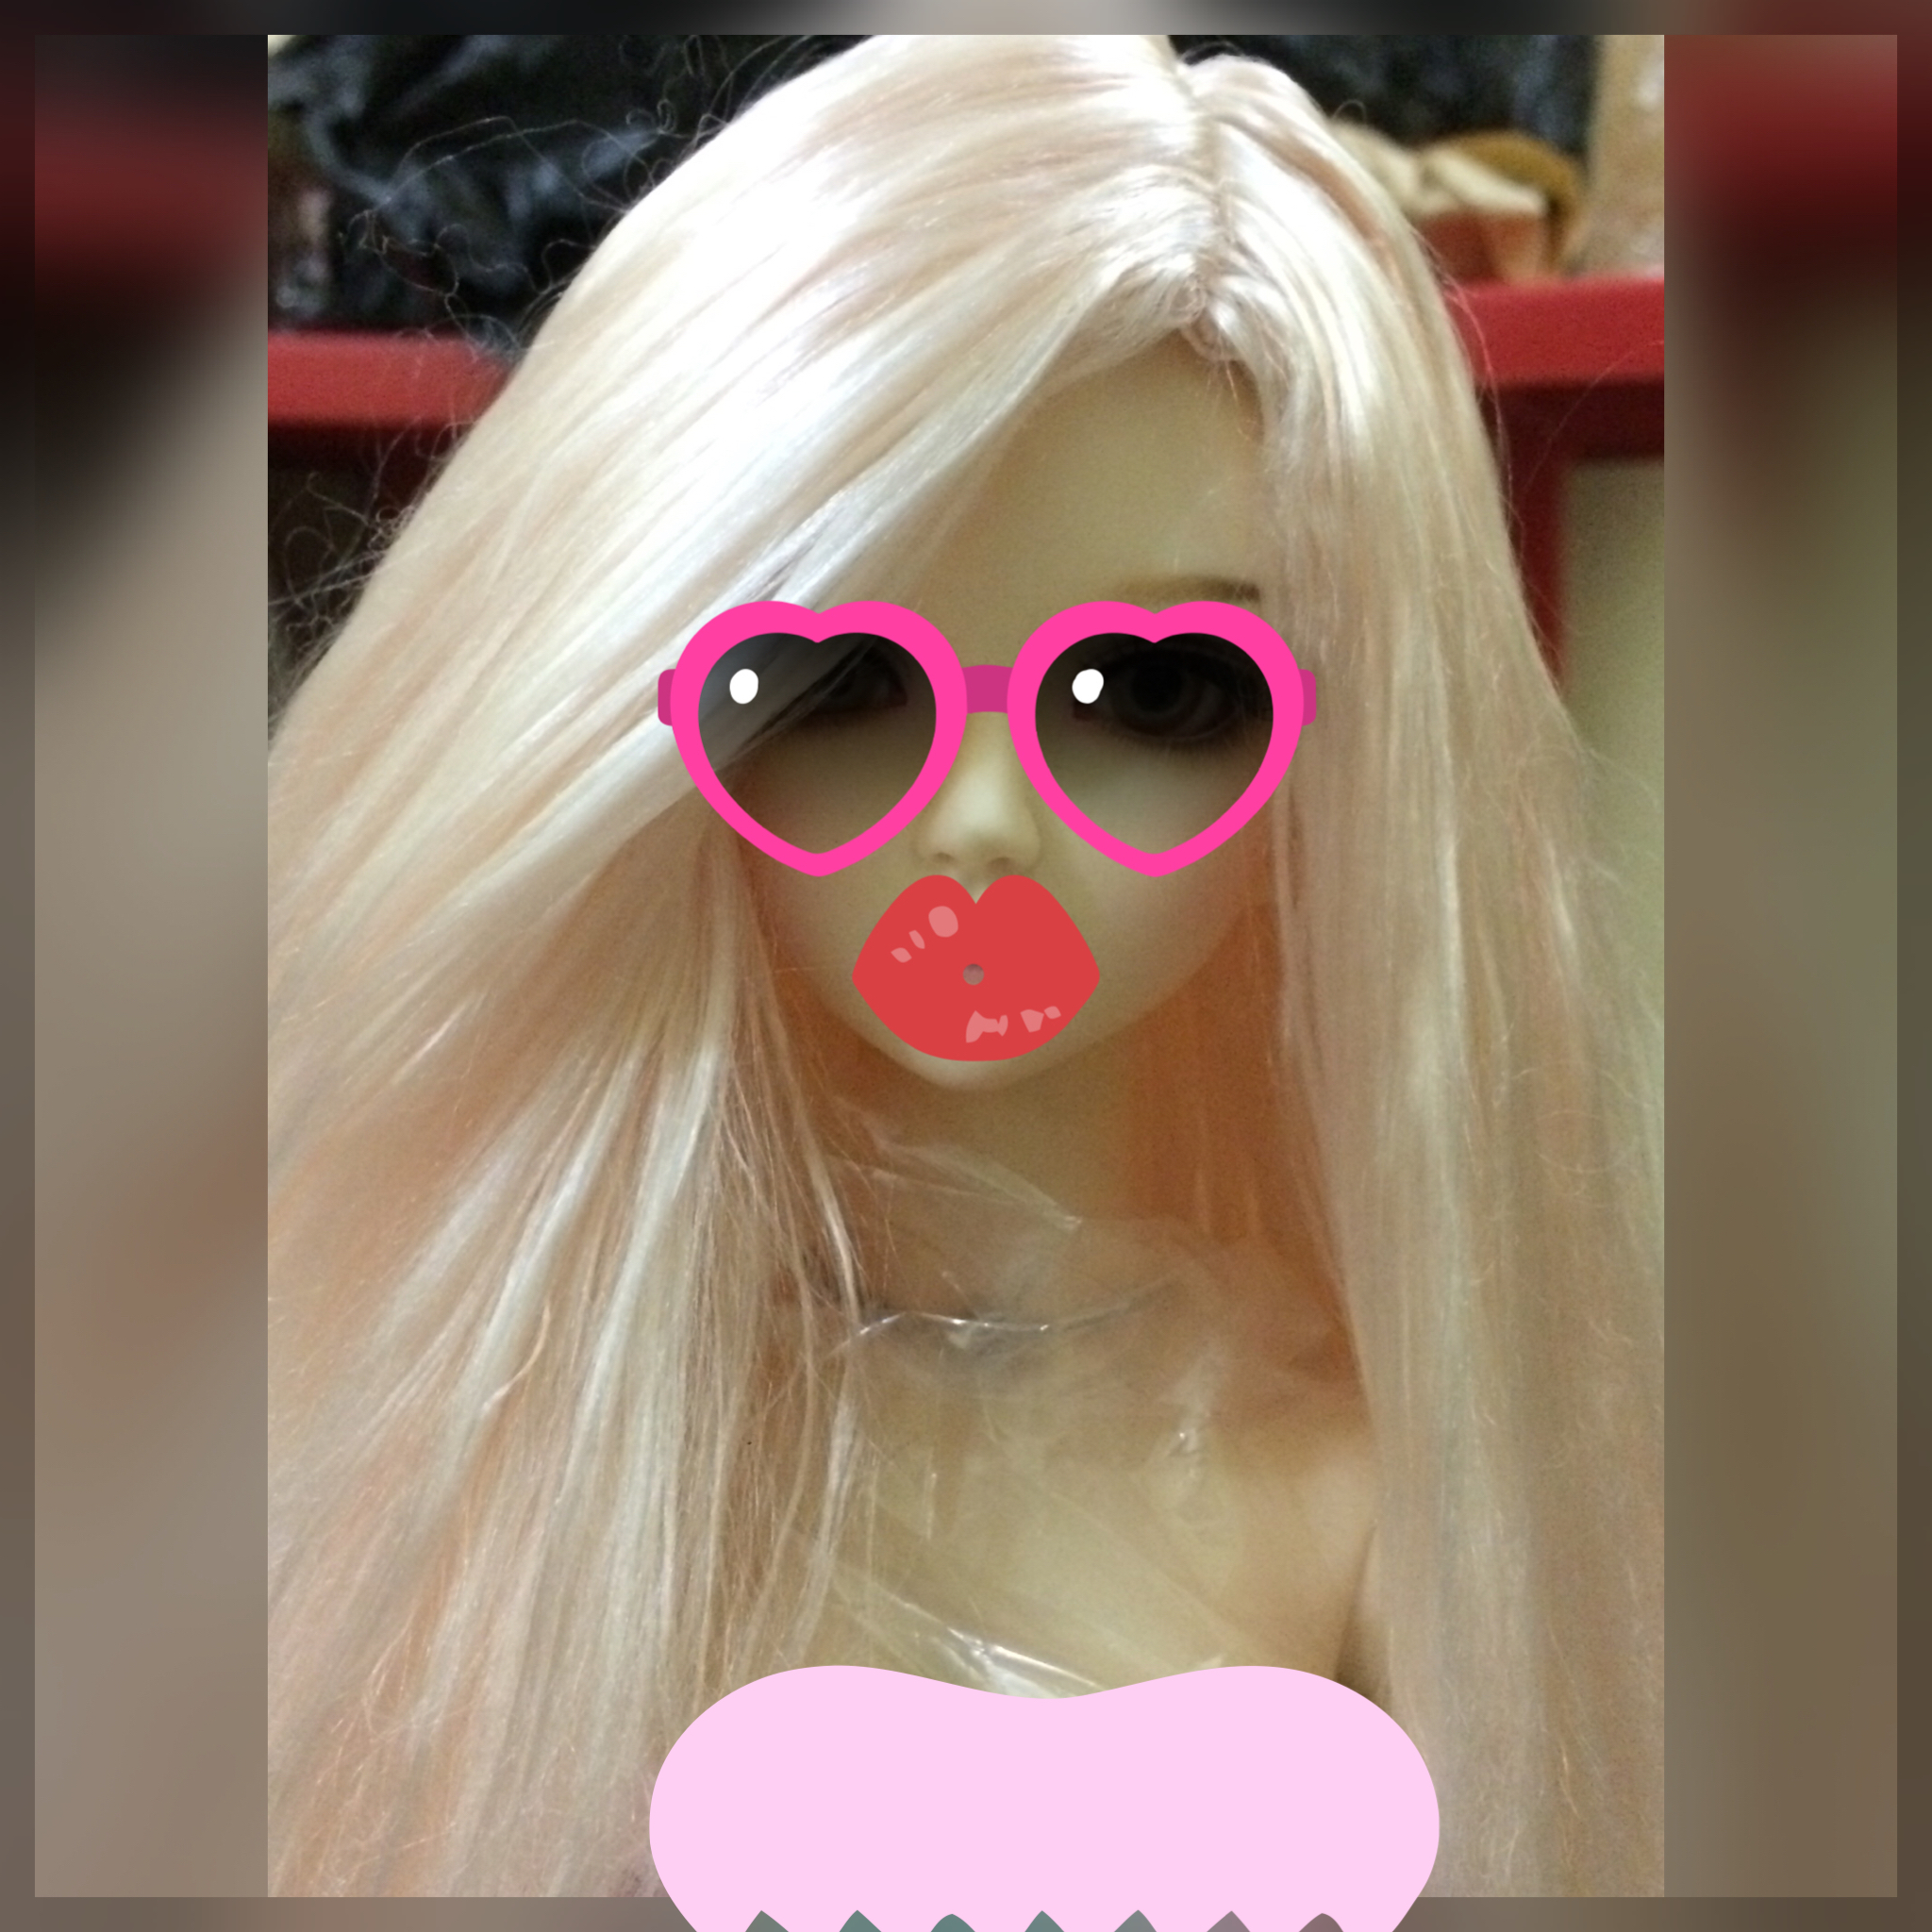

This was supposed to be my first trial but it was postponed because I ran out of fiber. Haha.
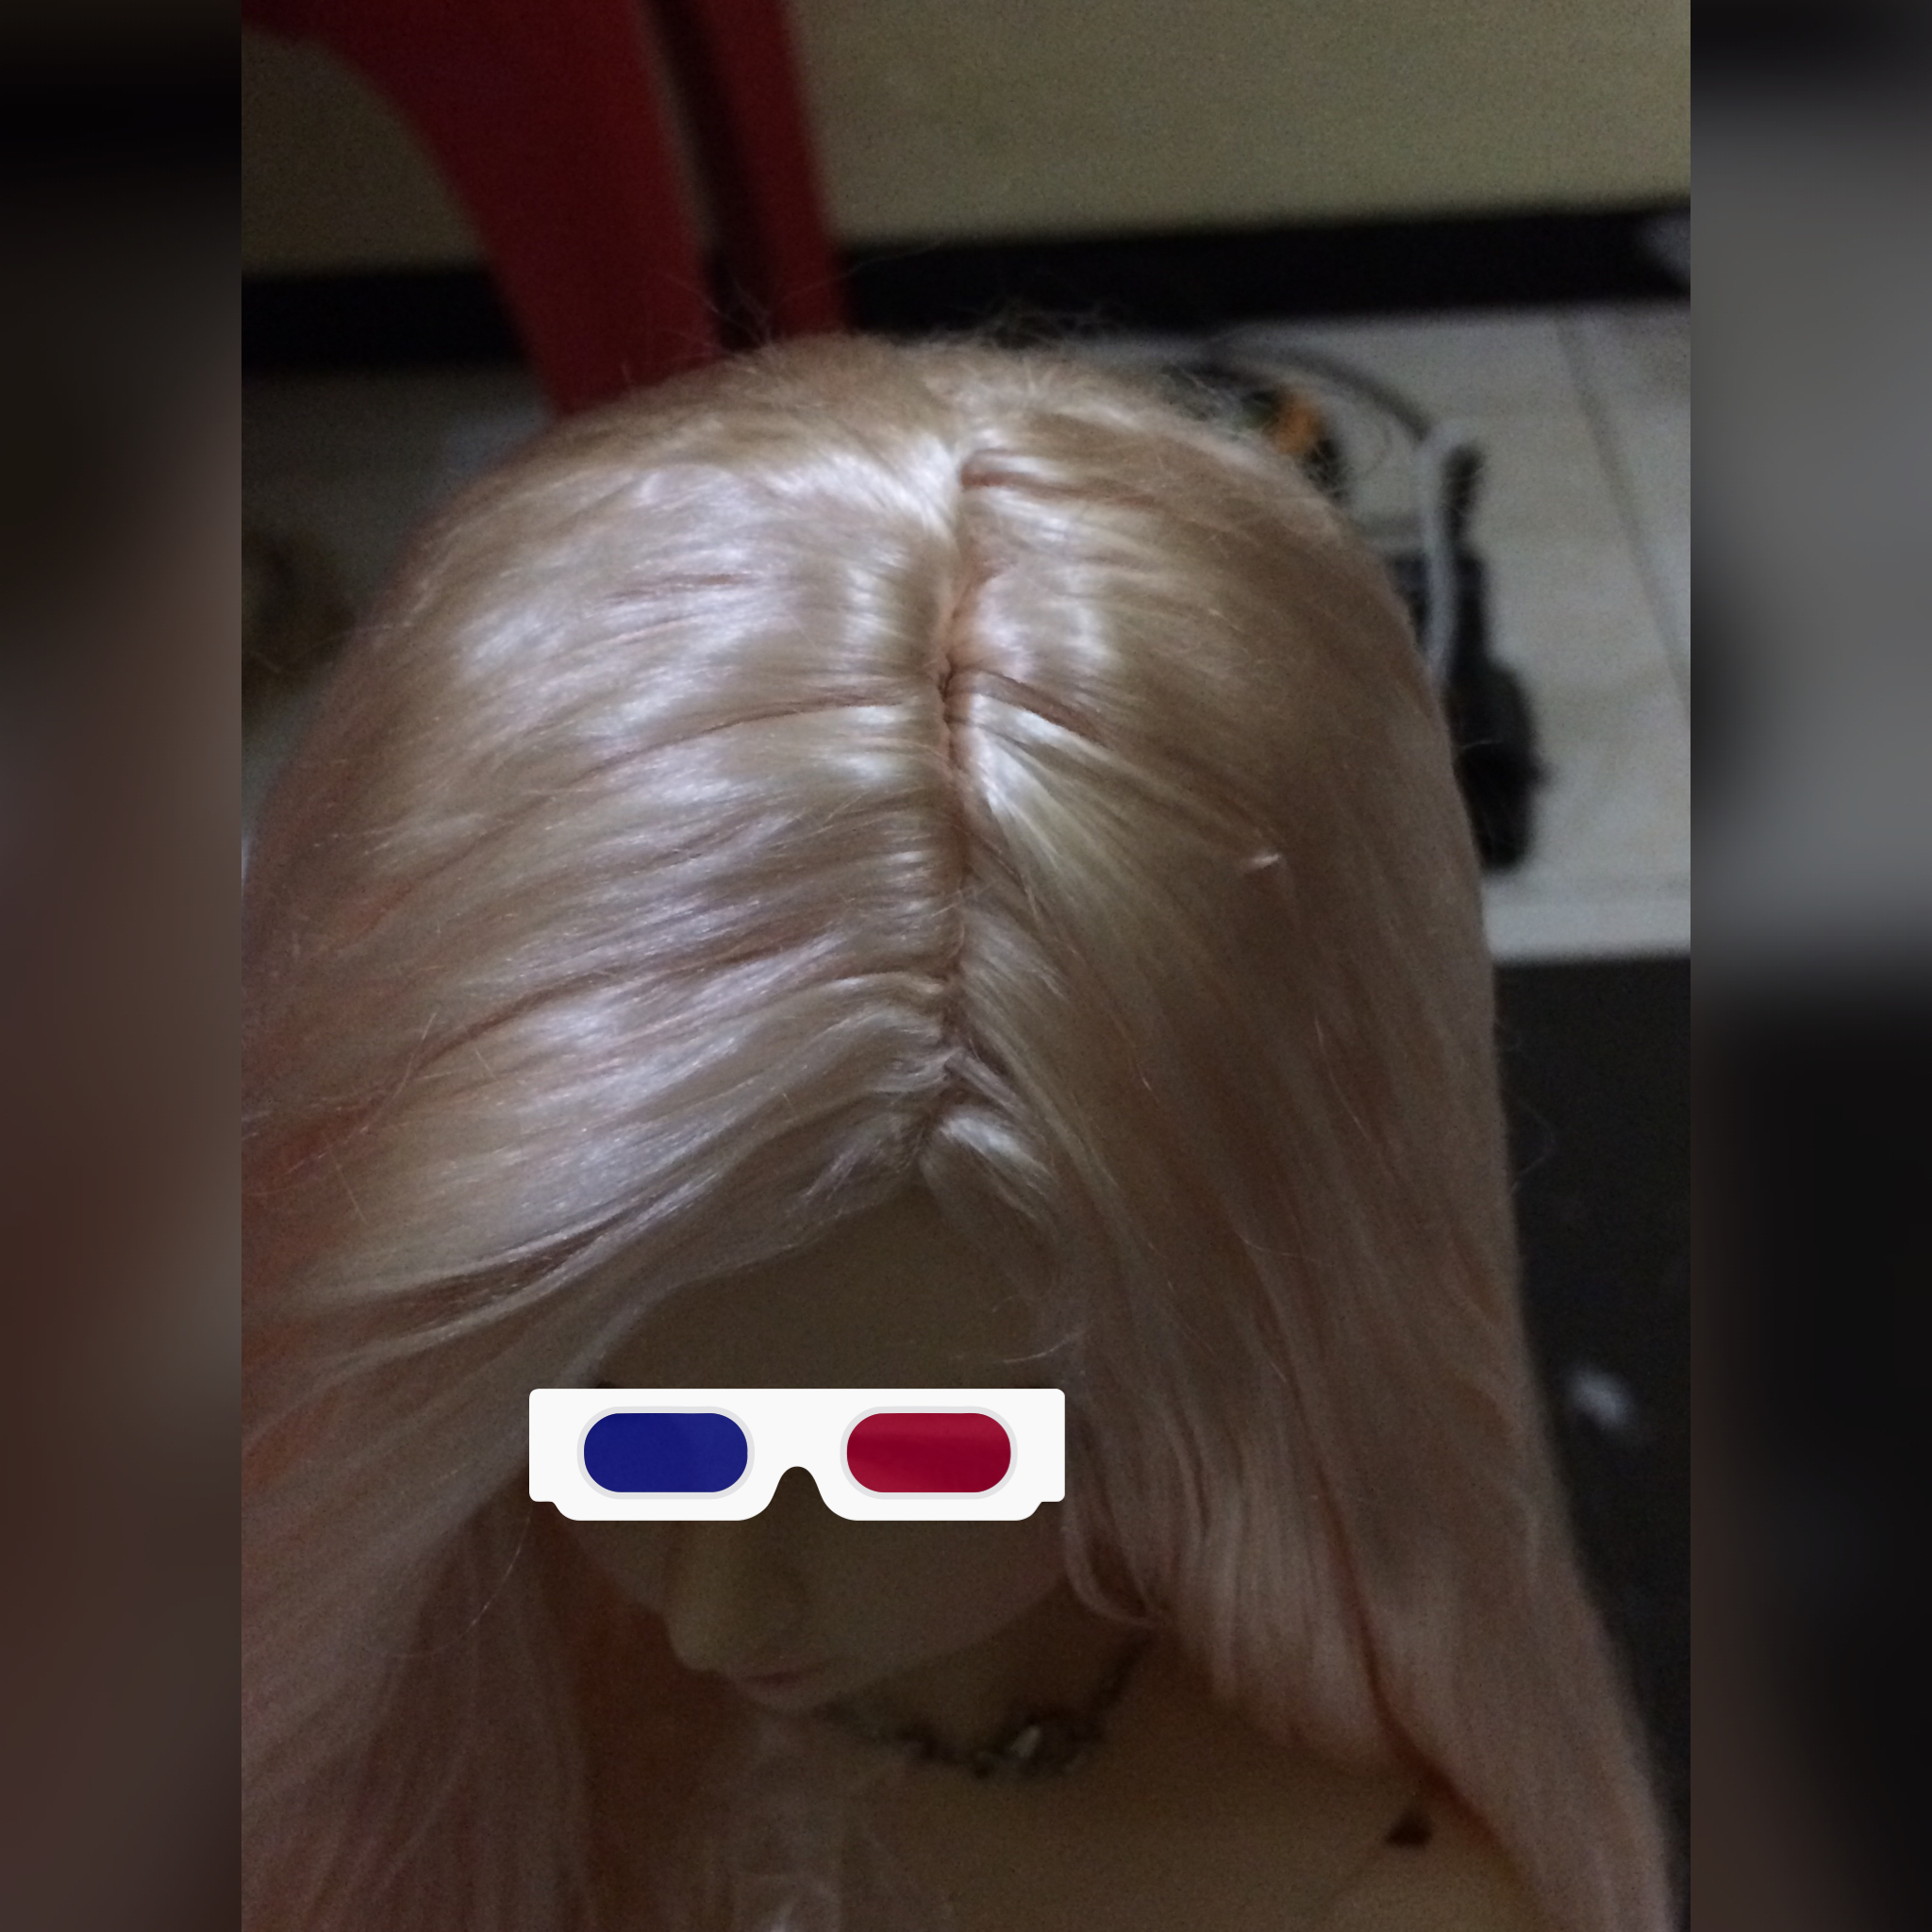
I changed the technique in the middle that why the right side of the parting line is kind of thicker than the left side (>-<)”’ .
I haven’t ironed the wig yet but already cut it. I haven’t had any knowledge about hair cutting so, yes, it was a mess. (^O^)”’.
I annoyingly hide my doll face. (>u<)
Using viscose fibers seems easy as it’s soft and in my case, it’s straight but in reality, it is super soft and fine that i can say, it’s ‘fragile’ and easily separated. Once it’s separated uncontrollably, it becomes a disaster. So, I have to separate it very carefully so, i have minimum fibers to waste.
- I use tooth pick to separate it and then while picking separated fibers with my right hand, my left hand hold/push the rest of fibers so they wont stick to the fibers i’m picking.
- I then glue the tip of fibers i pick. So, it won’t be separated anymore as well as easier to put on the wig cap. I figured out about this while experiencing the trouble but then someone show me the video about it and then I aaah…ok, I’m on the right track.
Those two are very important to start. How to put it on the wig cap etc, you can search it in youtube or support an artist video by paying it. I heard from a friend, Andreja made a video about it but we have to pay to see it. (^_<)d
Finished: Trial 1
i really still have to search suitable fabric for the shirt. i am washing it now. i will be processing it with softener afterwards. I will try rayon next time.
This is r&d for both pants and this style at the same time. i was working on volks pants and this style at the same time. so i just made it as i could achieve 2 goals at the same time.
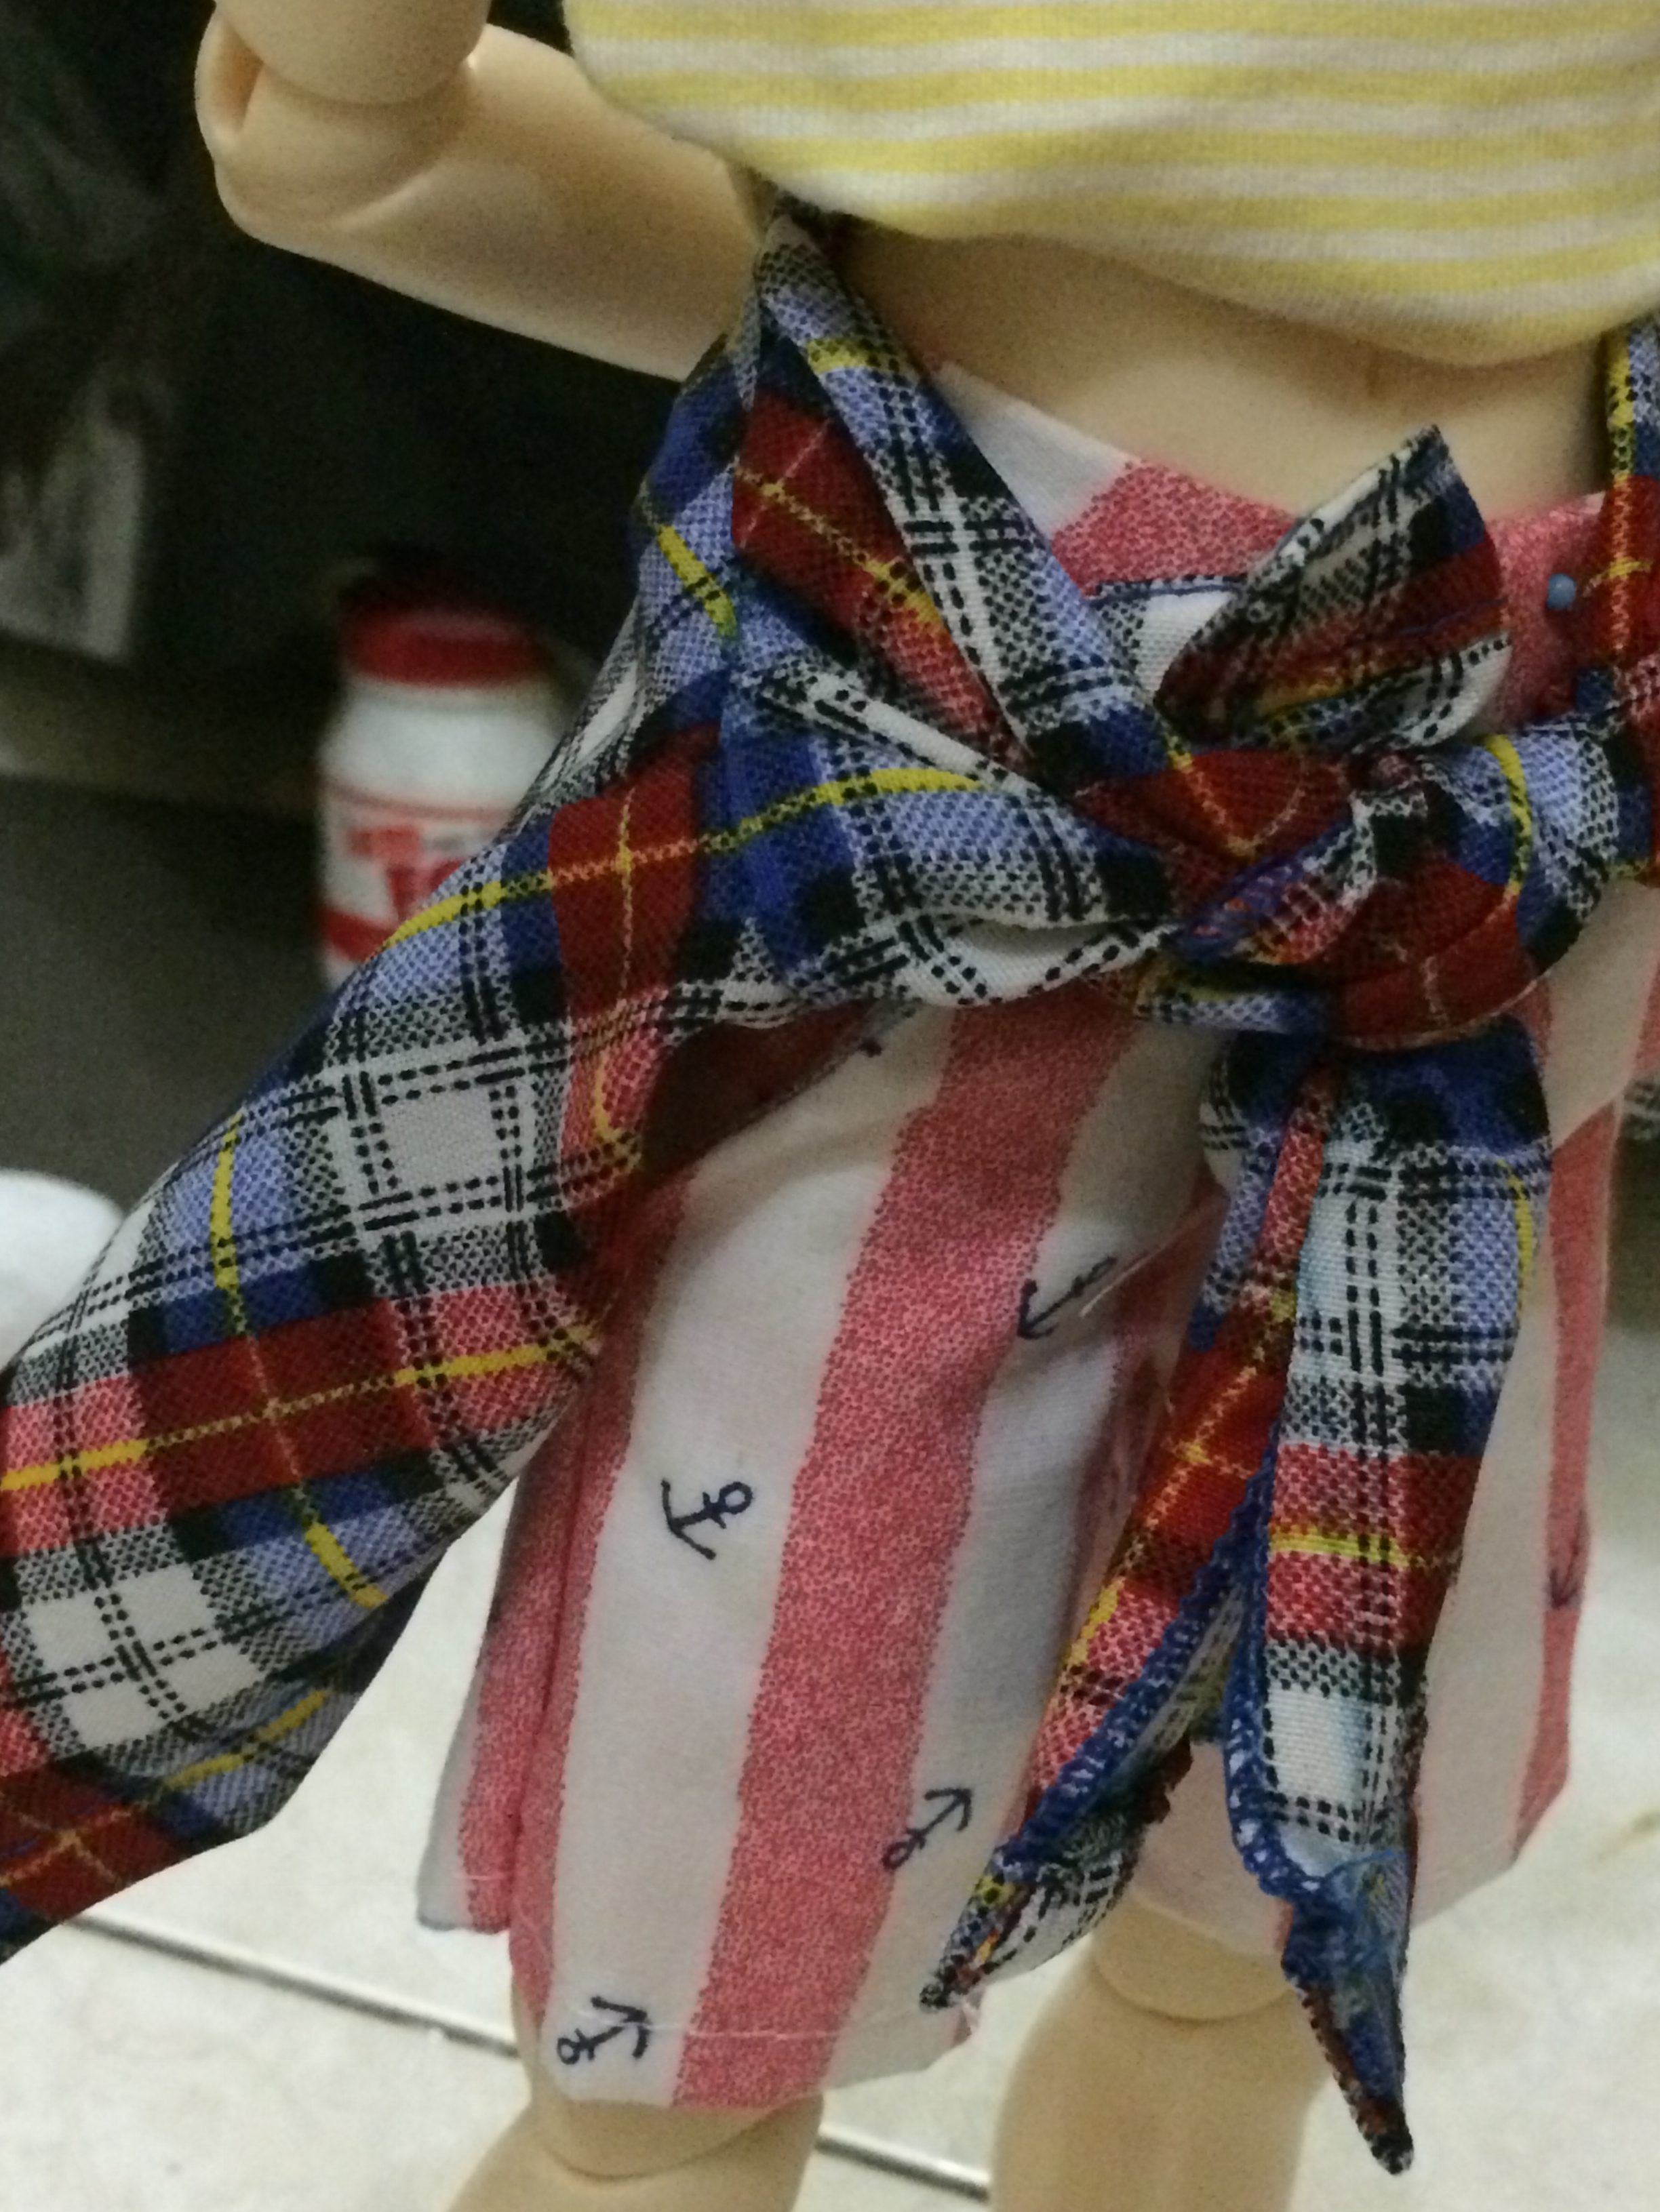
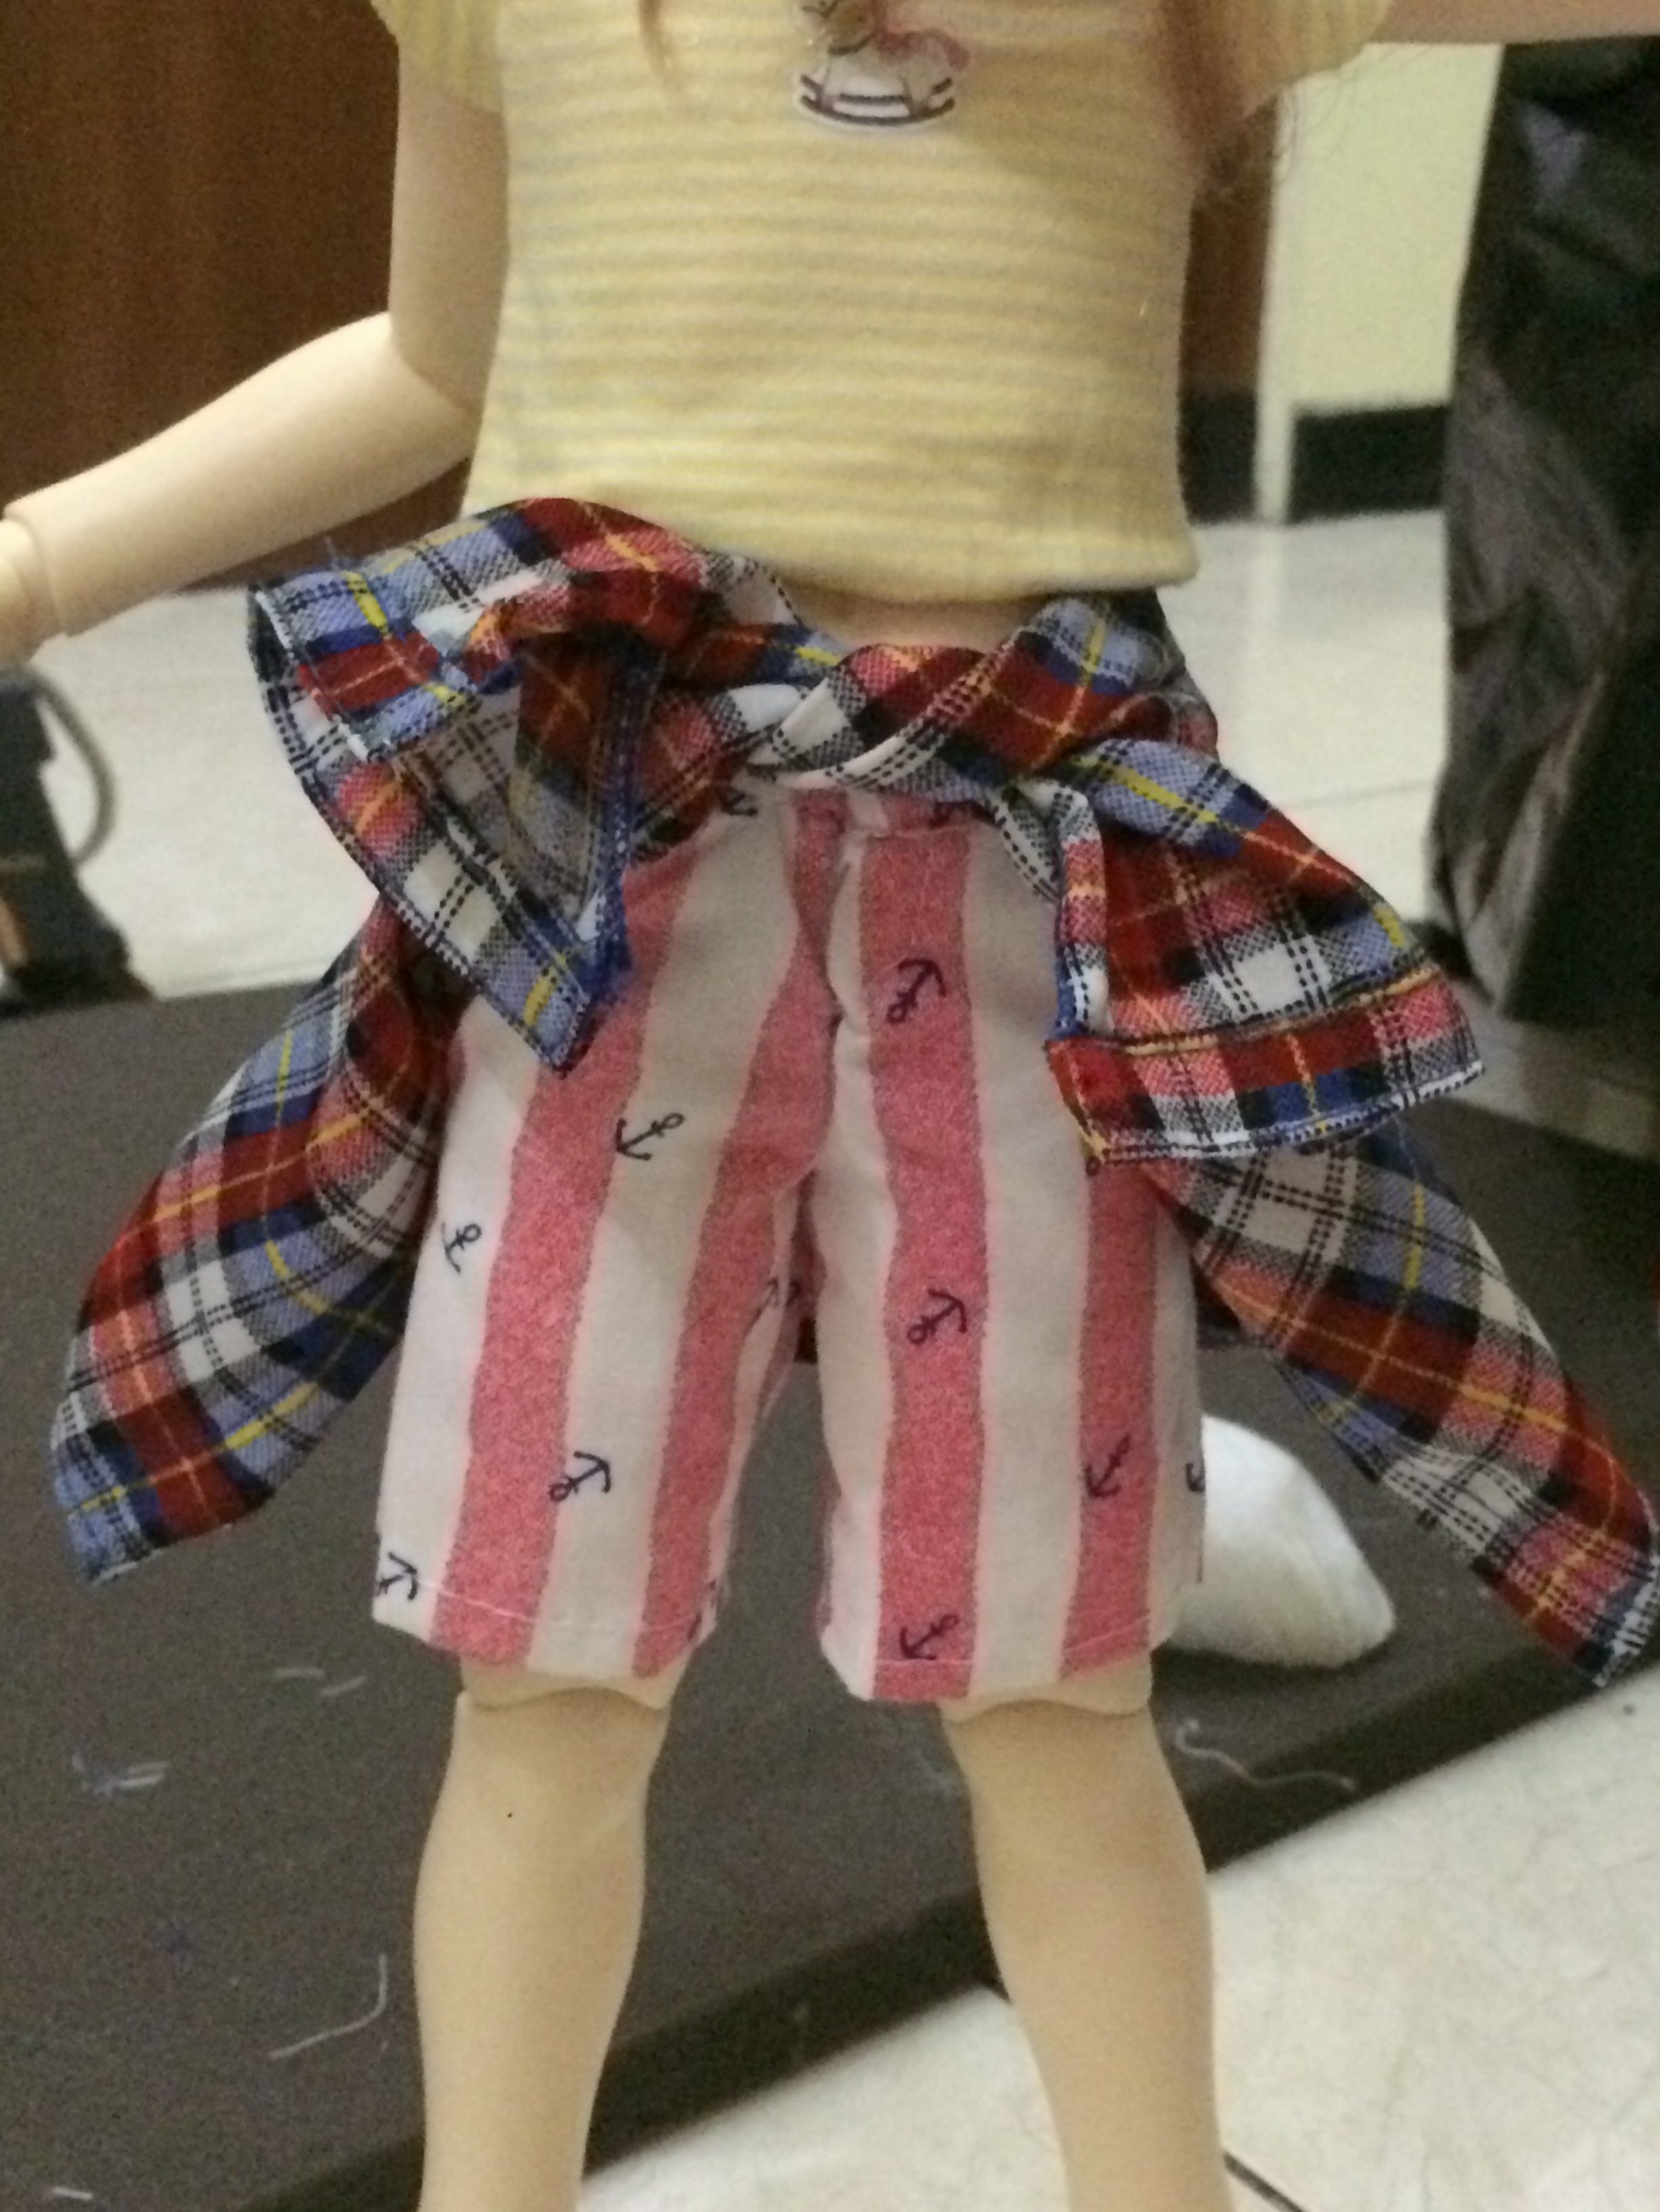
Shirt-Around-Waist Pants

because i was too lazy to make two pants, I made 1 pants but put the shirt on in different way. That’s why you see left and right side are different. It’s not a mistake. It’s intended. Personally, I like the left picture. It’s more natural. When I wrap my shirt around waist, it is like that.
When wrapping, i pull up the back of the shirt. As you see, it look ‘folded’ inside. It’s because i pull up the shirt. Somehow, it looks more natural dan if i just let the shirt pulled down. It looks too tight on the hips.
Pattern technique:
You have to know how to make shirt and pants. I won’t give you any pattern of it as it’s BASIC sewing. You can find it anywhere in google or buy it from simplicity or purchase burda sewing magazine.
If you have known the technique, here I just want to share where to begin with.
I didn’t use the collar. I thought about it but it’s not necessary even if i want to make it look close to as if the real shirt is wrapped around pants/waist.
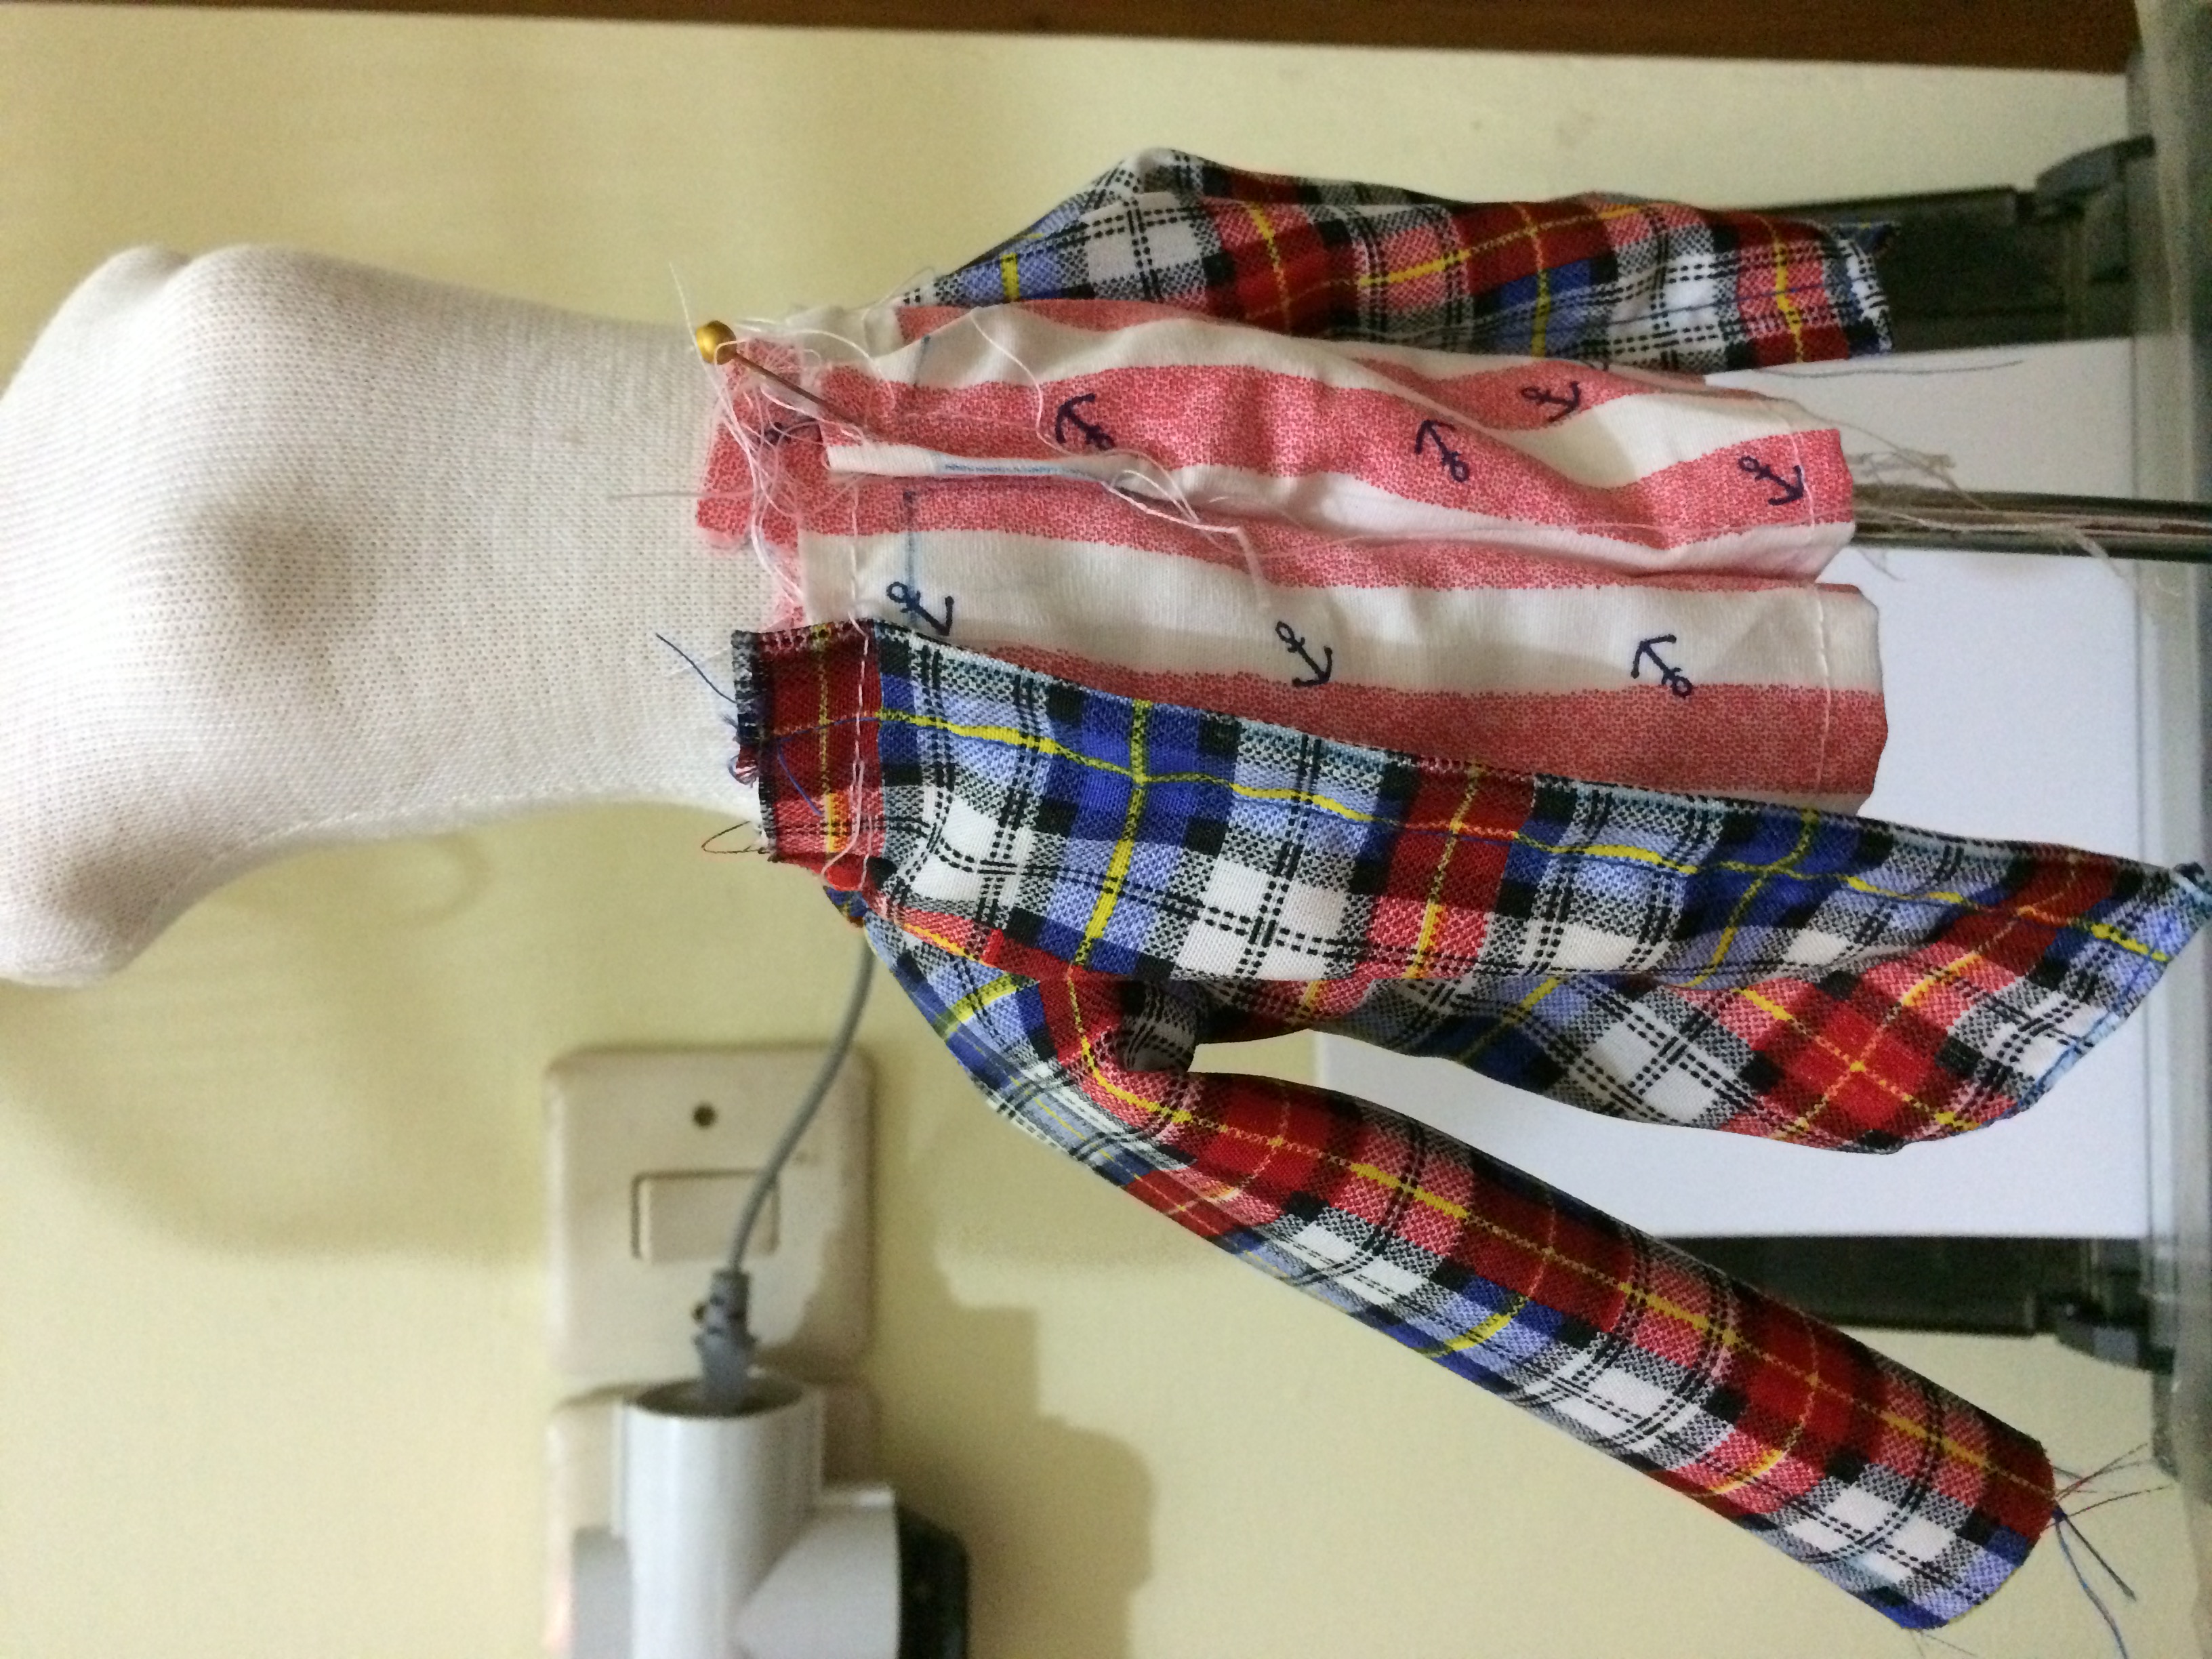
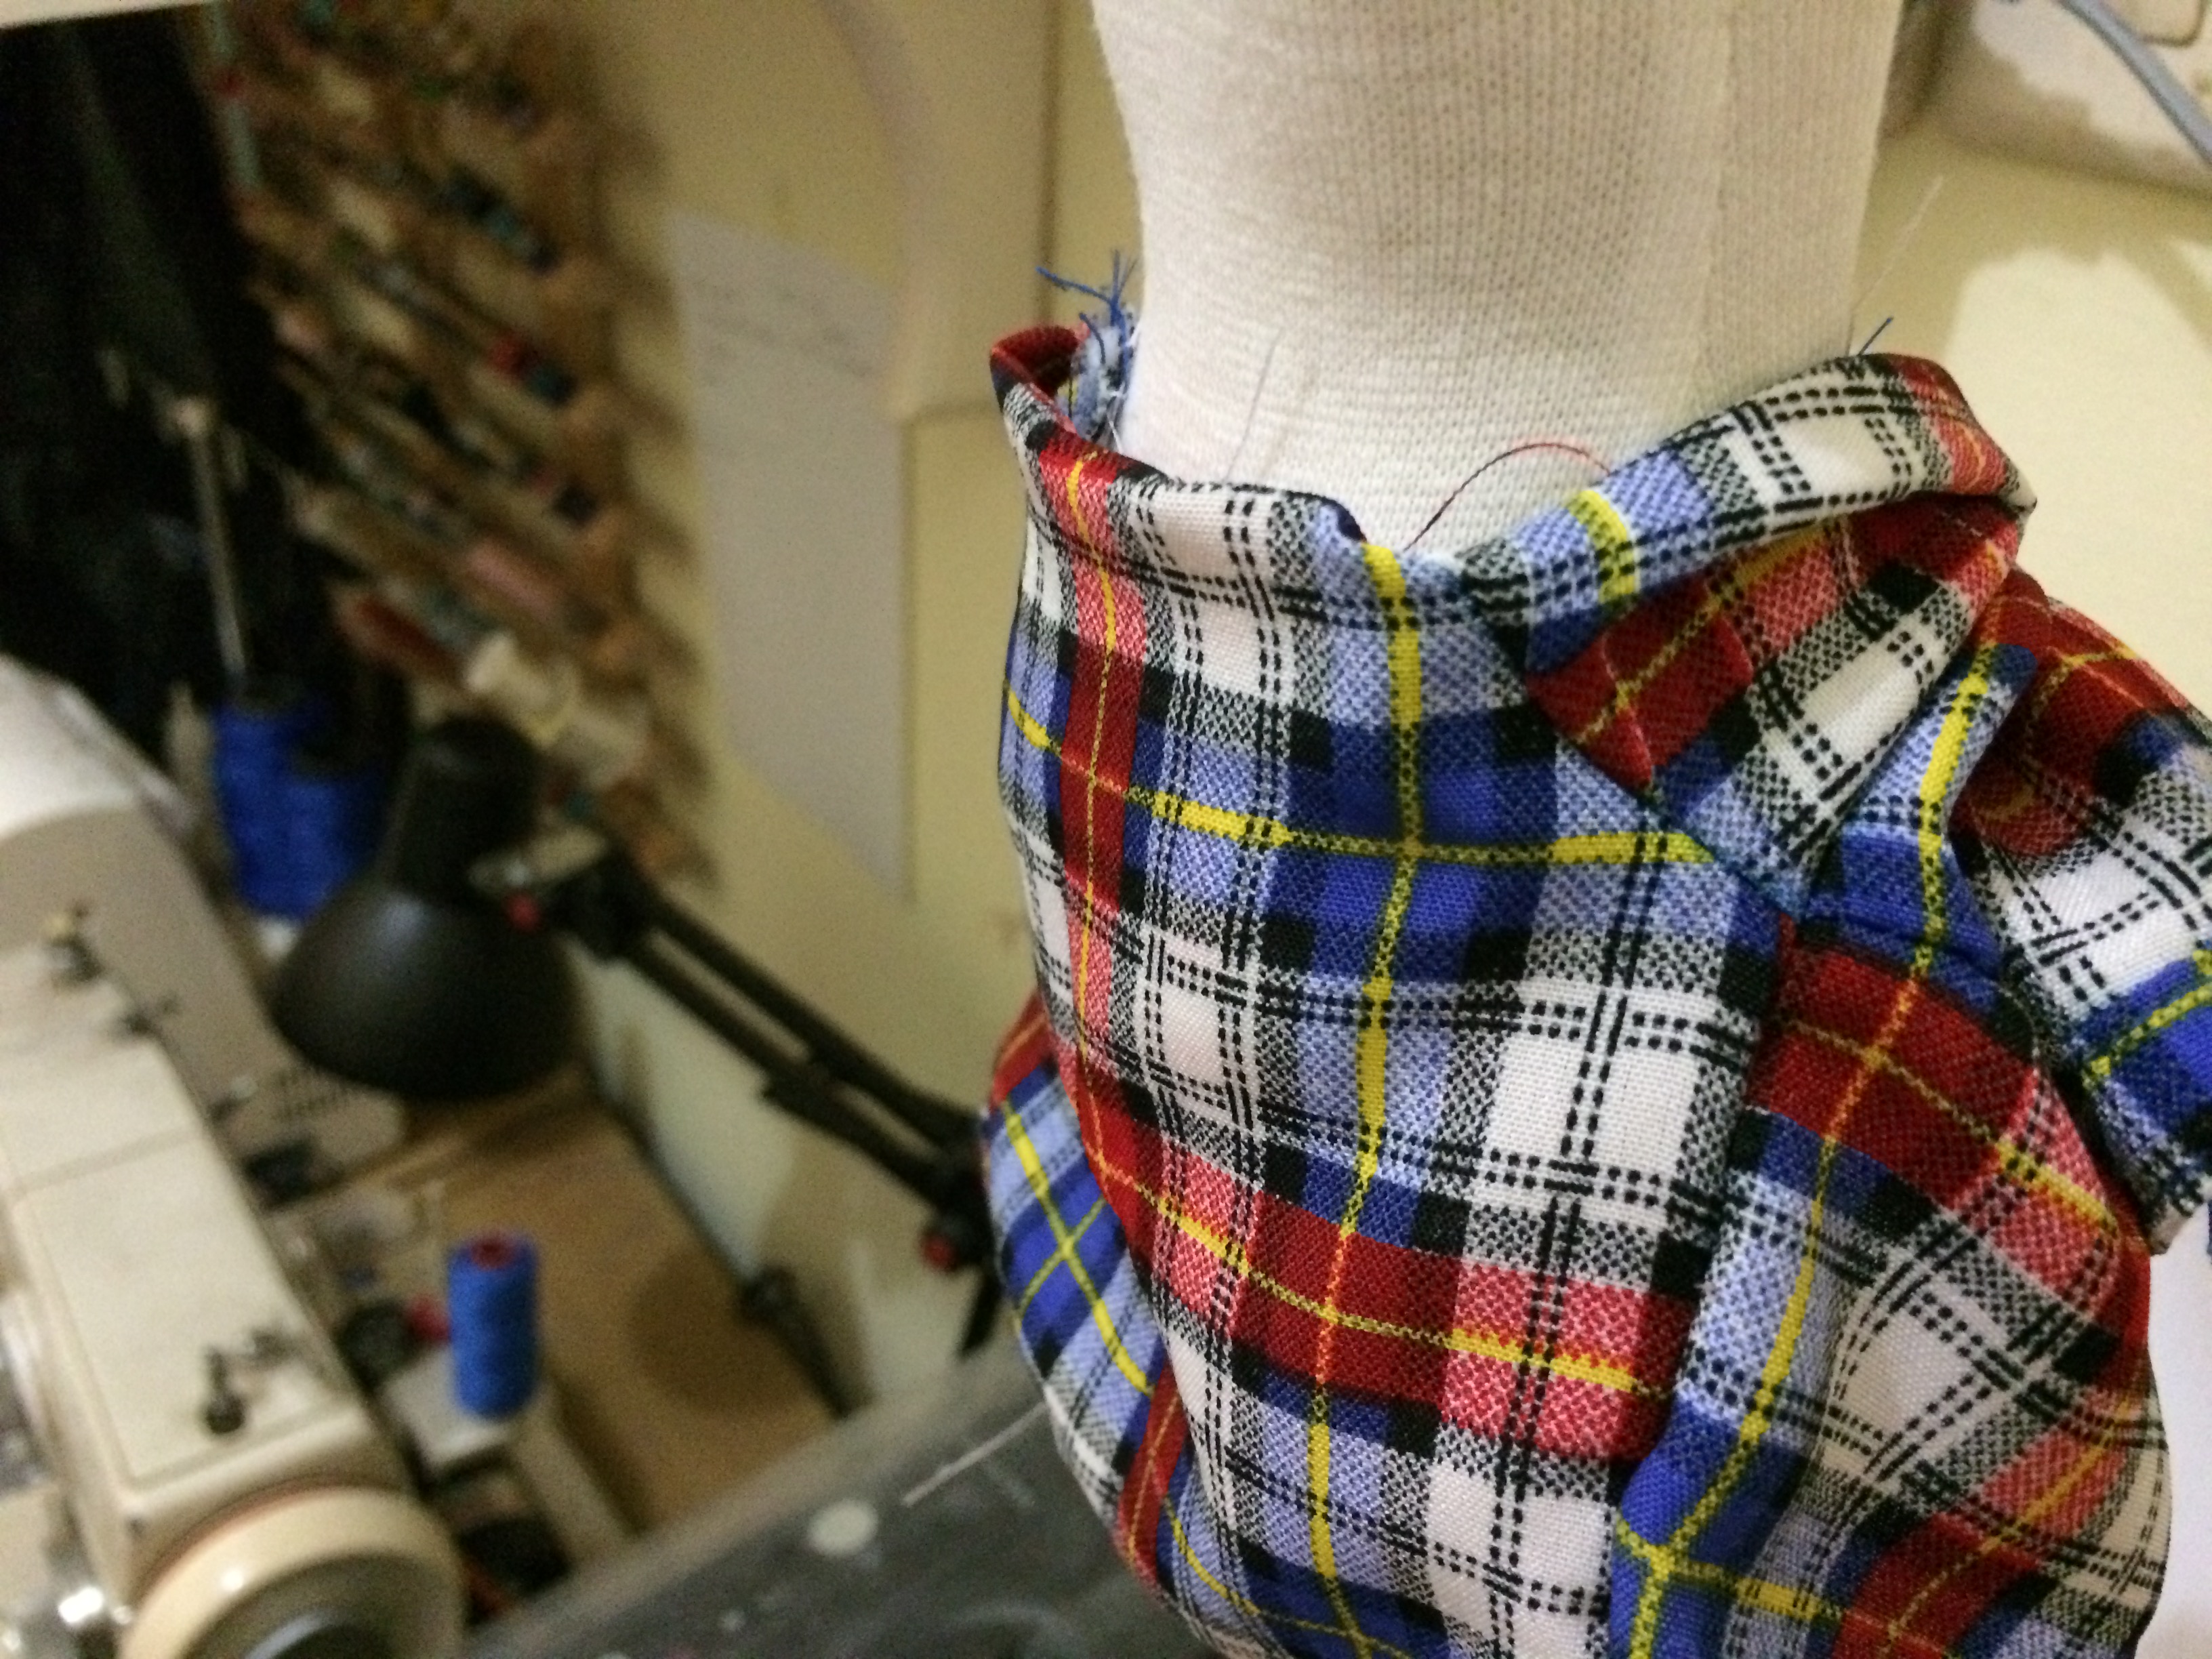
I start the pattern from the lower shoulder ‘line’.
The arm sleeves are FULLY made. and sew to the bodice like usually we do when sewing shirt. In this case, that lower shoulder back and front must be ‘a bit’ sew so the sleeve can be sewn on.
After that, arrange the ‘line’ of lower shoulder back to the front on the pants waist and sew it on.
I actually serge the shirt. It’s difficult to explain how I do it even if I show the pic. My suggestion is, just serge it as you usually do, and you’ll find a way how to do it next (aka sewing to the waist) naturally. It’s actually easy but a bit ‘confusing’ when doing serge on the sleeves part. Yet, as I said, just do it as you usually do and the rest will come naturally. It’s OK though if you don’t want to serge. Here, i just want to say that it’s POSSIBLE to serge.
This pants is kind of trend but not too hits. My friend asked me to make one. She gave me an example picture which the placement of the front shirt on the waist is like the right picture. She actually gave me not too clear picture. The focus of of the camera is ok but the pattern of the pants is kinda confusing and makes me hard to read how the maker sew the pants. So, I just figured out myself about the pattern. All I want is the shirt can be natural look when it’s wrapped around the waist.
My problem now is finding the right fabric. I thought this shirt fabric is thin enough. It may be thin but how it falls is stiff! I’m still going to finish this project because I’ve been thinking of using softener to tame the fabric. Checker fabric for making shirt like this do not have many option in terms of kind of fabrics.
Stretch Fabric Learning
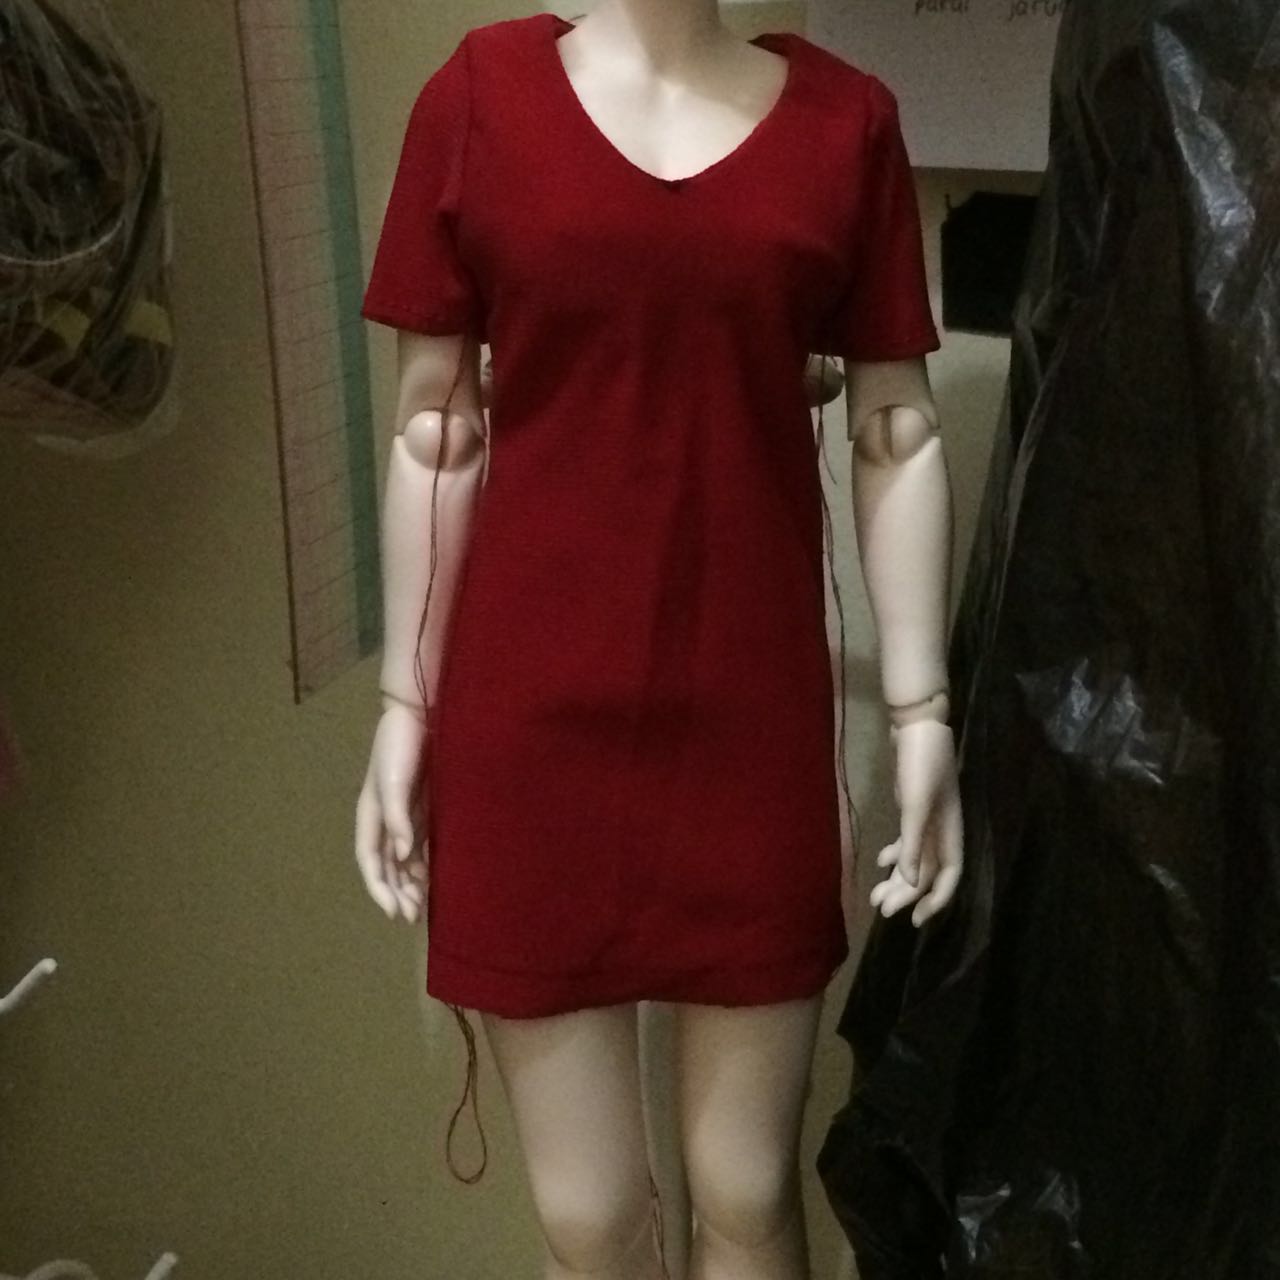
fabric: jersey stretch
needle: special for stretch fabric #9
This is my second trial. The hand part is bulky because i used interfacing on my lining and the lining covered the bodice’s hand holes. May be for next learning, I should use thinner interfacing. I used common/standard interfacing for this.
I didn’t serge the edge. It may ruin the shape and elasticity. It’s ok for not serging it. My purpose for this learning is to sew stretch fabric for simple shape of clothes as well as learning the finishing technique for this kind of neckline.
Using special needle for stretch fabric is really helpful. I would try this first before using special sewing feet. If it’s sufficient, then it’s ok. I didn’t use special stitch for this as this is for doll. It may not be able to be applied to human clothes sewing. It’s also unable to apply on doll projects like stockings and socks.