Boy’s Uniform

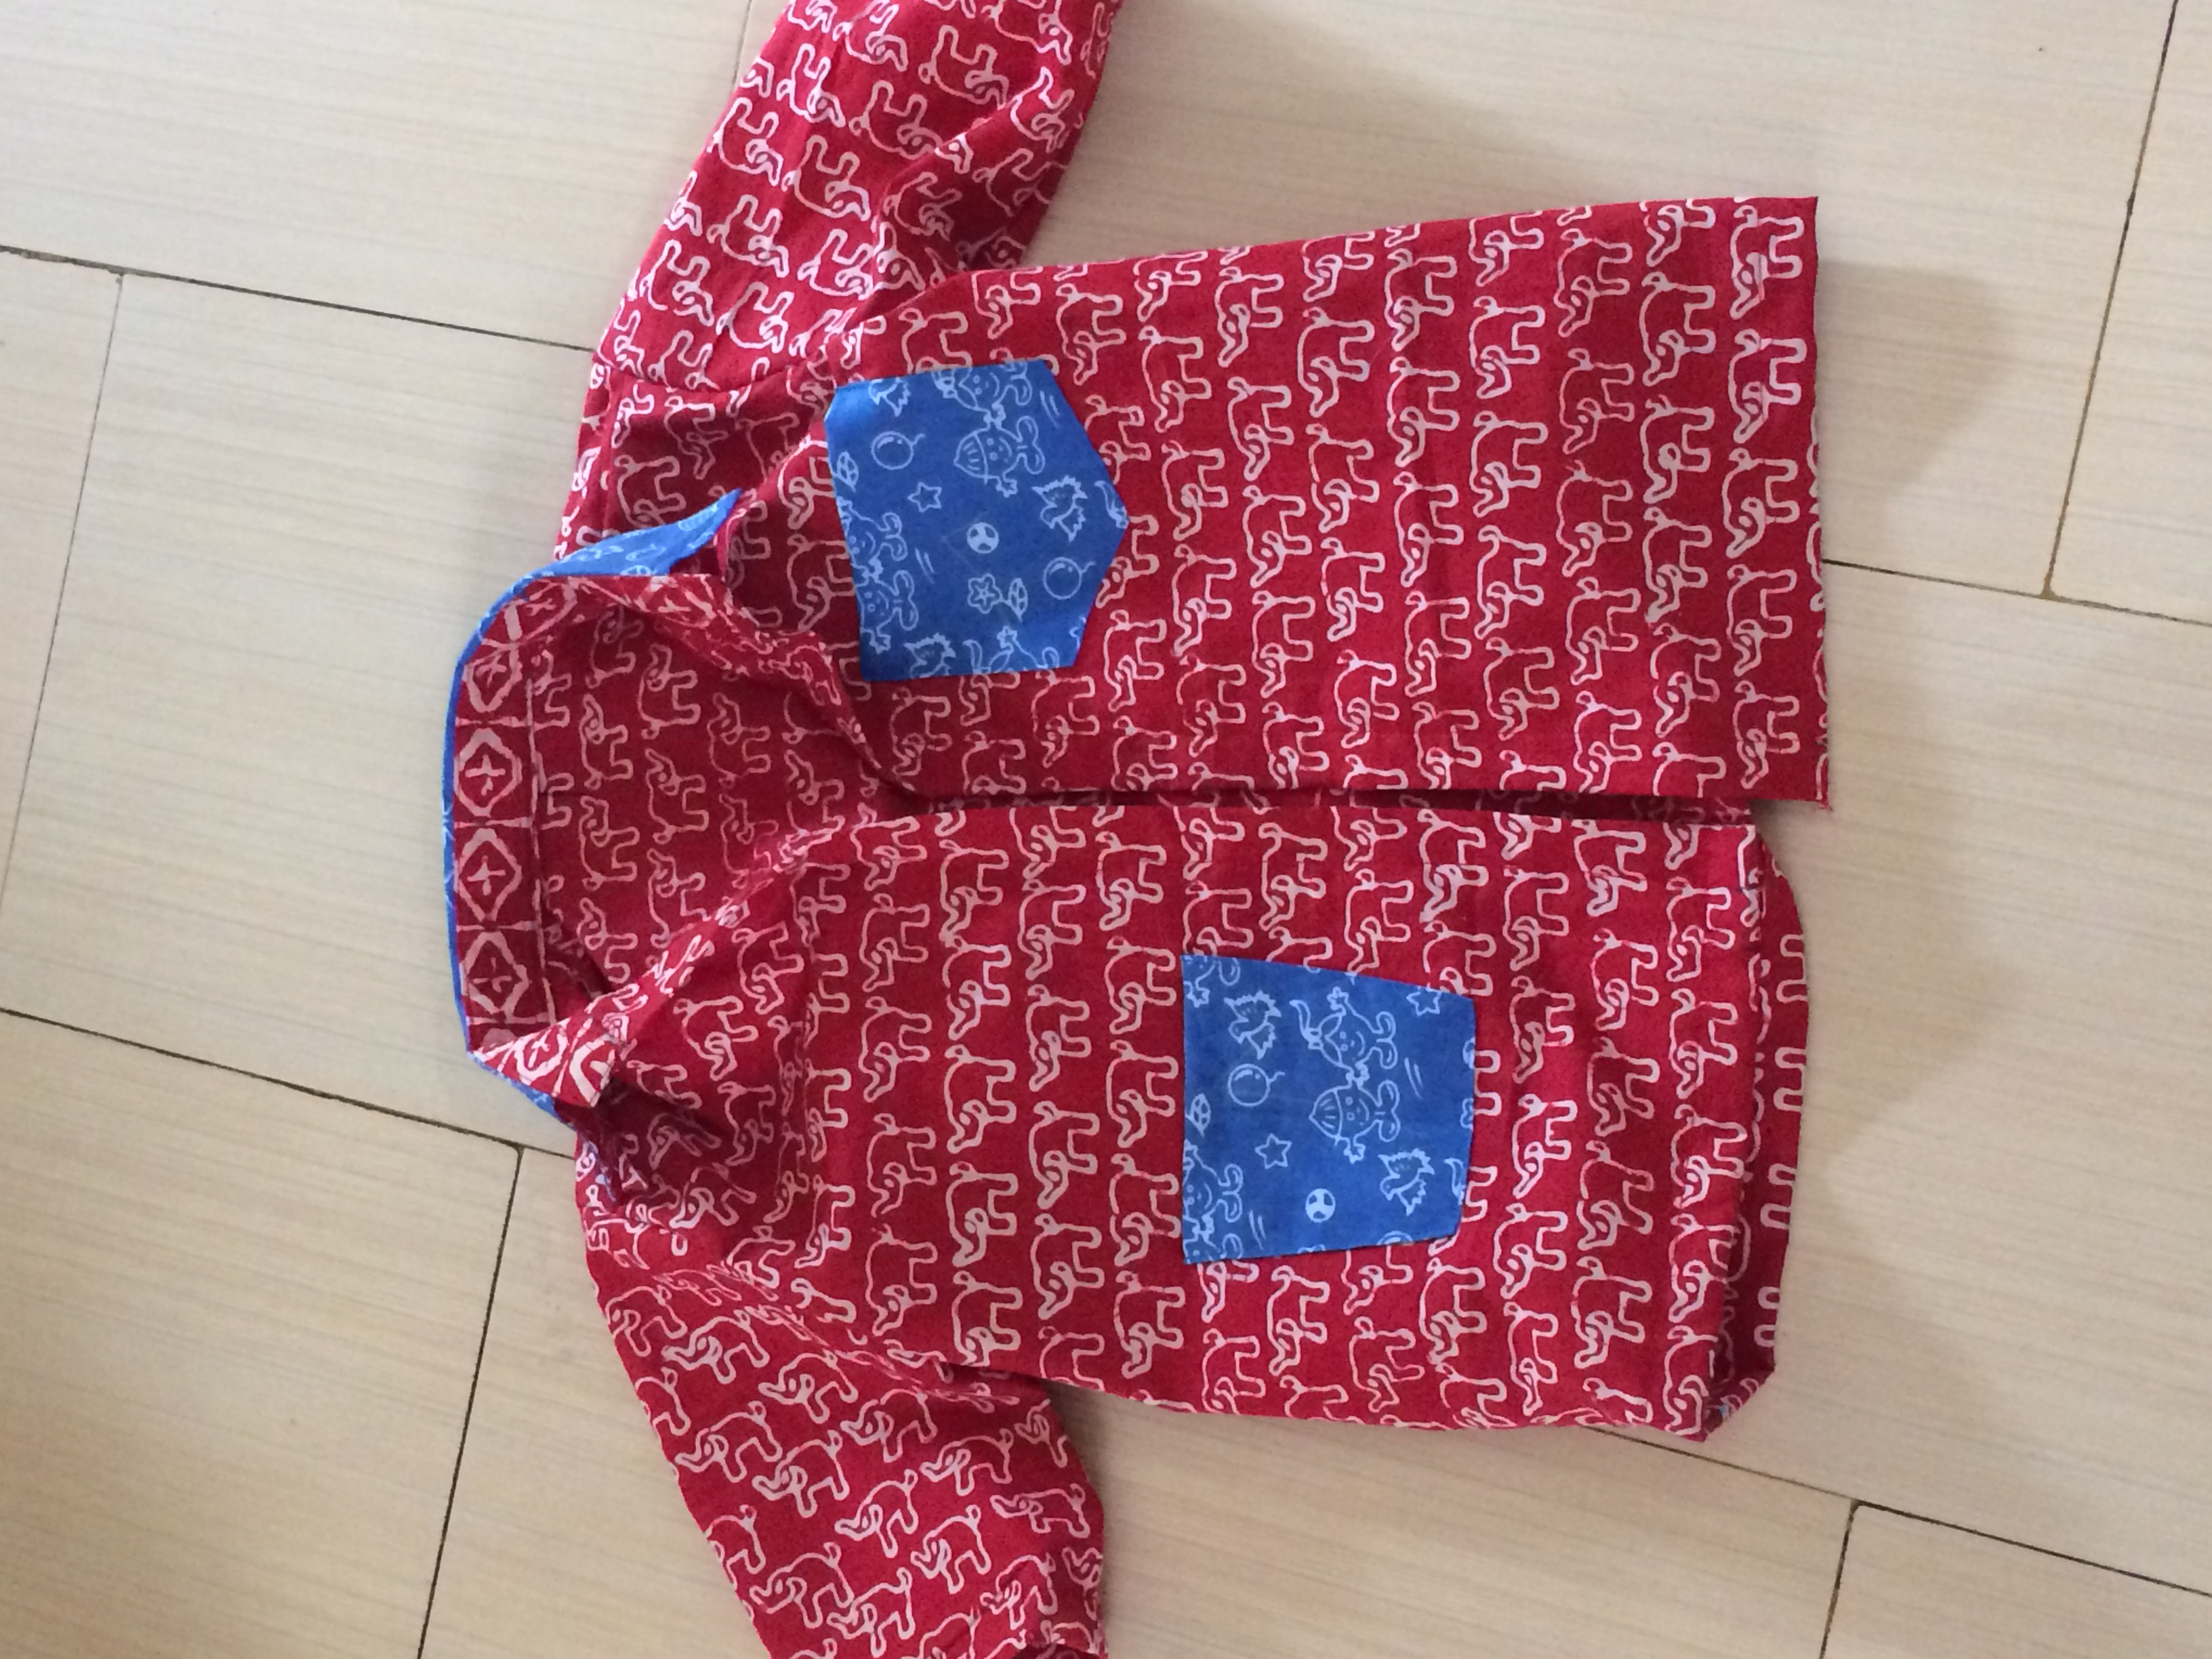
I made boy clothes lately. School ‘free’ uniforms, and now, pants. It’s not easy to make them the right way. Of course, it looks ok but actually, there were small mistakes and ‘imperfection’. It’s quite tricky to sew this kind of ‘seamless’ pattern on the opener side. I also forgot that my teachers once taught me wasn’t correct. I forgot to correct that when cutting the fabric. Well, it’s wearable alright but definitely not ‘correctly’ sew.

I made pants too. Three pants then the last one is the best! Haha. Seems like the pattern I got from my teacher is kind of ‘regular’ shape of pants which is it is really difficult for me to change it into more fit style. May be i can change but it would take lots of trial. I don’t have time! After modifying the pants ONCE, i decided to use another pattern I got from my sewing bible. It is the best! Somehow the formula seems weird but really it works! Looks like the writer is really an expert and have lots lots lots experience. I have never seen something like this before. *I can’t reveal the formula. Please get your own book. The writer’s name is WANCIK. It’s not in english though. So may be, it can’t be used internationally 🙁 . I don’t even know if the publisher republishes it again. I haven’t seen it in a while in bookstore. May be some people spread it in internet. I  don’t do that. I don’t want to get in trouble with the law.* 

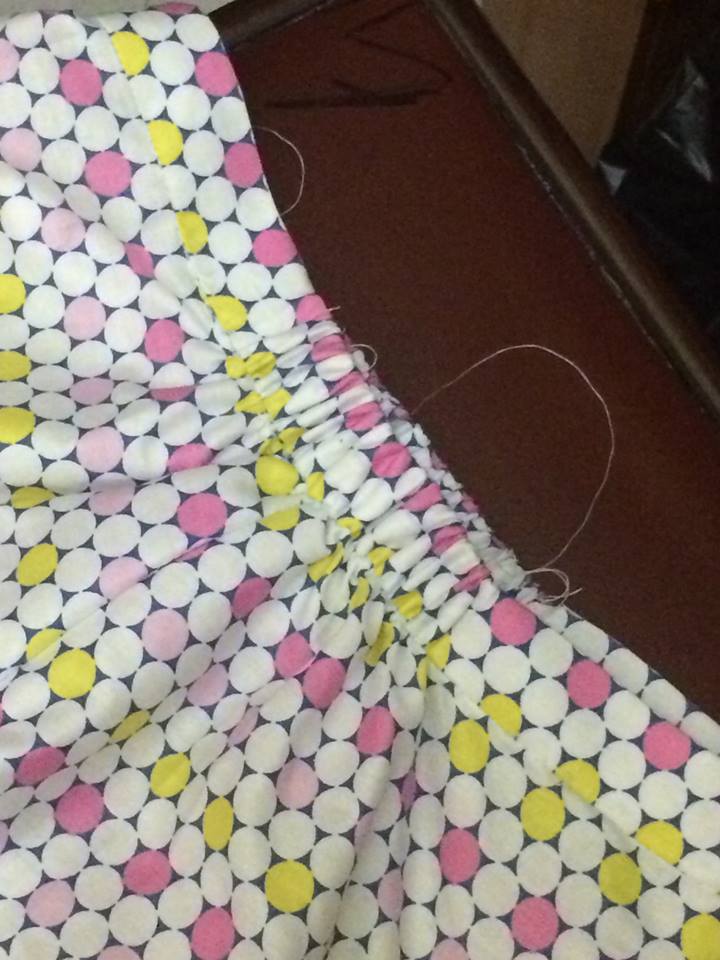
My boys leg shape from waist to feet, they are thin. So bony TAT. It’s hard to make quite fit pants. The pants I made are still a bit lose on the leg but ok on the waist. I used stretch on the waist, too but if i didn’t use it, it was ok too. I used type of stretch band which has holes so we can control the length of stretch by slipping the button into one of the holes. It’s a very good idea about using this kind of stretch for kids pants as they will growl and the stretch quality usually depreciates along with time. Yet, for ‘neat’ and very formal pants, I won’t use this. Haha. Although, it won’t be seen from outside, I don’t feel it’s 100% neat. Must take a pic and show the stretch band/tape someday and put it here. It may be difficult to imagine what kind of stretch or what kind of rubber i’m talking about.


There is also a web i would like to promote. They sell downloadable patterns. I don’t use their pattern though as i can make it myself and love to do it, yet, for some people who don’t like making pattern and just want to sew, you might want to check out https://fitinline.com/product/pattern/ (this is not in english either but may be since it’s diagram, it’s more understandable)

Rubber and Plain Waistband Combination

rubber-combined-plain-waistband

had been learning to sew this technique. This is plain waistband on the front and back and sides are with rubber. It’s actually not difficult but a bit tricky. The technique can be seen here https://www.youtube.com/watch?v=YP7sWSiADEY&sns=em

In sewing plain waistband, I don’t one detail in the technique that is the position of the interfacing. I don’t place it on the front like when sewing ordinary or usual plain waist band.

Please watch carefully how to sew it as some details are important and if you miss it, it can be a mess (like what i did)…

I didn’t sew it neatly because i was mistaken with usual technique i used, so i missed some details. I pulled off all the seam and repeat but not much space for sewing anymore…haha…so, well, the rubber is a bit seen. Even though it’s seen, it still shows consistency. not like, half length seen, half length hidden. It means, the technique is great. I really didn’t do anything but following the technique correctly after realizing my mistake before. It’s amazing that I just pulled the rubber and hold it and sew it. Well, perhaps didn’t do anything isn’t like ‘anything at all’ either. Haha. I’d practiced it with other technique before so, perhaps, I’m a bit ‘trained to control the rubber and waist band band fabric. But, I’m optimist that it’s not difficult just as long as you have already known how to sew plain waist band properly. Because, if you don’t know how to do it, you might find a difficulty to imagine which part it is and which part that is.


NOTE: THIS IS FOR INTERMEDIATE SKILL OR EVEN IF YOU’RE BASIC, YOU MUST HAVE BEEN ABLE TO SEW PLAIN WAISTBAND PROPERLY (WITH CORRECT AND NEAT SEWING TECHNIQUE). 

Sorry, I don’t open comment slot as spam or unrelated comments came in in the past. I have tweeted it. Please find nichancraftroom twitter and mention if you want to ask in english. I might be able to help (my english isn’t too good but I will try my best). As for Indonesian languange, please go to the youtube link and ask directly to mr.Zainal Ali who posted the video.

Making Clothes

20160106_134208.jpg 20160112_183813.jpg 2016-01-12-18.46.07.jpg.jpeg


It is simple designs but I do finishing in unusual way. I don’t know since when but i like using ‘full’ lining now when making clothes. It is not necessary but i feel it has to be that way.

The aplique was sewn by hand.

Balloon Dress, some notes

20140627_160507


2014-06-28 21.03.29


After making 2 balloon dresses, i conclude:

1. Better use regular zipper than invisible zipper. Especially when on the waist part, there’s gathers. Gathers make thickness which will make zipper difficult to pass. Even if it can, the look is ugly. Better to use regular zipper and sew it neatly.

2. Add 1 cm when there’s gathers on the waist part. Add up to 1.5cm 2cm when there’s separate underskirt included.

3. Balloon skirt is best when i put frills layers between the main fabric and lining. So, it’s like filling in between the fabric. AND, i think, that’s why it’s called balloon dress. (^O^). Like a balloon, we need to fill it in with air while in case of skirt, we need to fill it with frills layers to make it bloom (^_<)

Memory of Lovely Outfits

12285910576_58f5f93f72_o12285790554_011d677e23_o


These were for local fashion event before they were ruined by a stupid laundry and dry cleaning shop just a day before official photo taking.

I took those photos before i sent them to hell laundry shop. I really hate them.

I didnt and wouldnt manage to finish 8 clothes including remake those two. Those seems simple to make but they were not. And more than that, i dont have a team. I made them myself. That’s why i cant forgive the laundry. Highly un-recommended shop.

I was recommended by my teacher but i didnt think far that my teacher designs are rarely like mine.  My teacher was even surprised and upset when i told her what happened.

My new black dress wont be sent there.


Black Dress

20140308_115541


Ah this time is human dress. My size. Haha.

This dress was supposed to be 2 pieces which were bustier dress and brocade dress. Yet, i wanted to try another technique of my own. So i made it into 1 piece dress. It’s still undergoing. I am satisfied so far. Very fit to my body like a glove. Haha. Am i being exaggerated?

I might expose how i sew it later.

It Is Not About The Dresses,It’s About The Underskirt!

20131201_110140

20131211_135320_upload


As the title said, the project is all abt the underskirt. Underskirt in this project was meant to maintain the dress shape

The first dress’ skirt has A line shape and the second dress’ skirt has upside down U or tulip shape. Thus, the underskirt is different. The different is in how dense the gathers for ruffle we make. There’s specific formula for me to do this except one thing: length of maximum fabric for gathers is 3 times the circumference of the skirt part on which we want to sew on the gathers or ruffle.

For example: waist 65cm. Prepare 3x65cm fabric for dense gathers. If ruffle will be on hip which is 90cm, prepare 3x90cm for dense gathers.

In my A line skirt, top ruffle is not as dense as lower ones. And in my tulip skirt, top to middle ruffles are pretty dense. Bottom ruffle is not too dense. Just may be 2 x circumference.


New Dress, Another new experience

20130930_153631clothes nichan 02_upload


I love this dress so much. So perfect with her character.

The top grey part is chiffon, lined with tulle. I think, i put myself in trouble by using tulle. O.o.

the bottom part or skirt is velvet. Hmmm…i am not sure whether velvet is good for doll size but in this dress matter, it’s fine.

The collar is the problem. I tried vertical cut for the collar. Long bias type of cut of fabric strap, gathered, and attached. The result is not too satisfying. Making round cut will be perfect. Next time i must try it.

i made bigger version for myself. Love this dress so much.

for bigger one i used same chiffon but the skirt i used kind of thin satin-like.

Stocking For Bazaar

First 'dresses' or my upcoming bazaar


This is my first batch of items for my bazaar. There’s one more dress like this. This is for human size. haha. A friend thought, it was for kids (^O^)”’.

Still need a little more finishing.

The design is pretty simple, inspired by someone who passed me by when i was in my first bazaar. Her style was shabby, her dress looked bigger for her, yet, somehow, with her small body size, she looked so cute!

The ‘waist’ isn’t on the waist part but more like above the waist. the skirt part doesn’t have too much gathers. I like how it looks big and cute at the same time when I try it on my body.