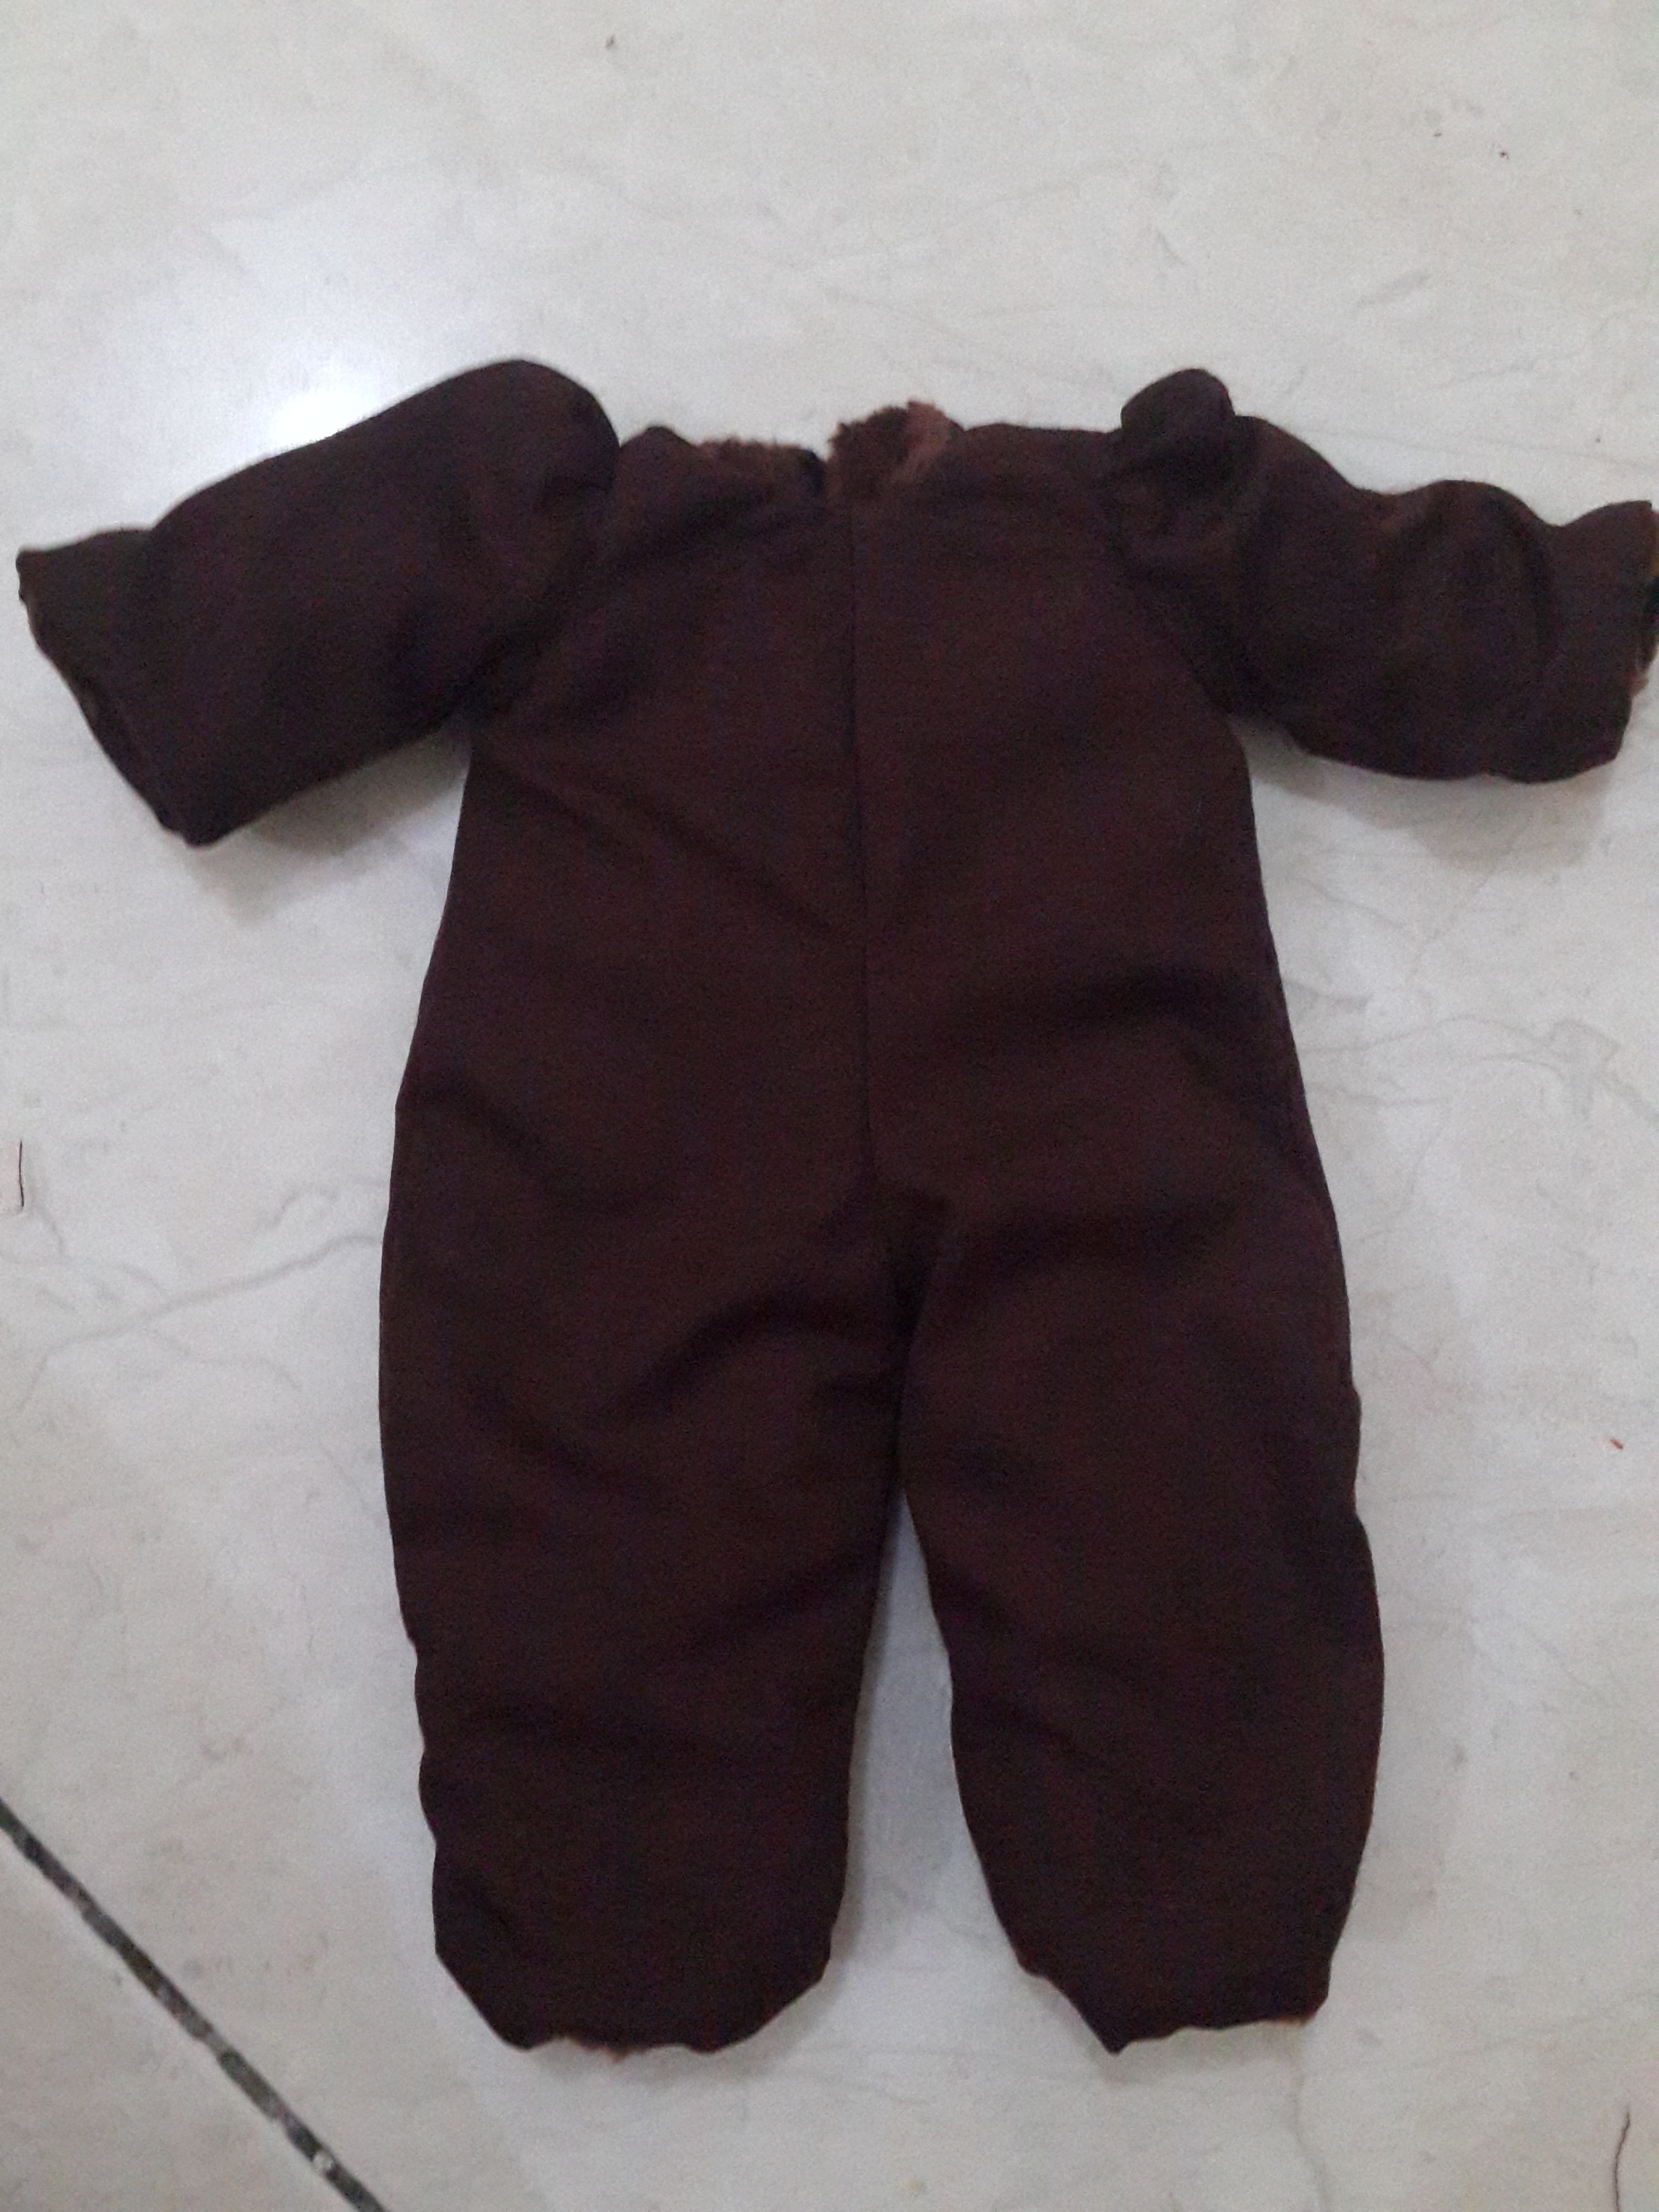
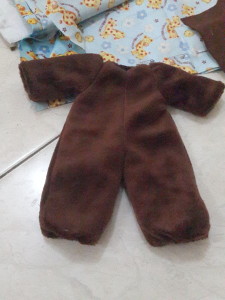
Doll List

O.o

More than 20 dolls with 3 sizes. more than 10 floating heads. NUTS.

And the worse is SD size. Too many floating heads compared to body i have. Nuts.

I think, i’m going to buy sadol body when i have more money.

And 2015…i must quit or at least absent from purchasing dolls. This is so crazy and unmanaged!

Notes with password

Some notes are password protected because it’s for my personal notes and only understood by me. It doesn’t fit to be called tutorial and I don’t want to make a complete and clear tutorial right now.

Even if you send me request to give the password, I will not give. I don’t want to open the possibility to do QA here or by email. Once I let people read it, there must be lots of things to ask. I don’t open discussion about it, NOT now.


Making pants for minifee, narae, and kdf (MSD slim)

20140713_134510 20140713_134558 20140713_134423 20140713_134400 20140713_123357


This is my first time makin side-slip pockets like this (I forgot the formal name. :D). This is not too difficult though need a bit trick. I put additional fabric same as outside fabric layered on top of the pocket which part is joined with the back side of the pants. We can absolutely use 1 fabric same as main fabric though. It’s just a trick so when the pocket is a bit ‘opened’ because of the pose of the doll, the difference of the fabric isn’t too obvious. It’s ok though to use different fabric to create a ‘difference effect’.

I serged the the fabric here. I use Singer White serging machine. I set up the machine so the serging result is not wide.

The fitting is great though I’m not good in taking photo to show how good it is :D. I will upload the pants for sale.

I’m still using sew-snap button instead ‘knocked’ one. I don’t know. I am still not confident to use that button. o.O”’


YoSD Size Project

20140707_14543220140707_134452

front

20140707_13395920140707_133939#1

back                                                                     lining

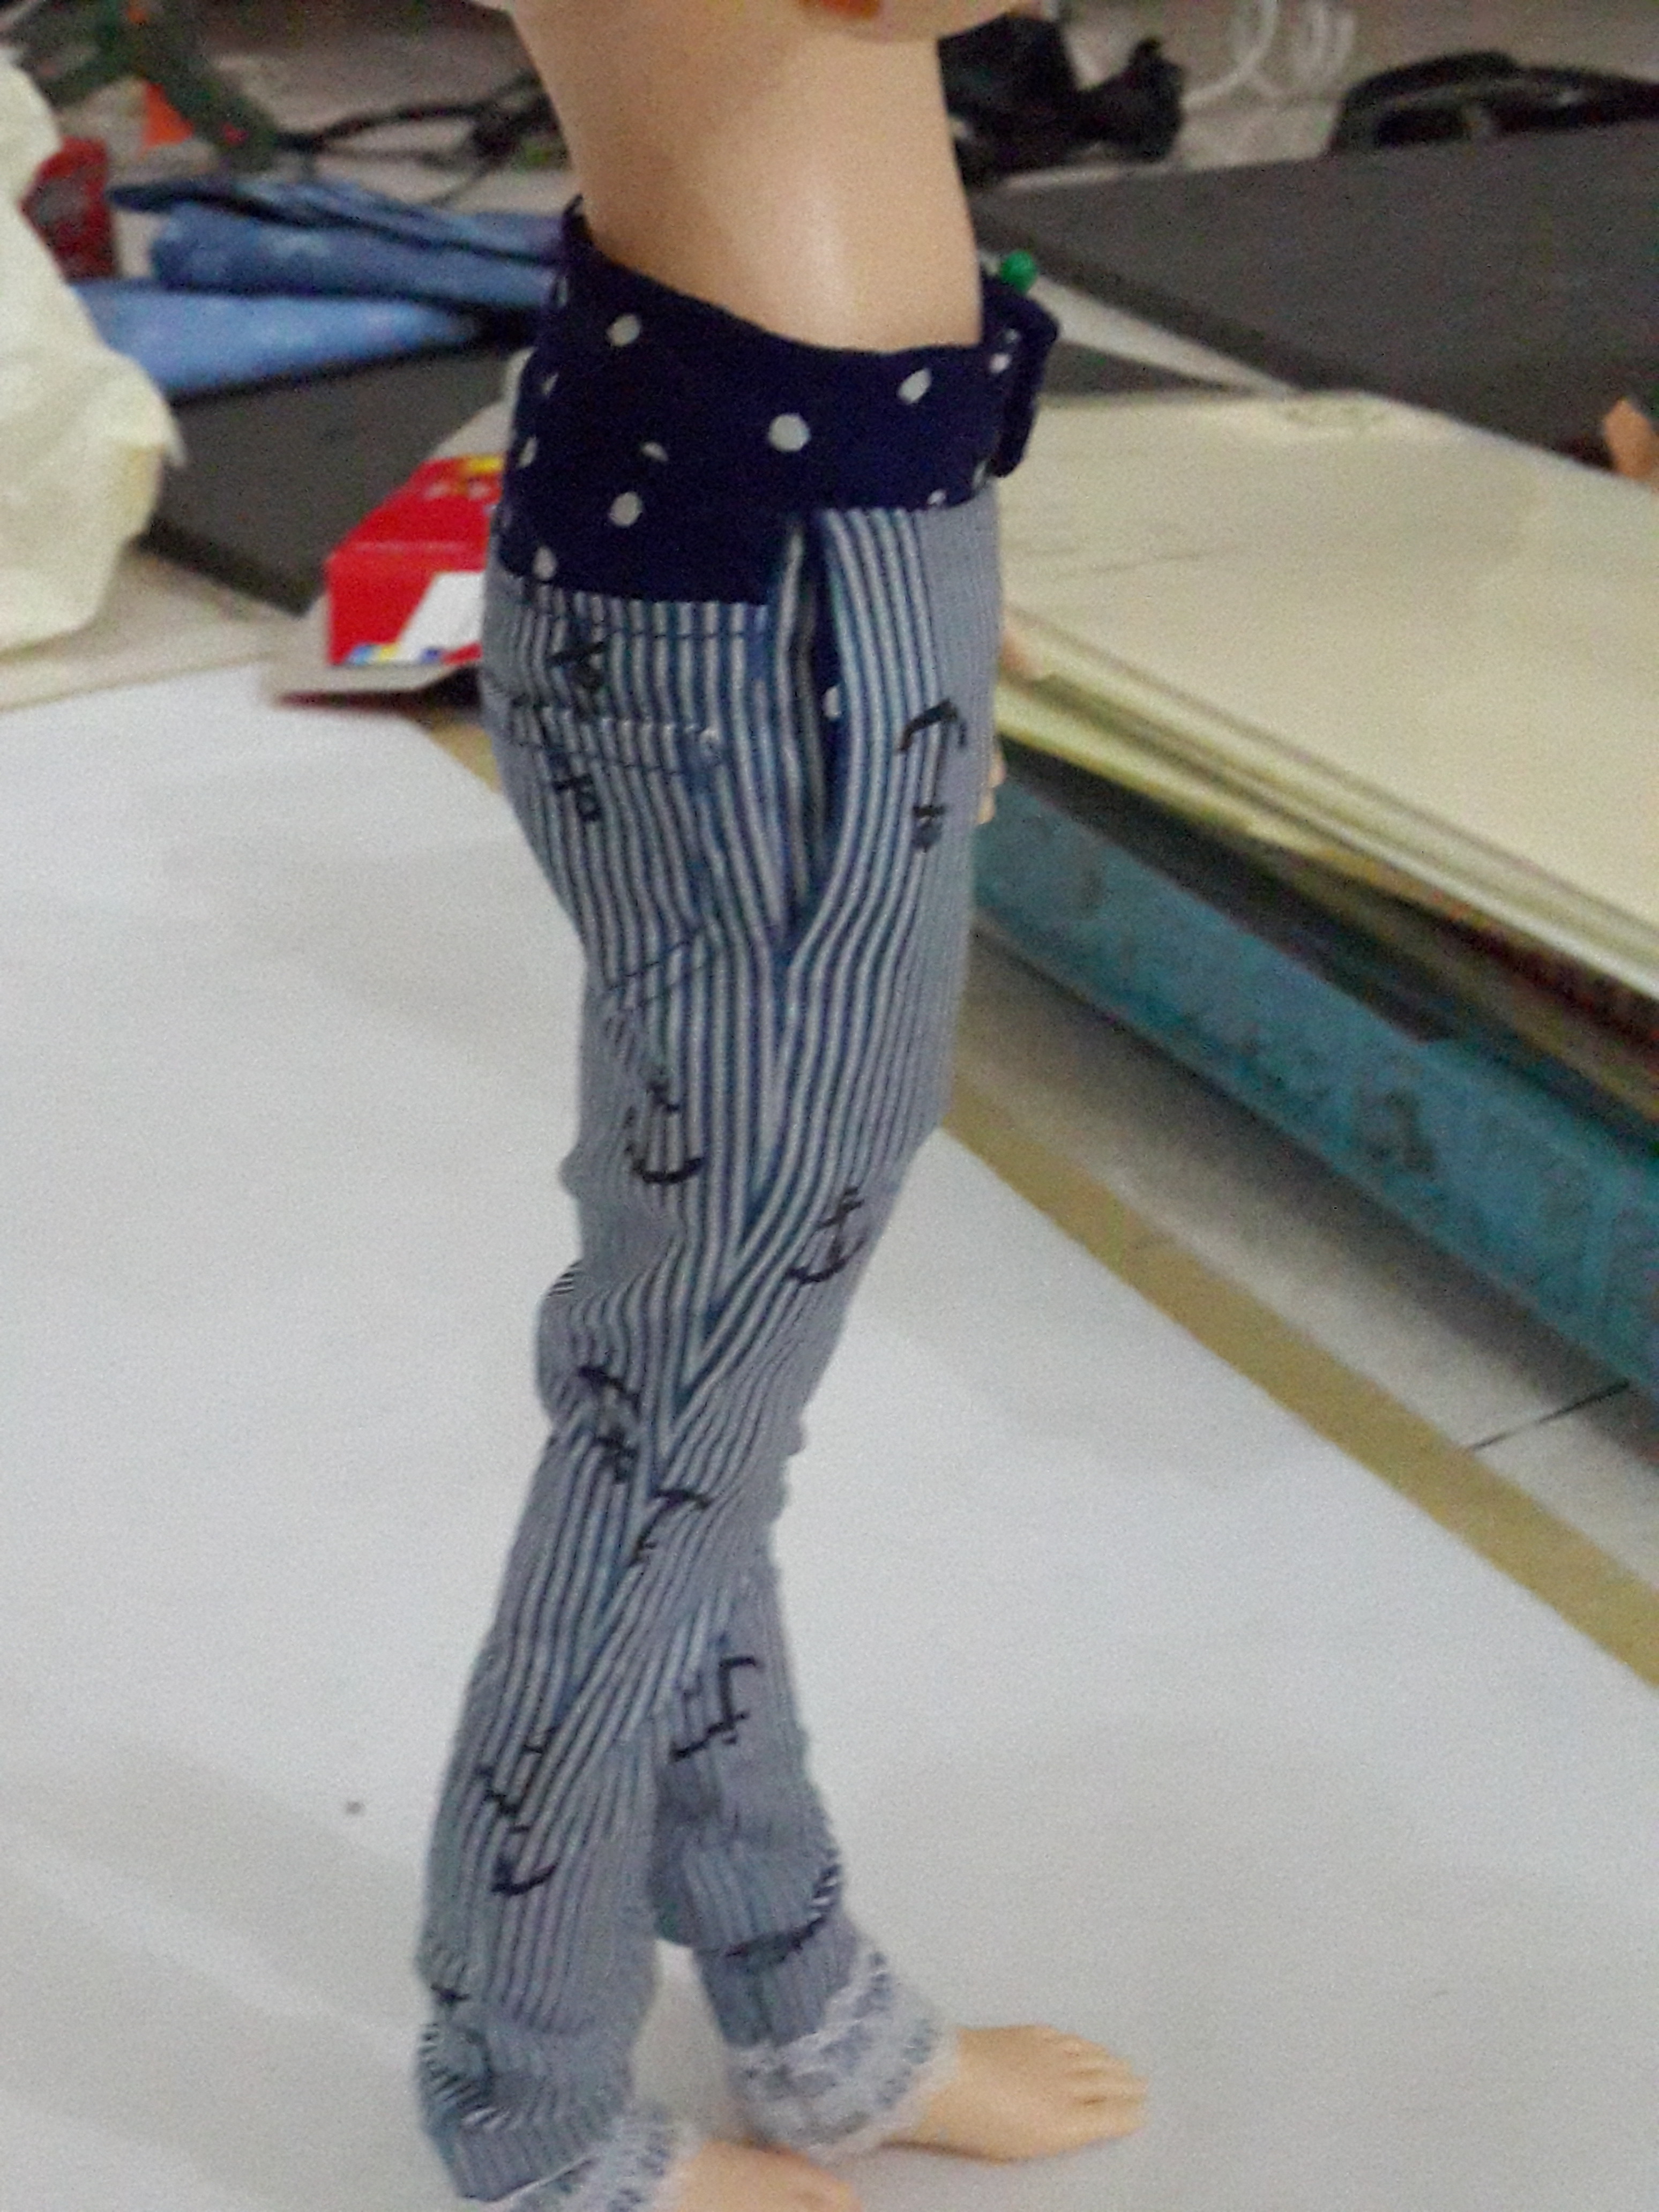
*I think, you might have to set the monitor light at maximum because the fabric is pretty dark and my camera didn’t capture the detail clearly.

I must take a note here for myself about where to sew first.

1. Middle Front and Back. Back is sew only about 1/3, left 2/3 for the opening.

2. Put Front and Back part on the CROTCH part. Leave the side un-sew yet.

3. Sew shoulders B and F together.

4. Repeat for the lining.

5. Sew together the main fabric and lining on the leg-holes part.

6. Sew together the neck line, main and lining.

7. Sew the sleeves, each main and lining.

8. Sew the lining side up to the bottom of the sleeves.

9. Pull the fabrics, main and lining out of the hole of the middle back-opening.

10. Sew the side of main fabric up to the bottom of the sleeves.

11. Repeat for the other side.

12. Sew together the middle back of main fabric and lining.

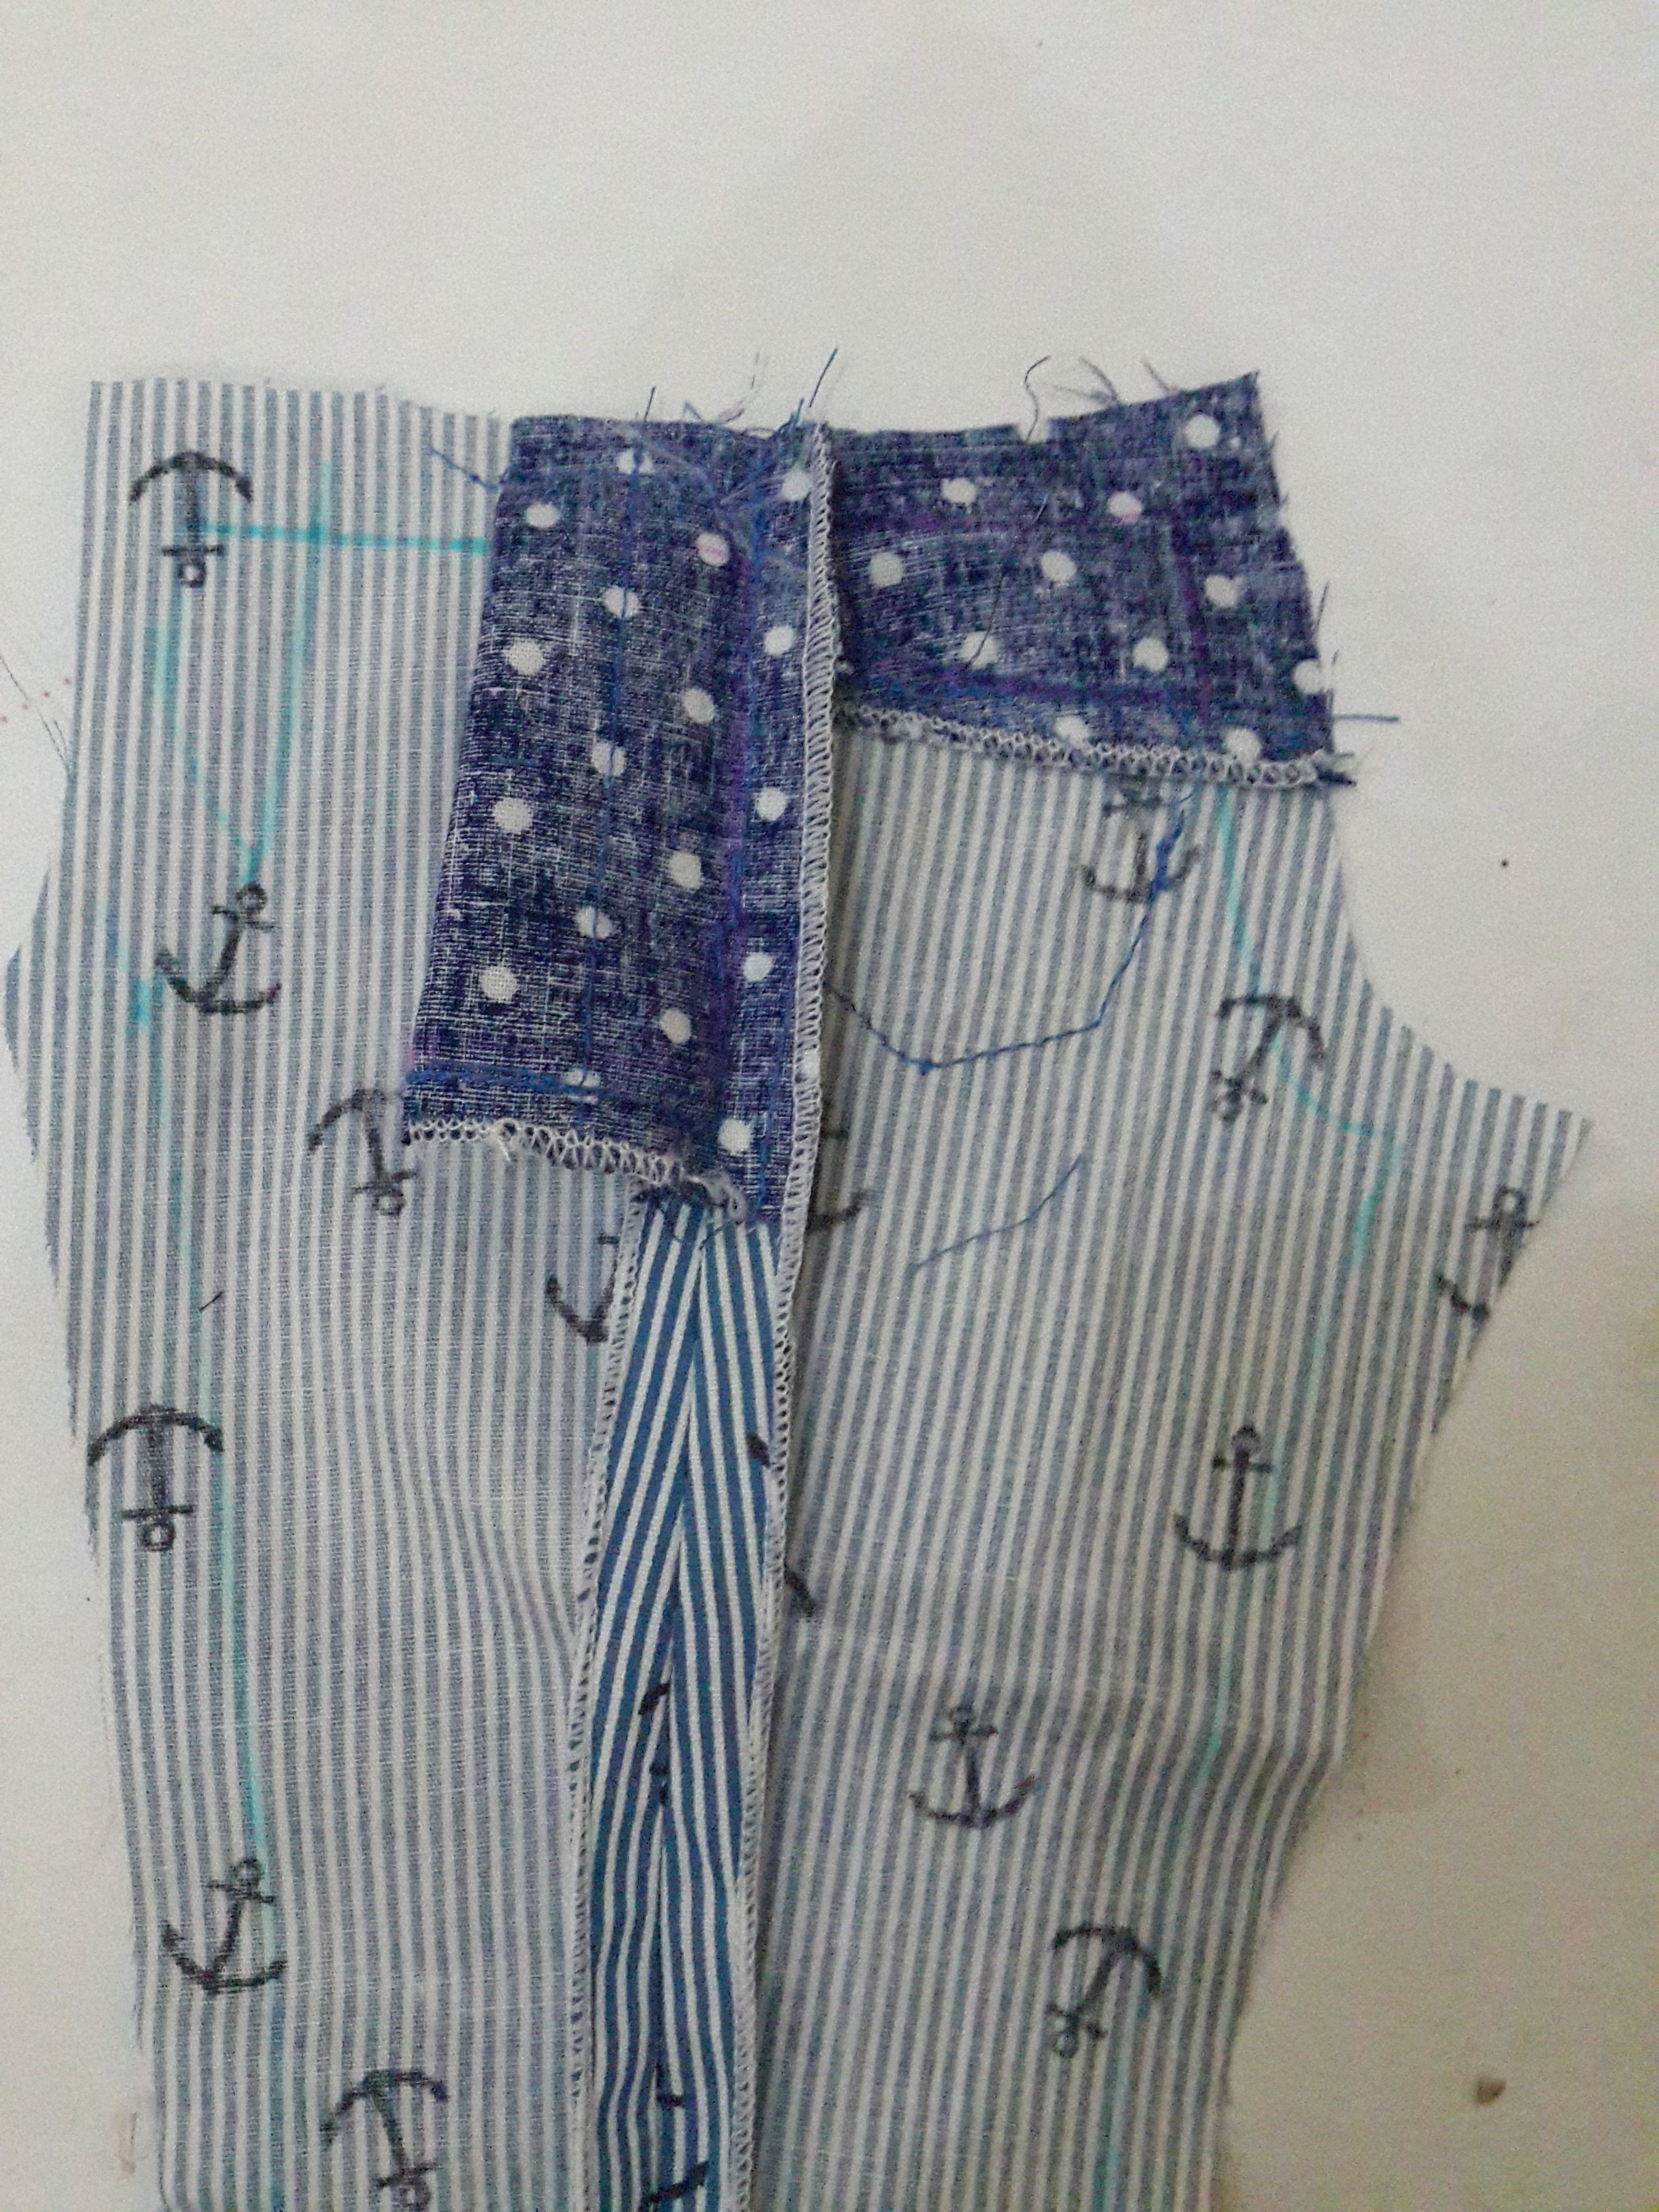
a. one side is sewn by hand. Fold inside and sew by hand.

b. one side is serged. Don’t need to fold inside. To make it easier to be serged, we can stitch it together or sew it together first and then serge it on top of the seam.


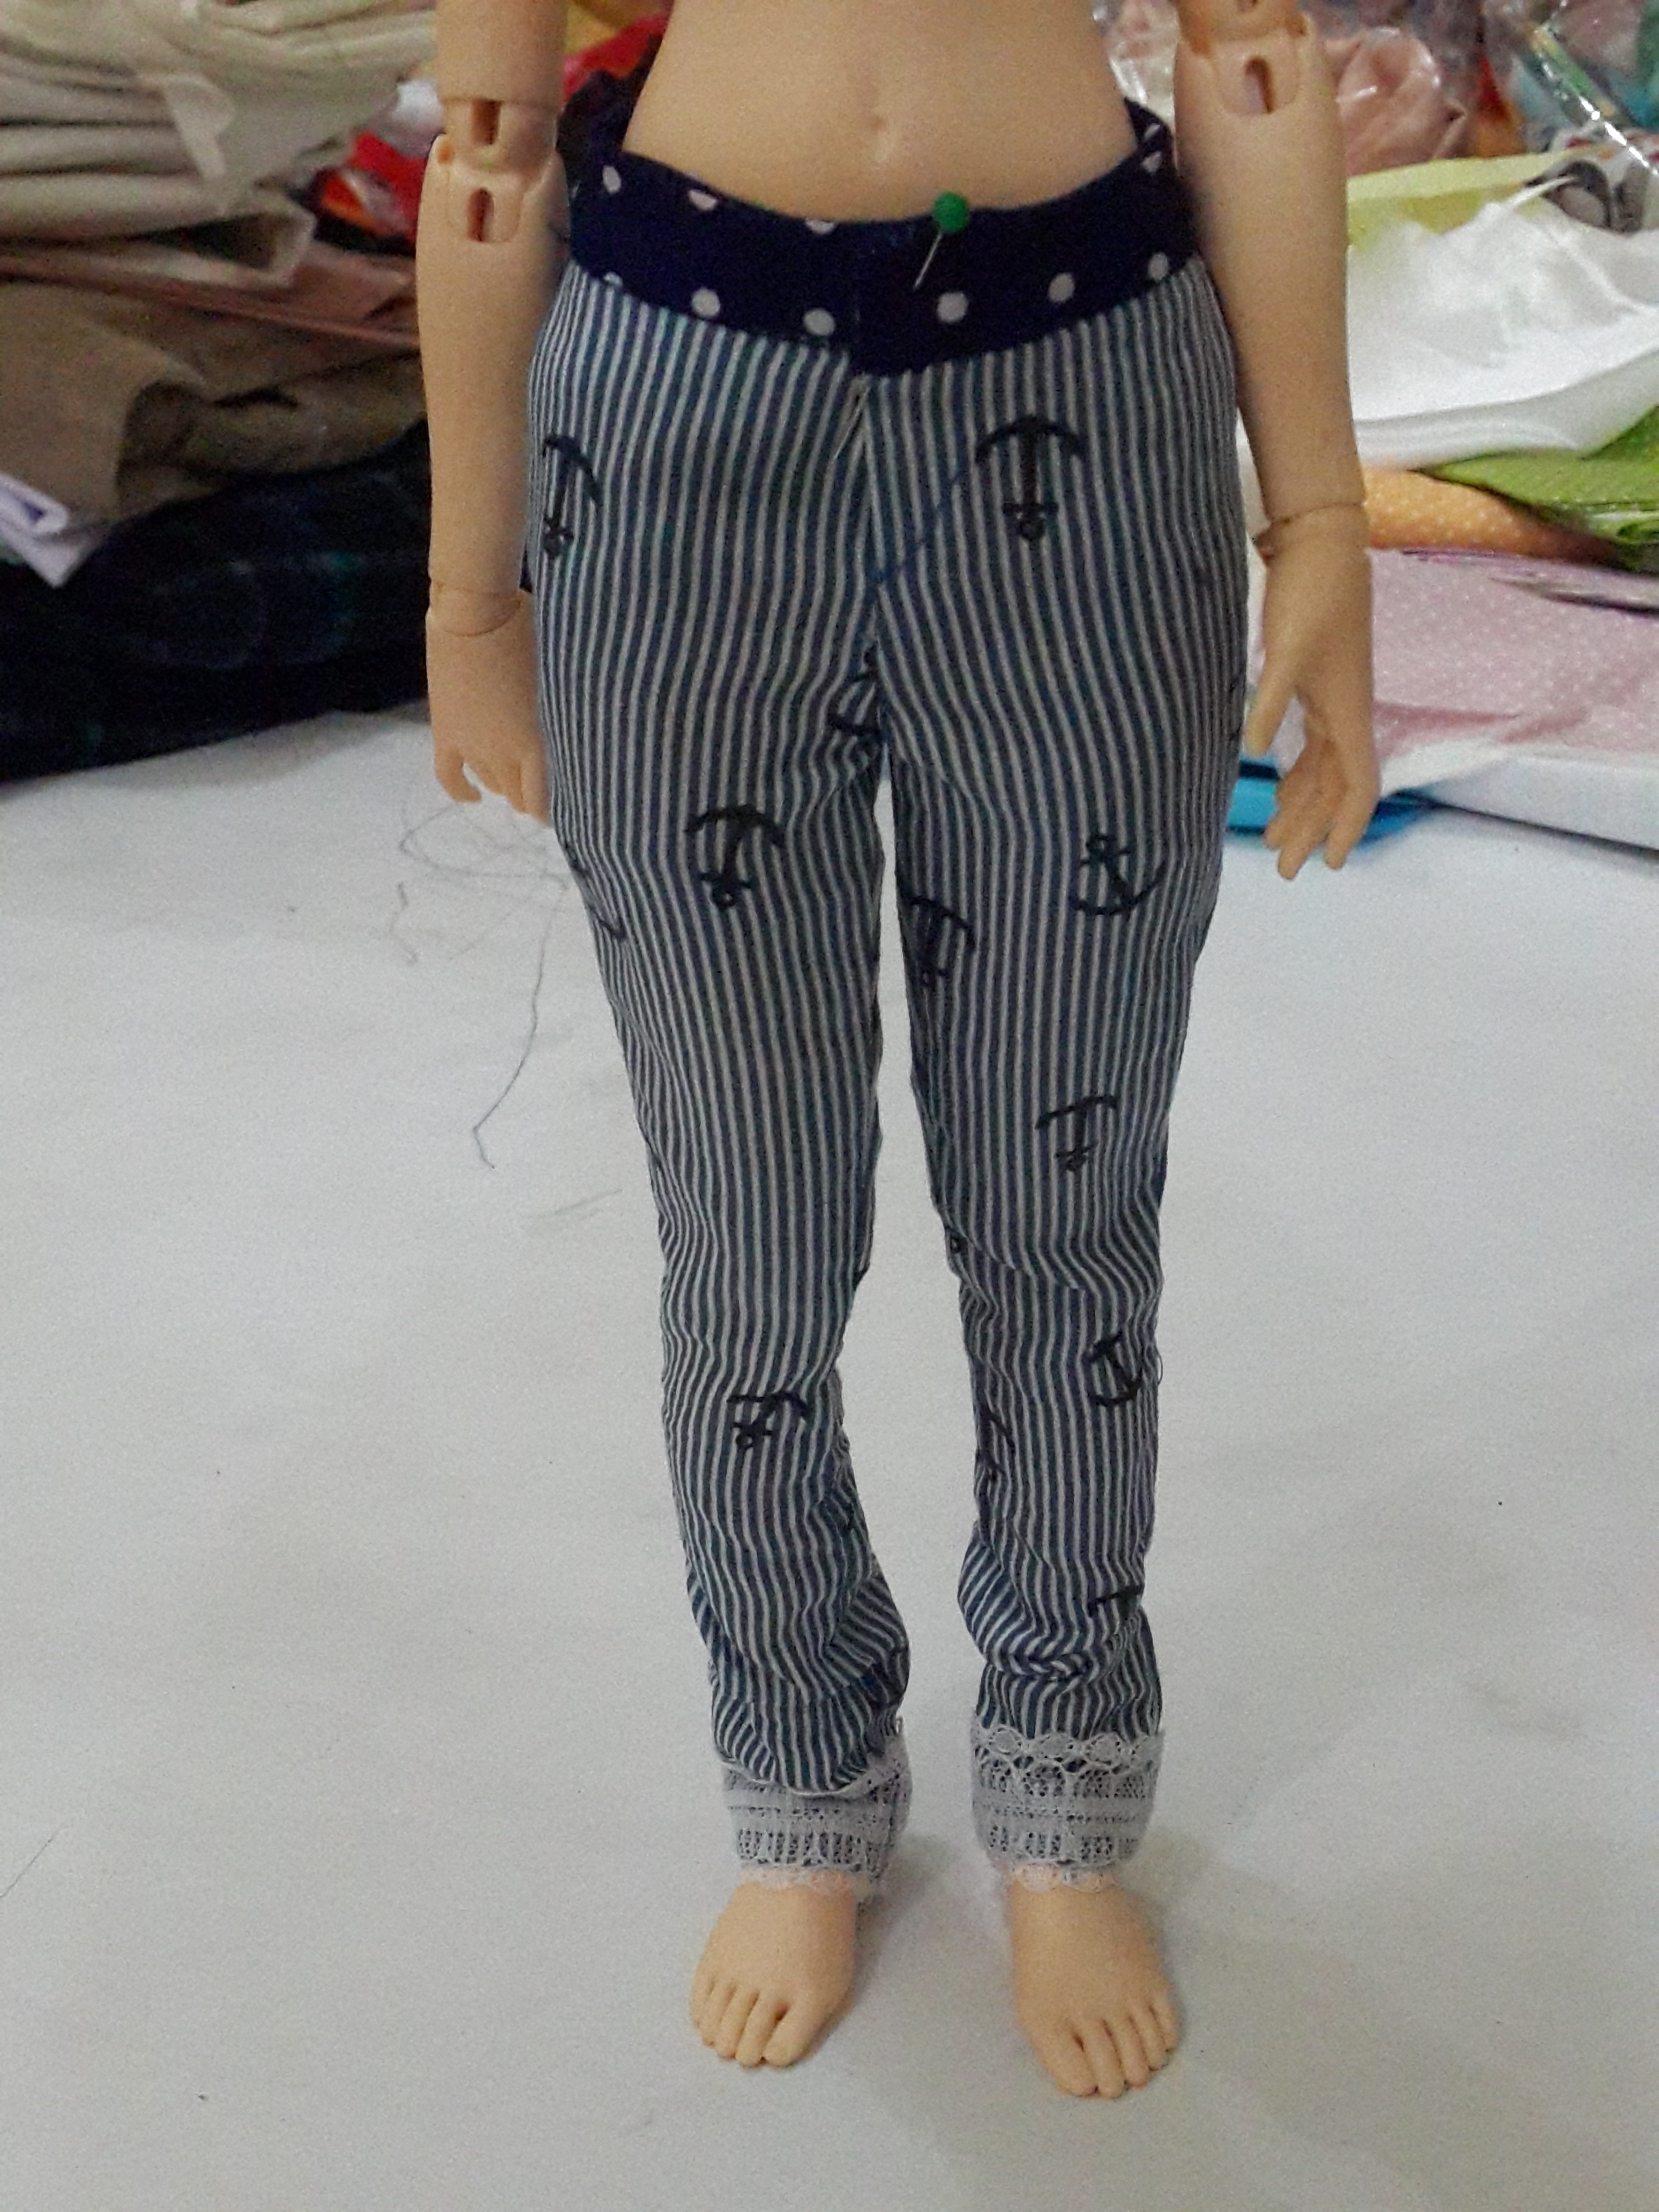
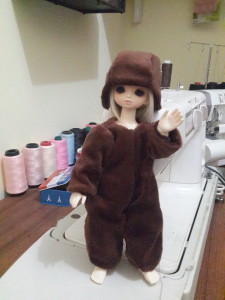
I can make it easier or sew it easier but here in my project, my goal is to attach the lining as neat as possible (‘main fabric seam’ is less seen). The fitting isn’t the main concern here but the shape is. I was aiming to make a ‘clown’ or ‘bear’ costume shape. It’s pretty basic pattern i made here, yet, from here, i wish to have time to develop the pattern into many cute style for YoSD size.

The size I made is for Asleep Eidolon size. Somehow, this size is the best since it’s a pretty ‘all-size’ YoSD size. I mean, i can use this size for Aidolls, Volks, and Momocolor. And because of the nature of the ‘figure-shape’ of the aidolls, the pattern turned out to be the best look on Aidolls. Isn’t that great?

I’m so happy with the result. I wish to have more time to develop this today but well…other priority must be served.