
I made pants for minifee body. It was great. I tried on eluts body. Great, too. Then i thought of narae. I put the pants on her. And oh ♤♤♤♤♤♤. The fit is superb!
I am so happy that i dont have to r&d pants for narae.

I made pants for minifee body. It was great. I tried on eluts body. Great, too. Then i thought of narae. I put the pants on her. And oh ♤♤♤♤♤♤. The fit is superb!
I am so happy that i dont have to r&d pants for narae.
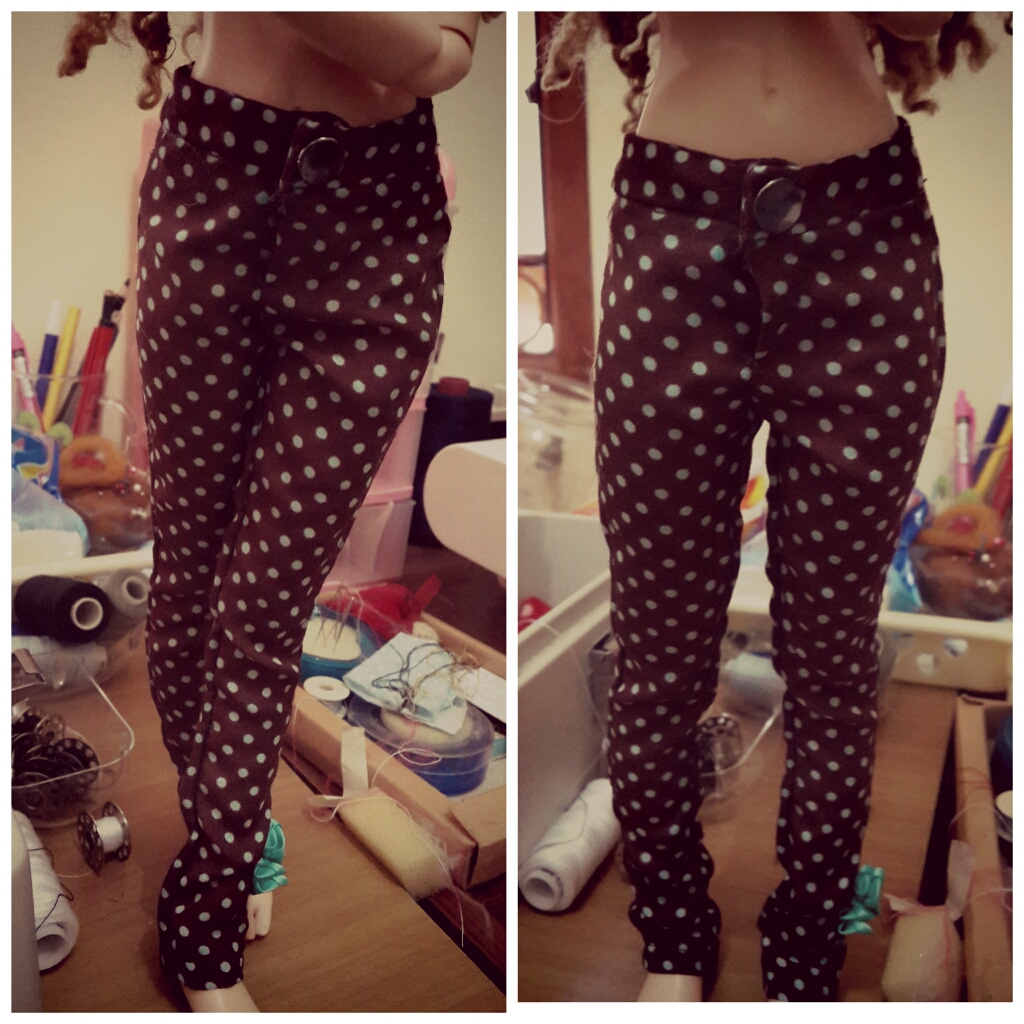

This is a minifee body.
Fabric is cotton. The cotton is a bit off standard. It’s slippery and thinner than usual.
If i want to make the crotch looks good, aside that pattern itself must be good, i must serge or sew near s seam edge.
Standard pants like this are easy to sew but the pattern is difficult. Pants pattern is difficult in terms of fitting. Use stretch denim or fabric to overcome this problem.
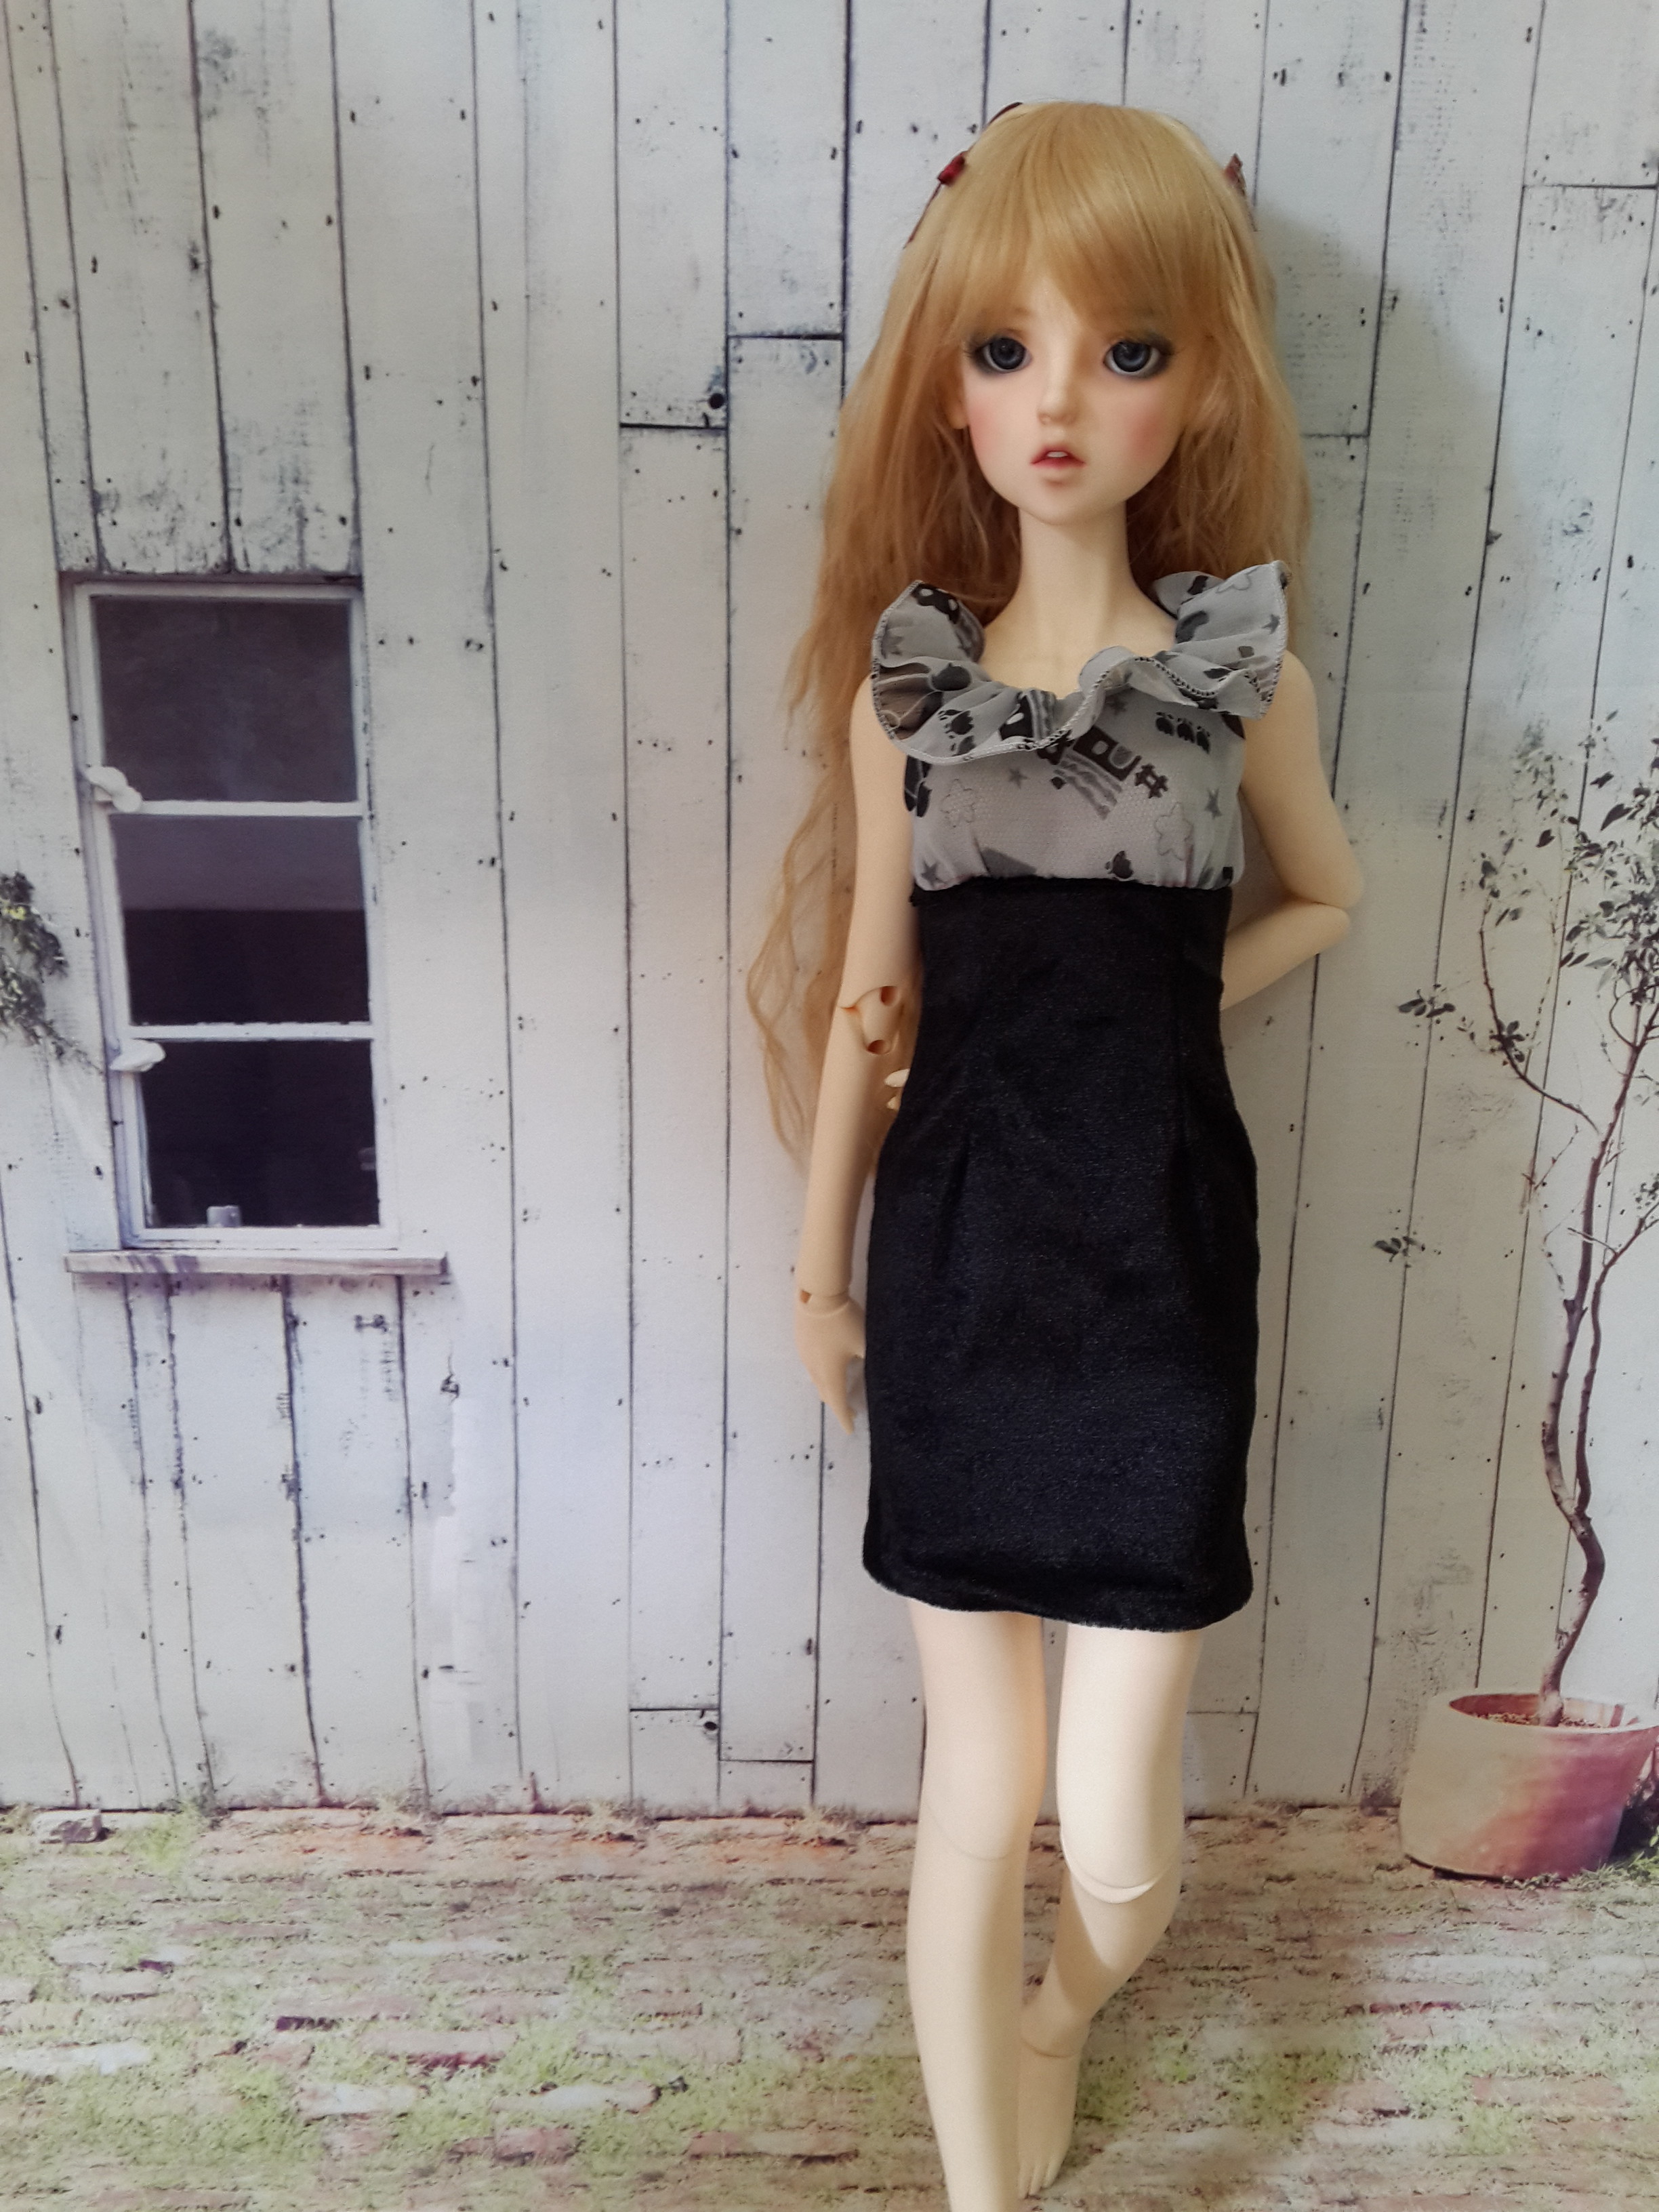

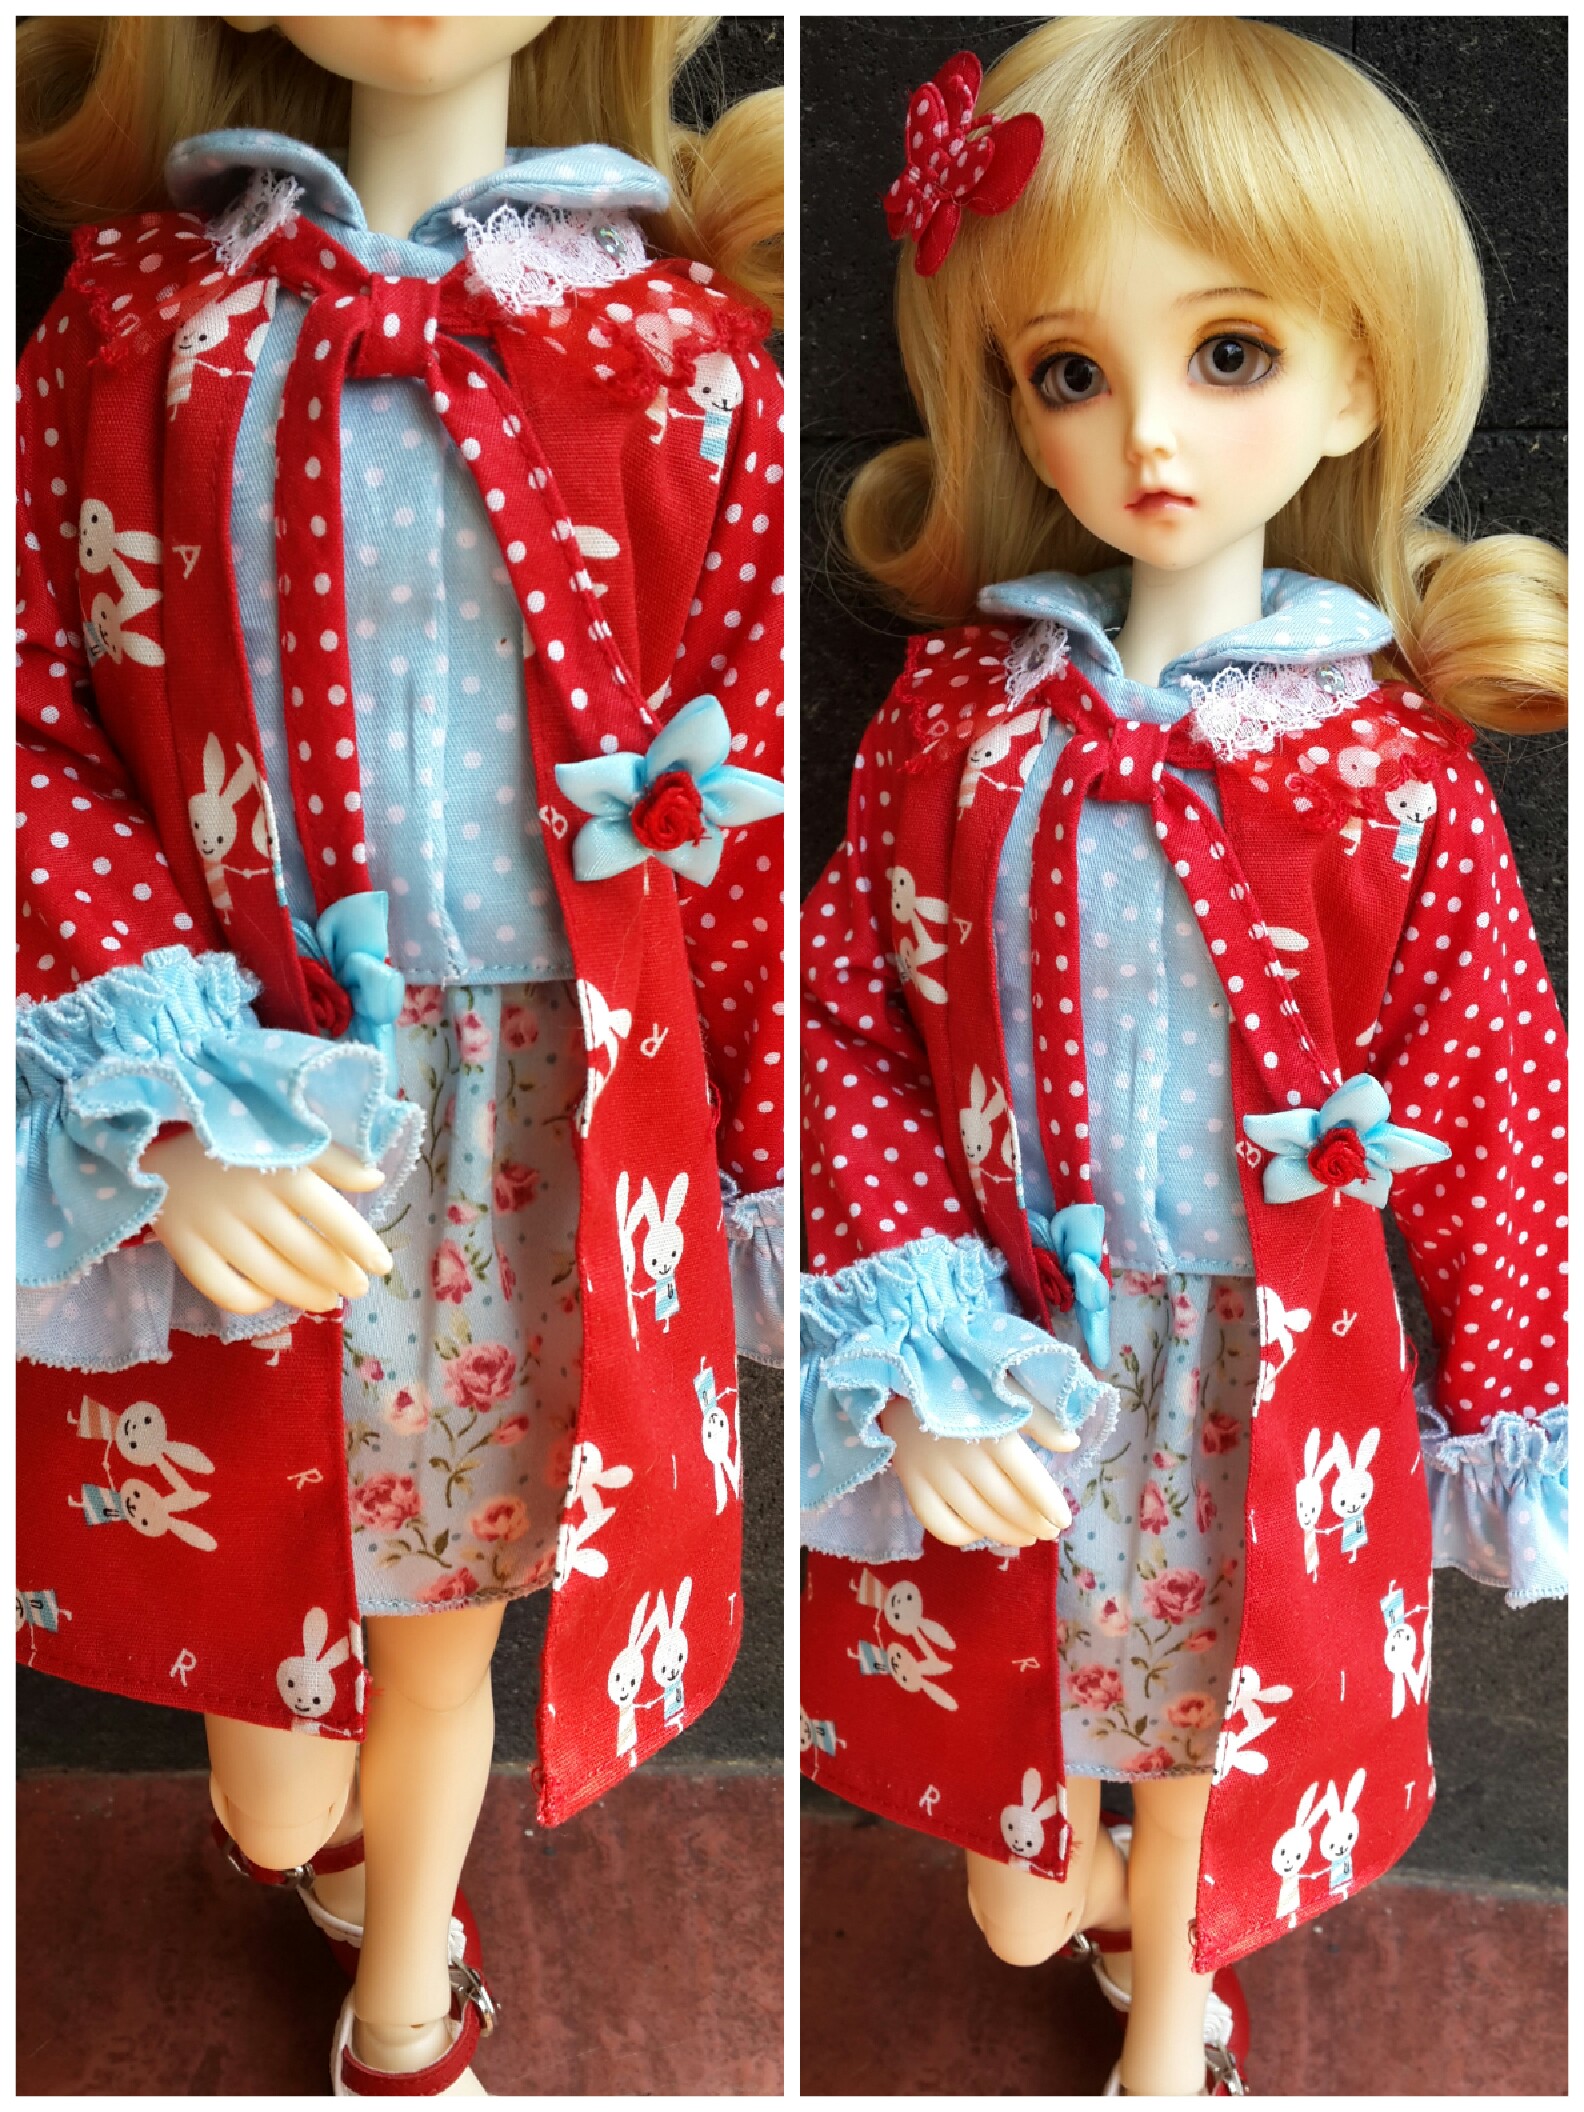
I love this dress so much. So perfect with her character.
The top grey part is chiffon, lined with tulle. I think, i put myself in trouble by using tulle. O.o.
the bottom part or skirt is velvet. Hmmm…i am not sure whether velvet is good for doll size but in this dress matter, it’s fine.
The collar is the problem. I tried vertical cut for the collar. Long bias type of cut of fabric strap, gathered, and attached. The result is not too satisfying. Making round cut will be perfect. Next time i must try it.
i made bigger version for myself. Love this dress so much.
for bigger one i used same chiffon but the skirt i used kind of thin satin-like.
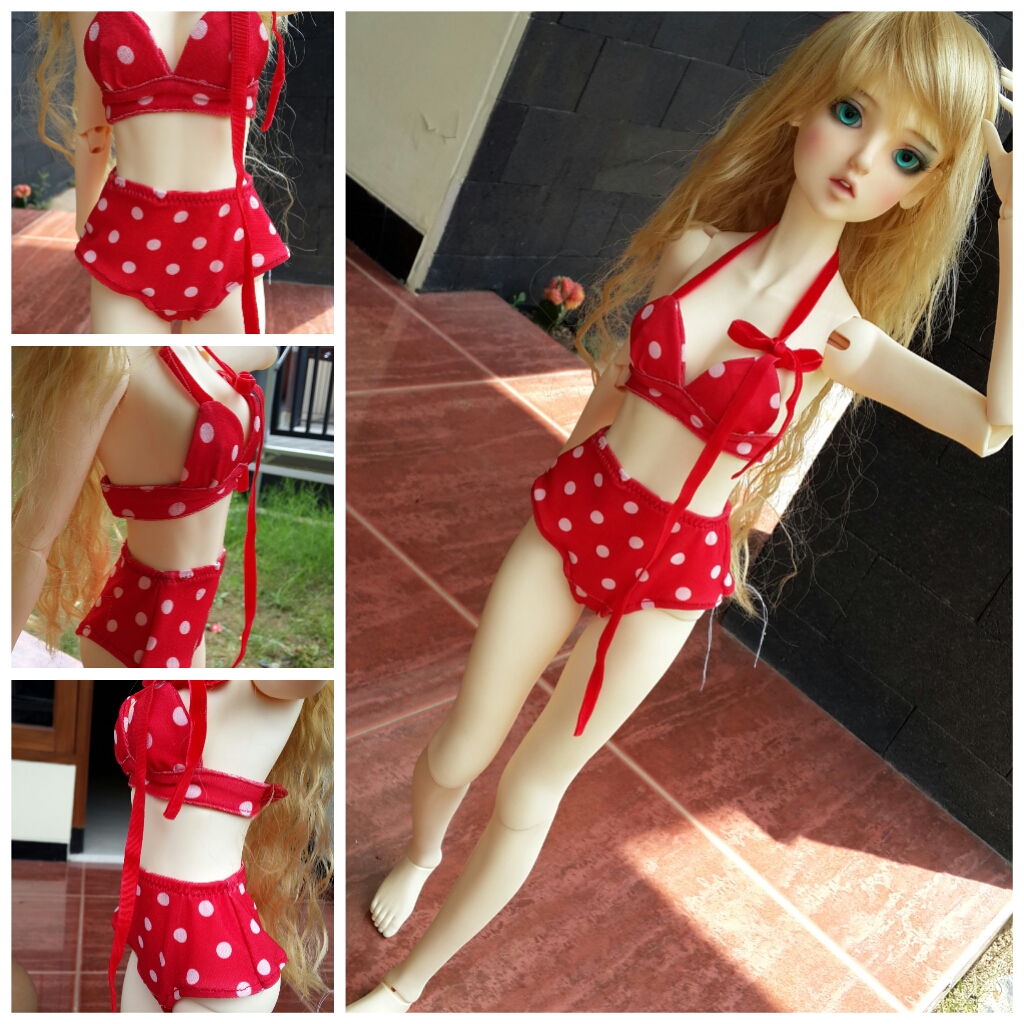
I used spandex for my first bikini project for SD size doll. Spandex: slippery and stretchy. Pretty difficult to tame with my ordinary sewing machine.
Some notes I took while doing this:
1. use zigzag seam for some parts but it’s not demanded.
2. carefully choosing the stitch size.
3. feet pressure must be set carefully. Too loose may not make the fabric move. I chose in the middle.
4. some parts measurement can be reduced some mm-s because when we sew it, it would be stretched out by nature.
5. i can serge spandex. (^o^)d. So happy to know this. Will practice more again about spandex serge …
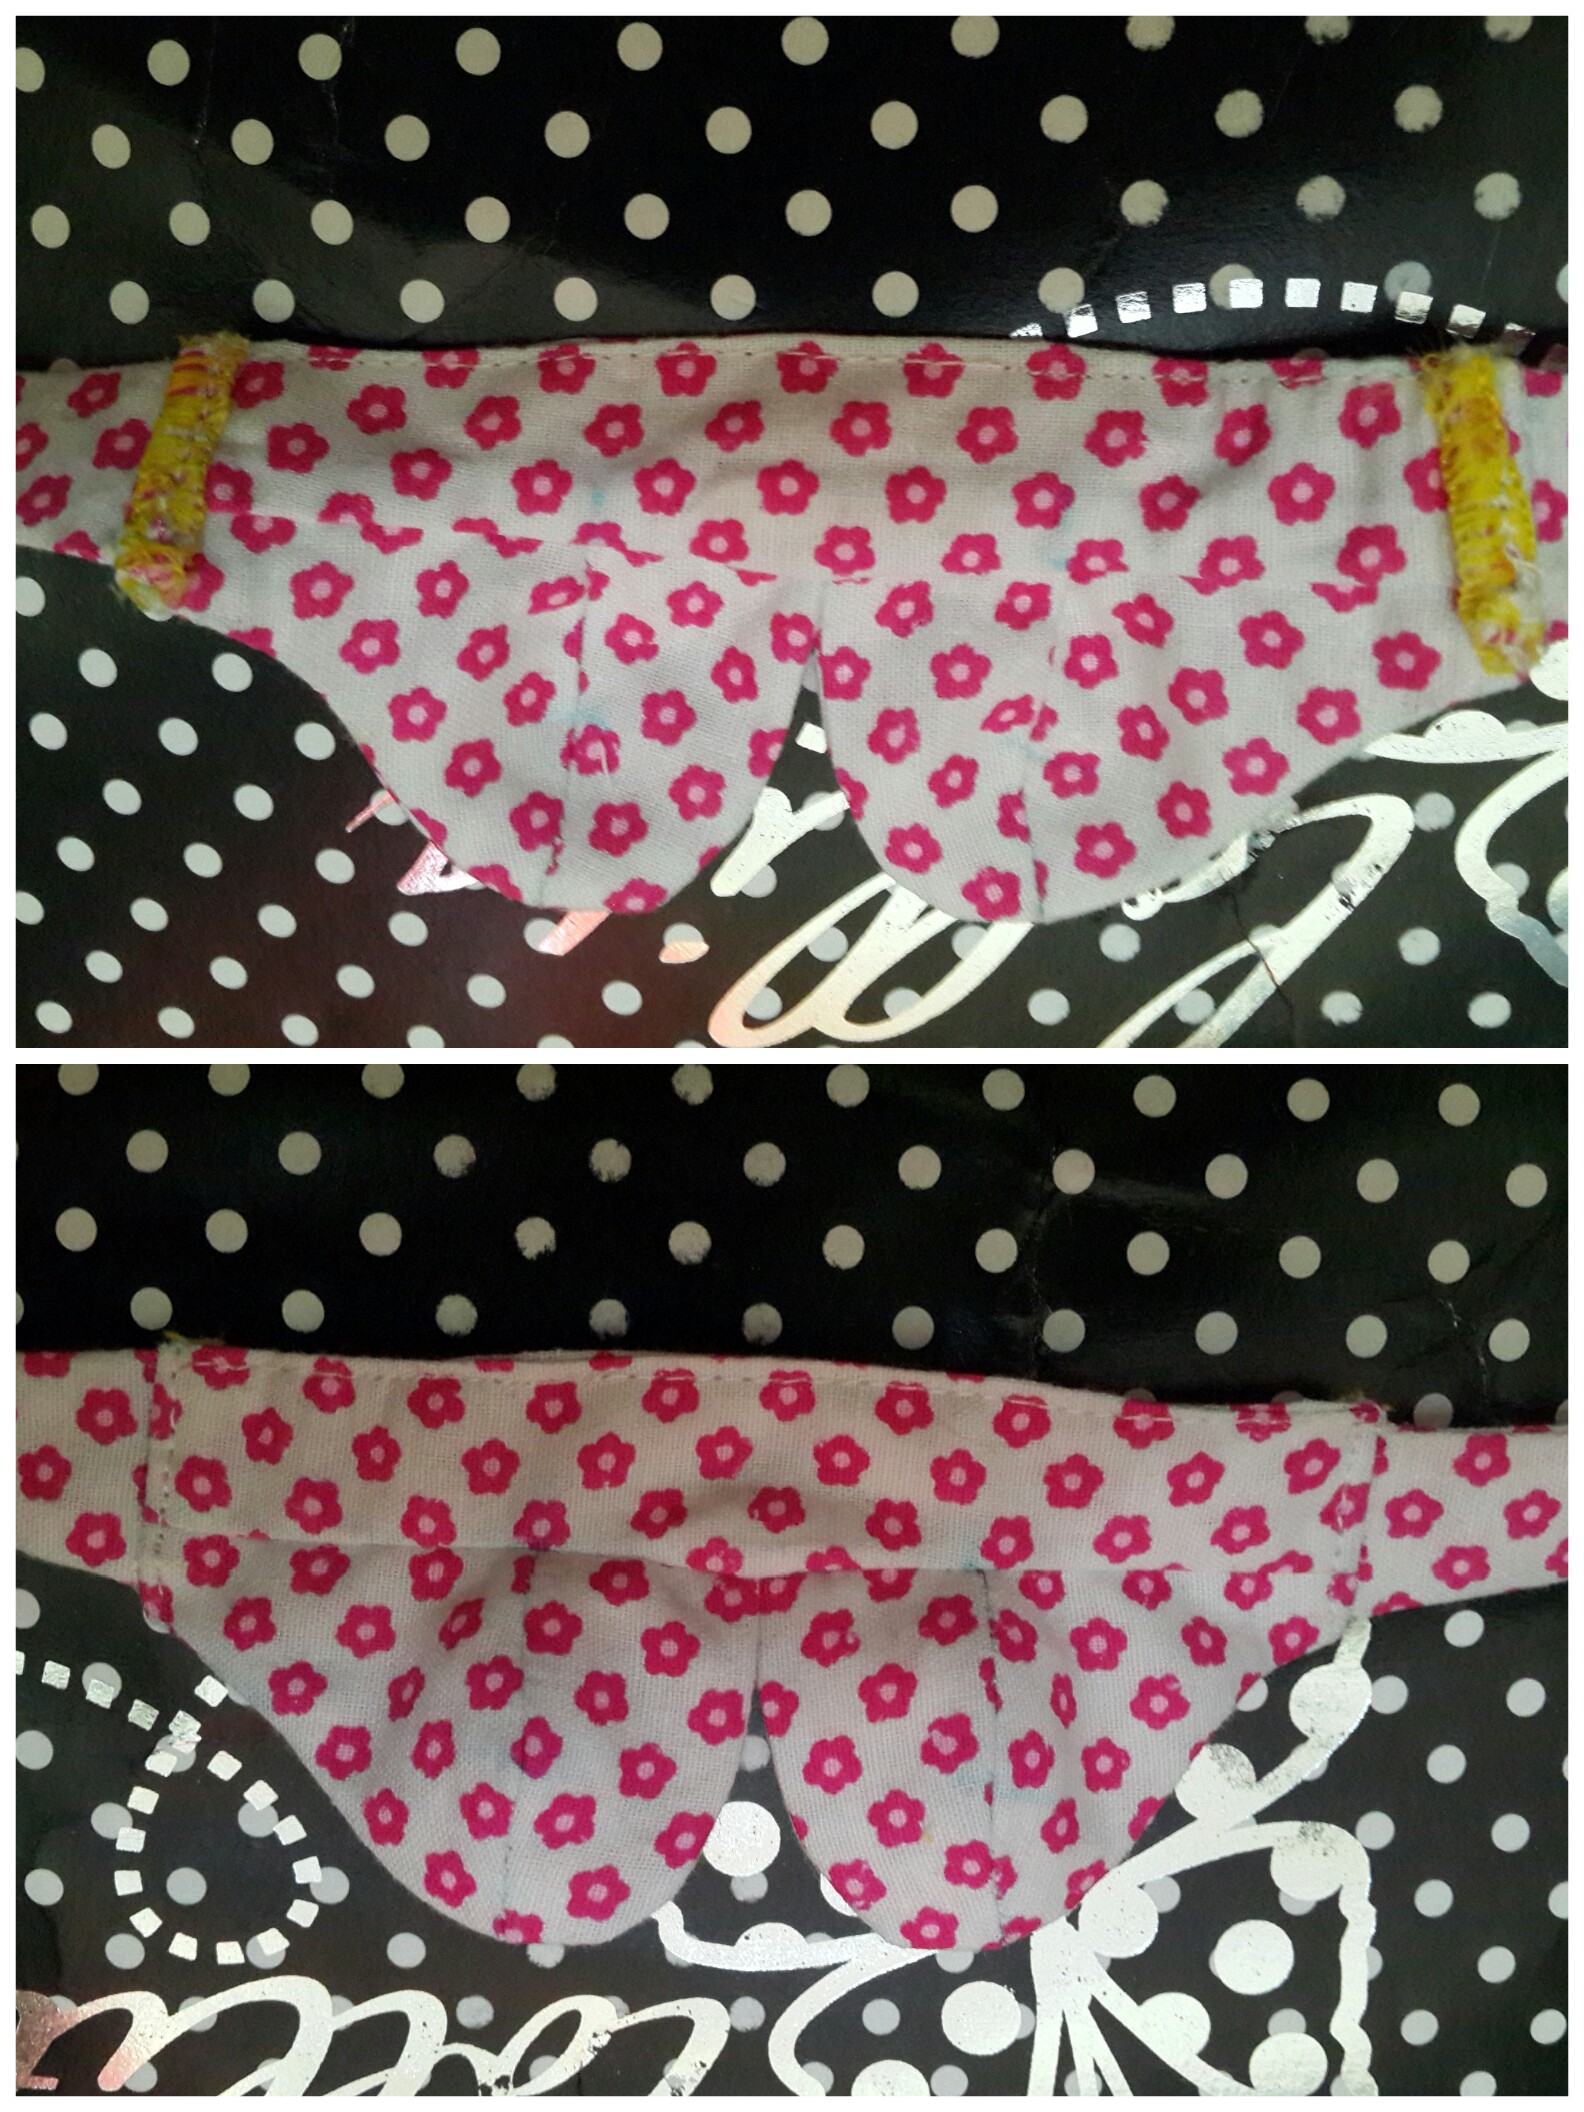
It was funny that horizontal band on the bra became looks like a real bra. I was making it horizontal, ‘flat’ on the front but it became like that when I wear the bra on my doll. O.o”’.
I might reveal the inside peeking of this project in password protected form post. I don’t know some people who used to attack my work read and take advantage from it.
There are lots of things i learned from this project. Starting from revising old basic pattern up to serging. The result isn’t too satisfying yet it’s ok for me as i am not selling it.
I will write sewing notes abt it when i have more time. Been so hectic lately.
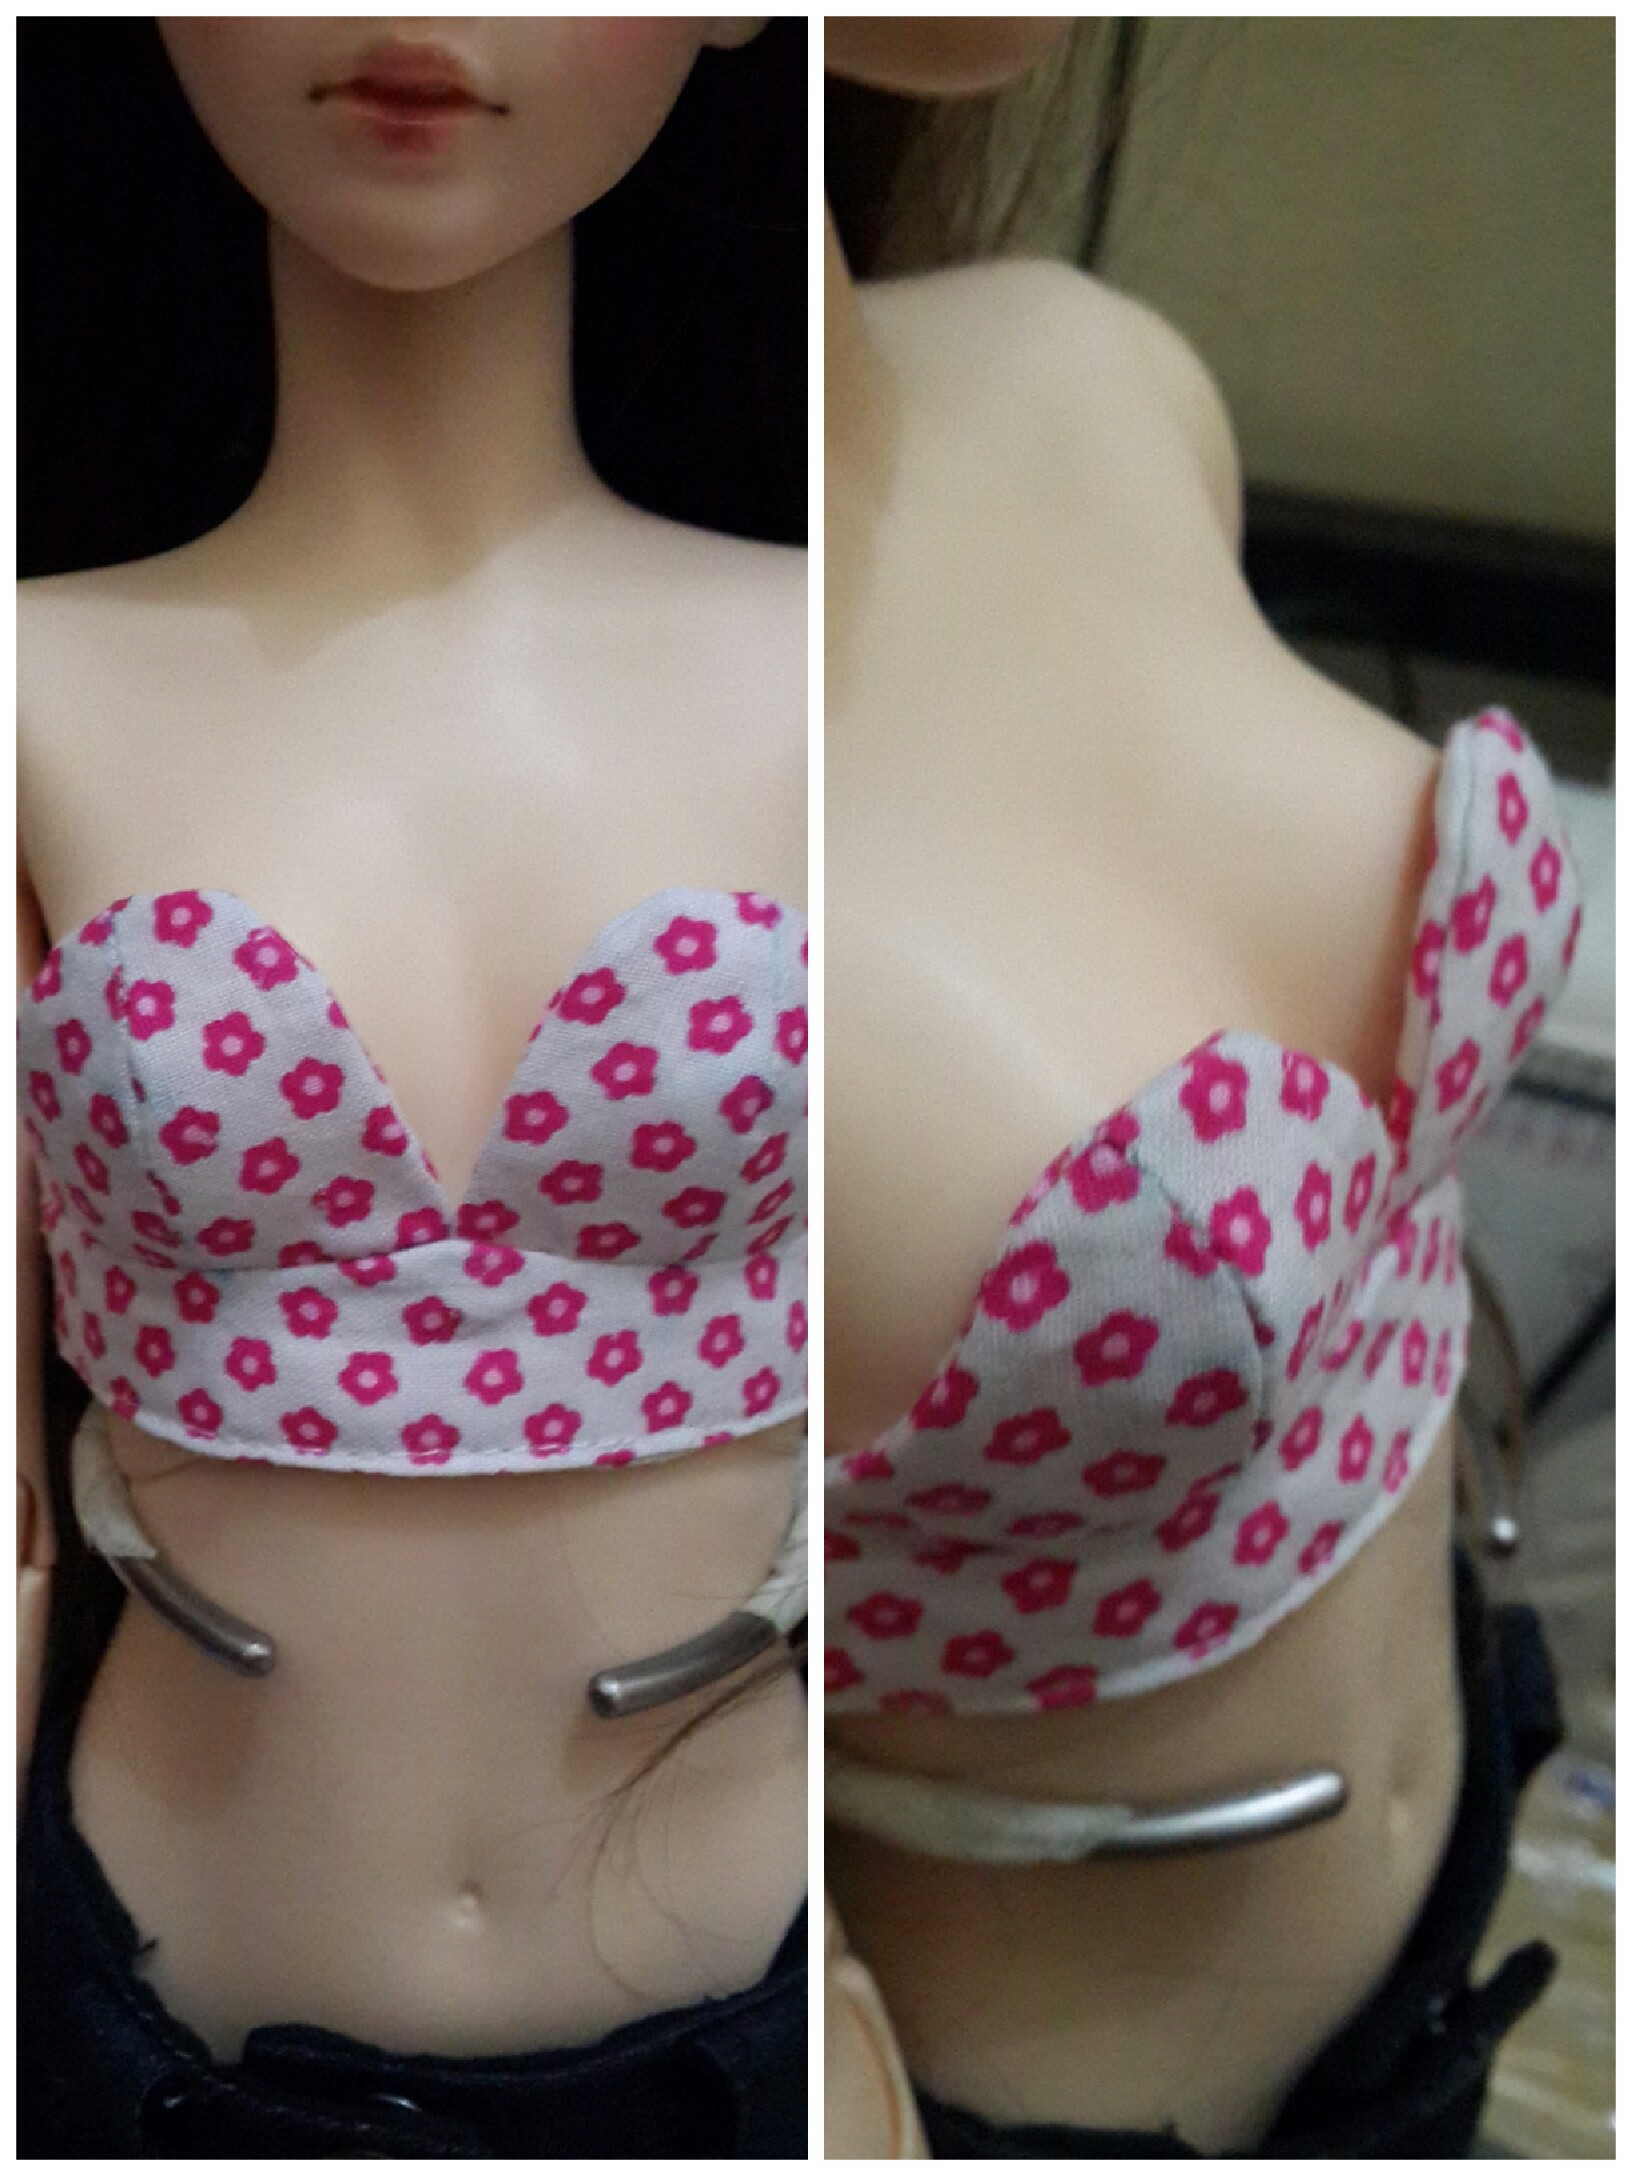
This is my first doll bra. Not my very first but it’s my first ‘done’ confidently doll bra. Haha.
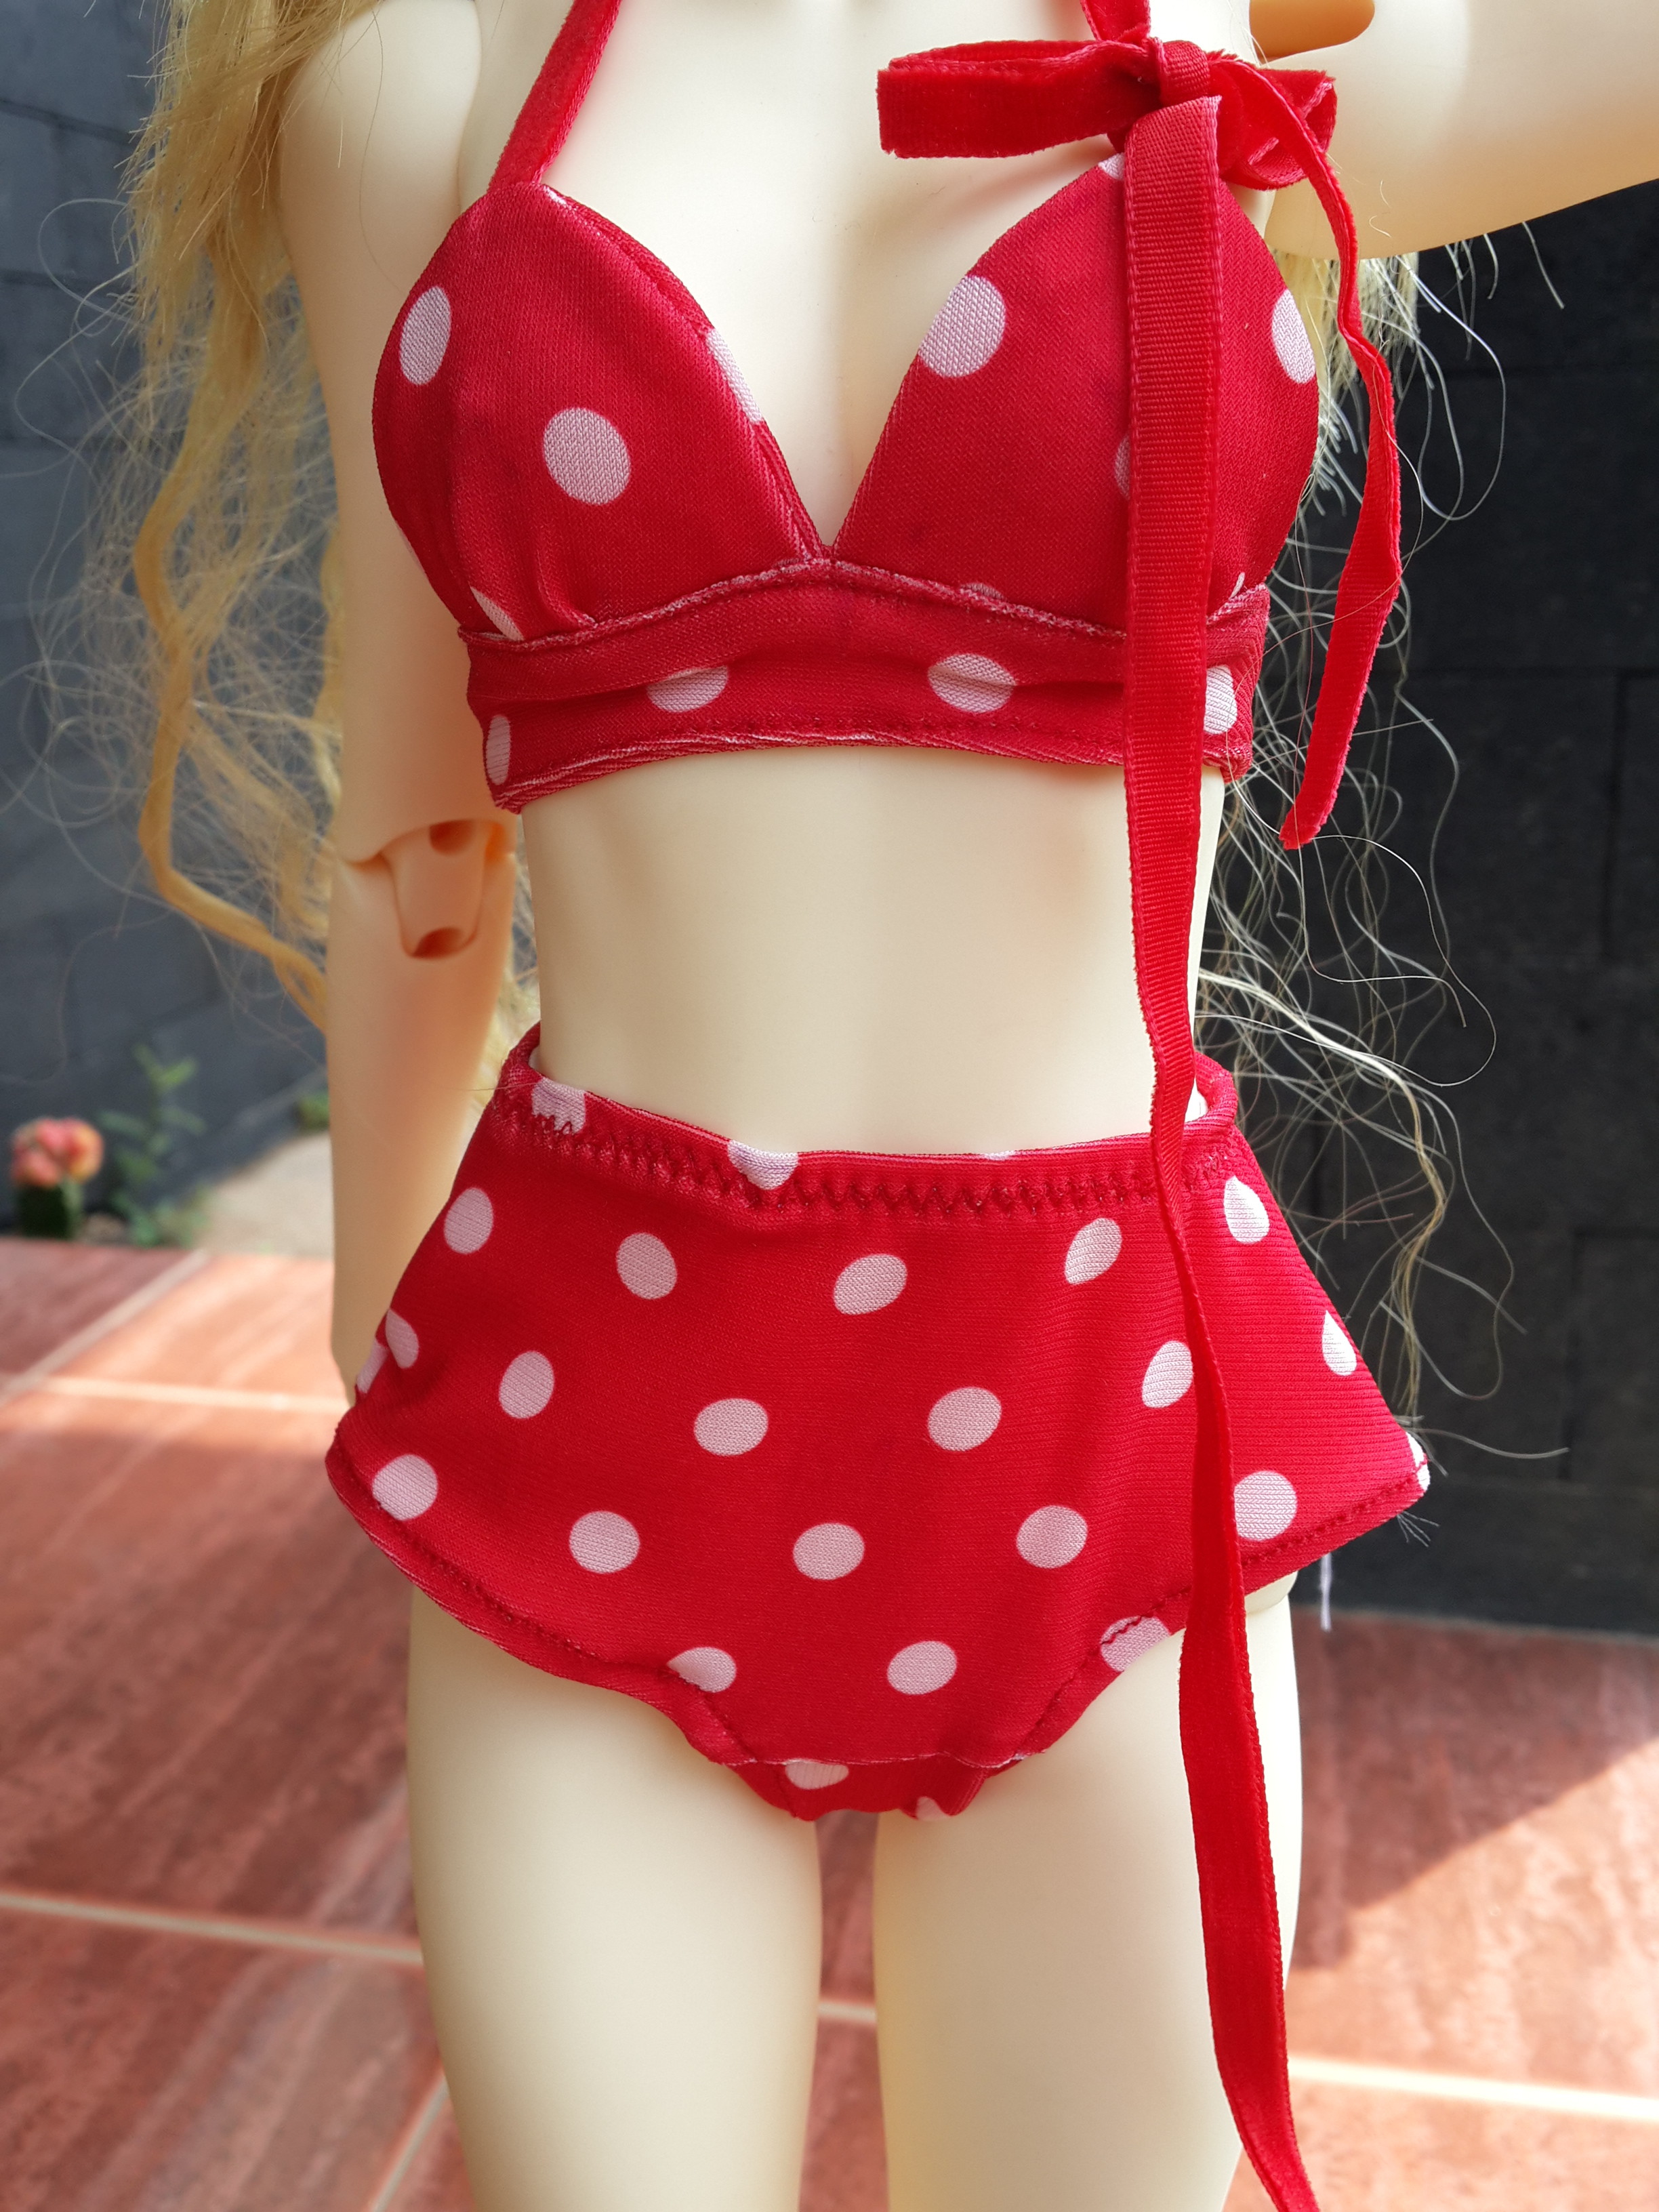
I didn’t sew the string because my target were the cup and whole fitting. When it’s ok, The string can be sewn later. So far, this is great and I’m satisfied with the result. Yet, I’m still thinking about more options for finishing technique.
The right pic is showing how I sew the ‘inside’. There’s nothing special about it. I just sew and then serge the side. So far, for this kind of pattern and ‘size’, this technique is the easiest. If i serged it neater, it might be better but it’s already good in my opinion. Haha. Anyway, that yellow thread. Haha, I was just lazy to change it into white one. I didnt’ mean this bra is the ‘last’ fixed one. It’s my second attempt, yet, done well, of doll bra making.
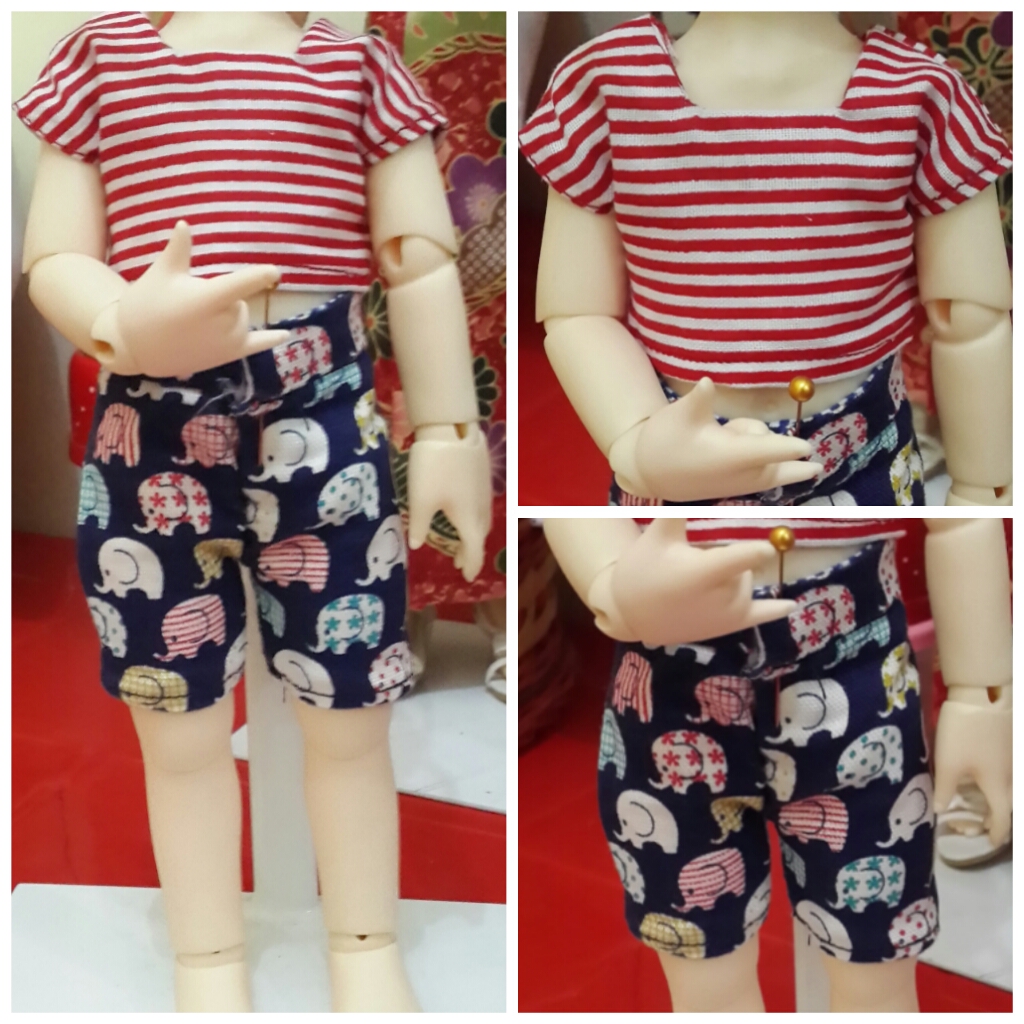
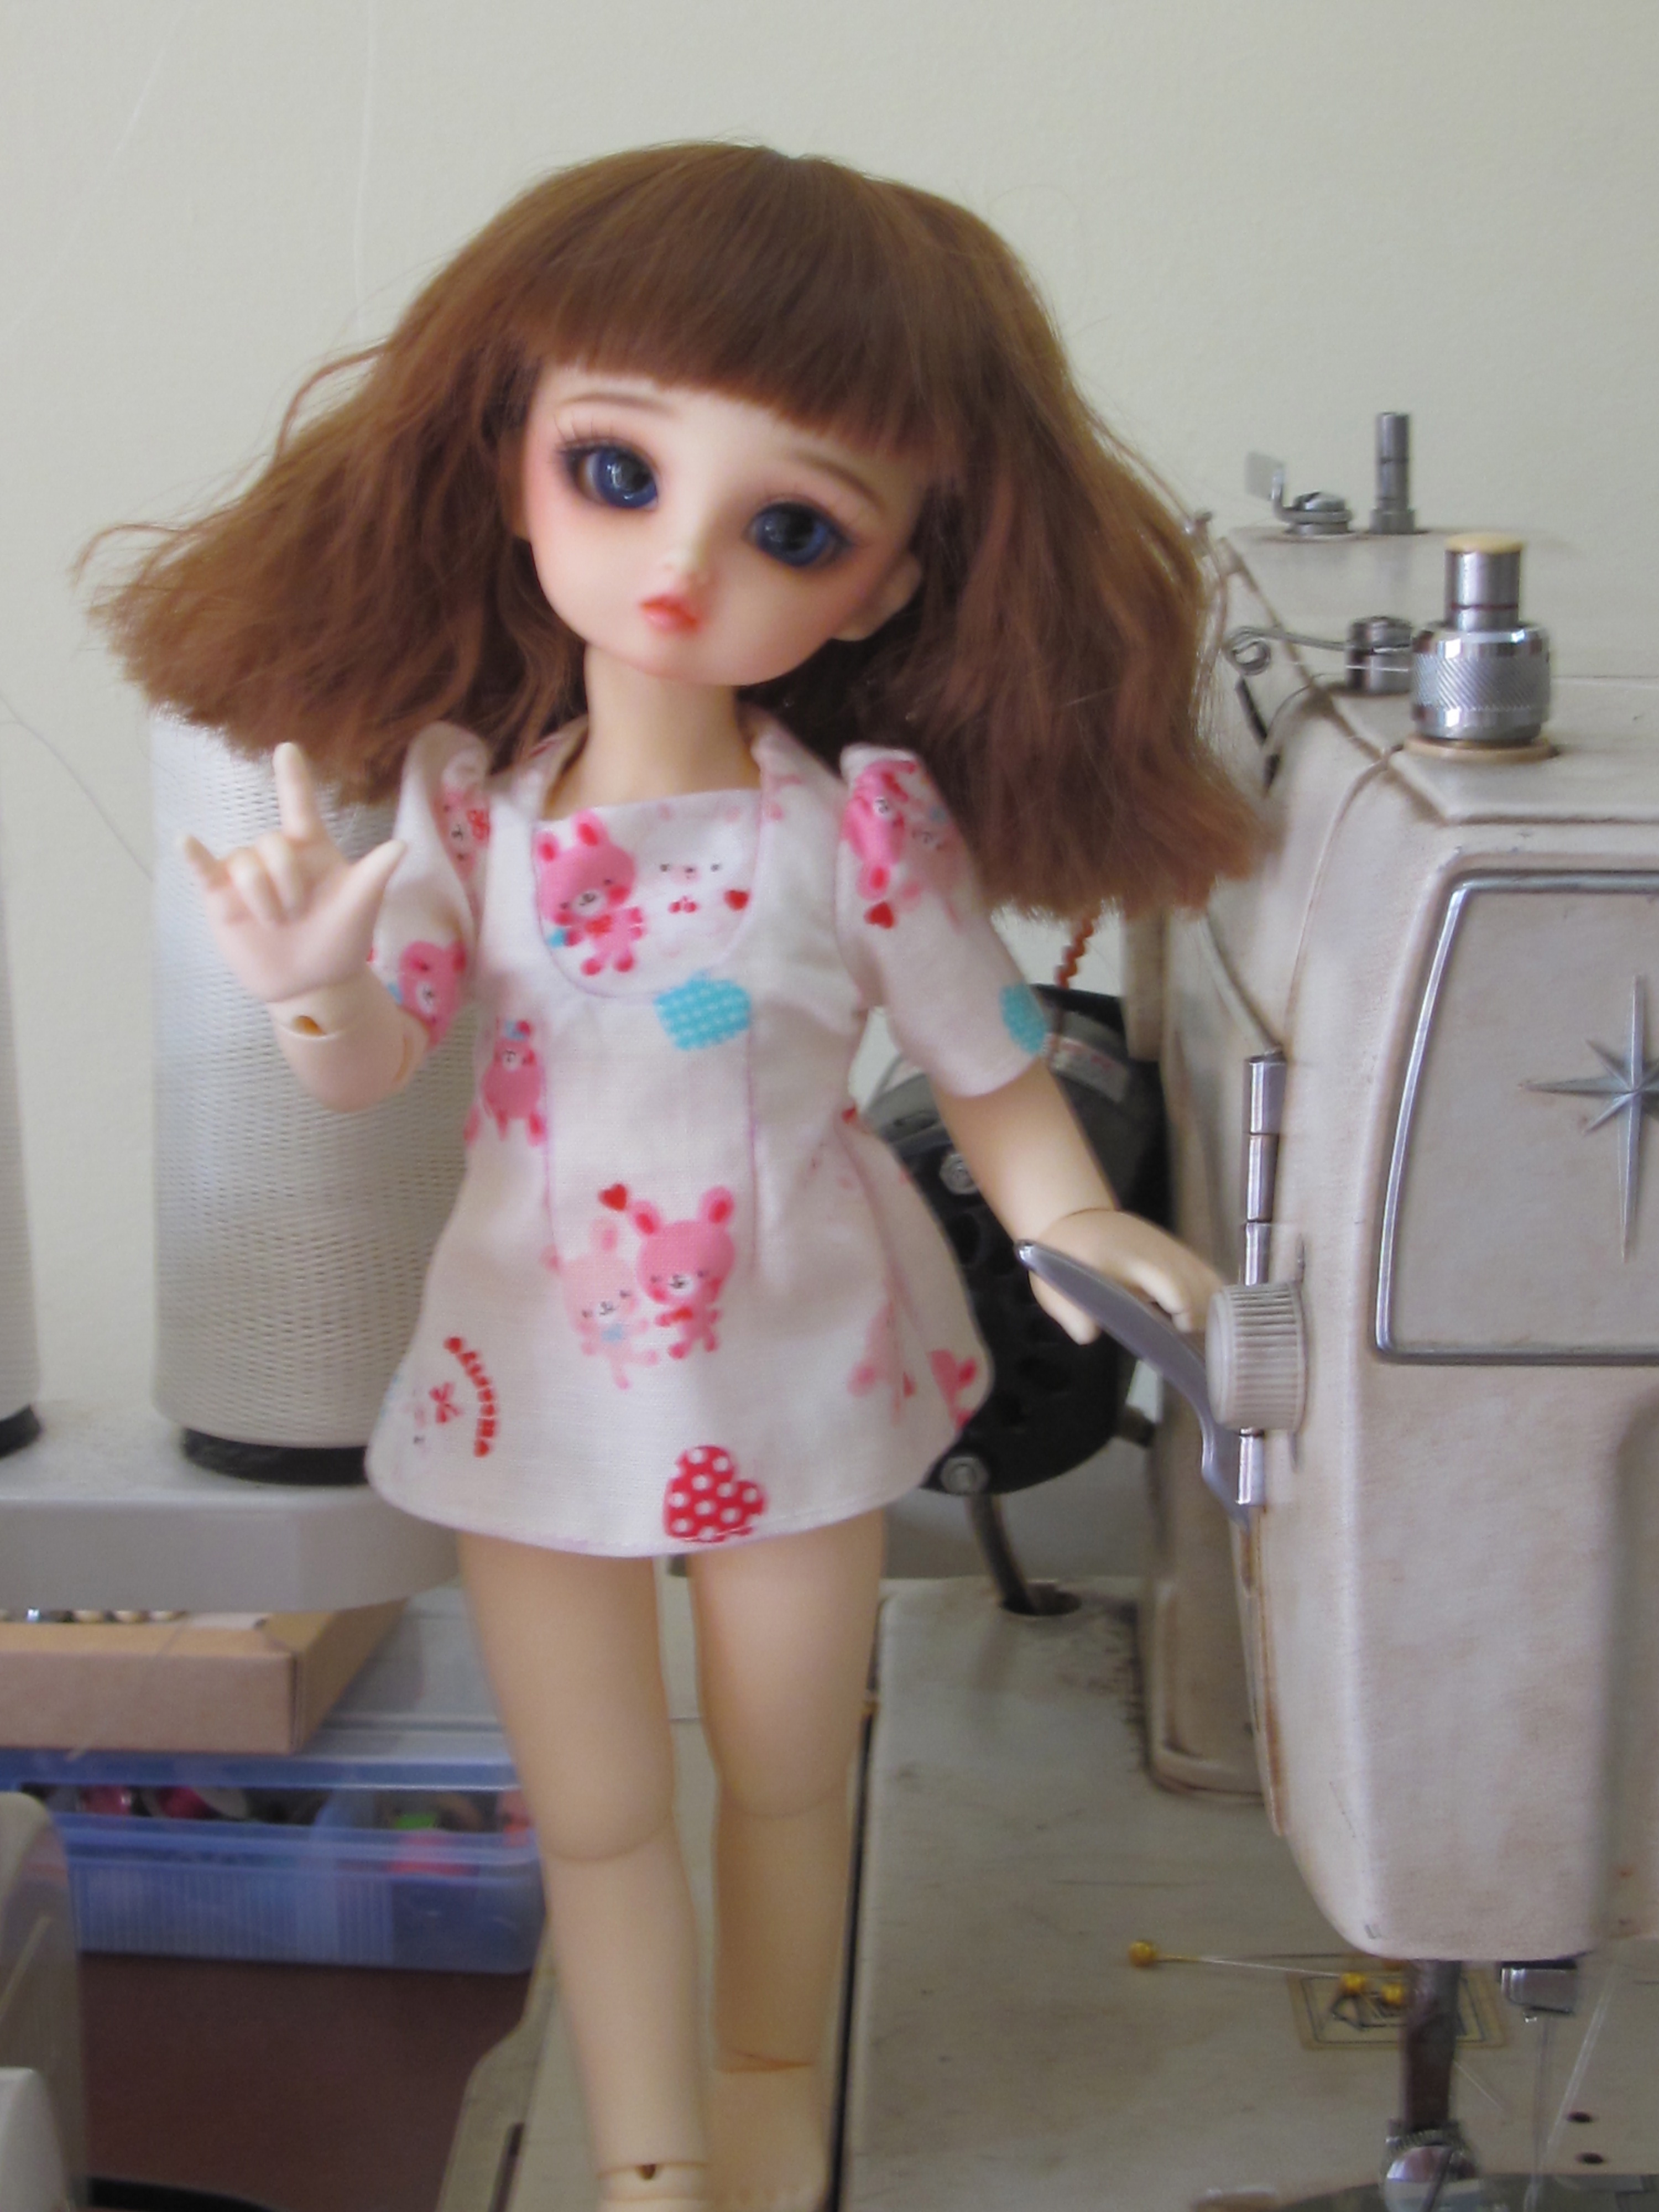
The pants are based on the very basic pattern made by me. For non-stretchy fabric, it’s ok, but I must add some mm if the fabric is not stretchy. The fit is great. Volks Yosd has the smallest size for pants among ae and aidolls. It’s pretty slim. So, if you are going to buy a pants which is pretty fit for Volks Yosd, please consult the seller whether it would fit to another brand.
I like the top. I sew it with different technique I used even on MSD size. It’s great for small size though as long as I sew it right and neat. The waist length blouse is cute that it shows the doll’s belly (>w<)d…
I serged everything though. I don’t think I want to cut zig zag on the seam edge on this project. Besides, this project is serge-able, so, when it’s possible, SERGE IT! (>_<)d.
all patterns are made by me from scratch. I measured my doll and made patterns based on that.
 unoa faceplate on AE Body. Normal Skin. (I don’t know how but those are ‘whitening’ or ‘lightening’ instead of yellowing. It looks brighter. AE body was pinkish back then)
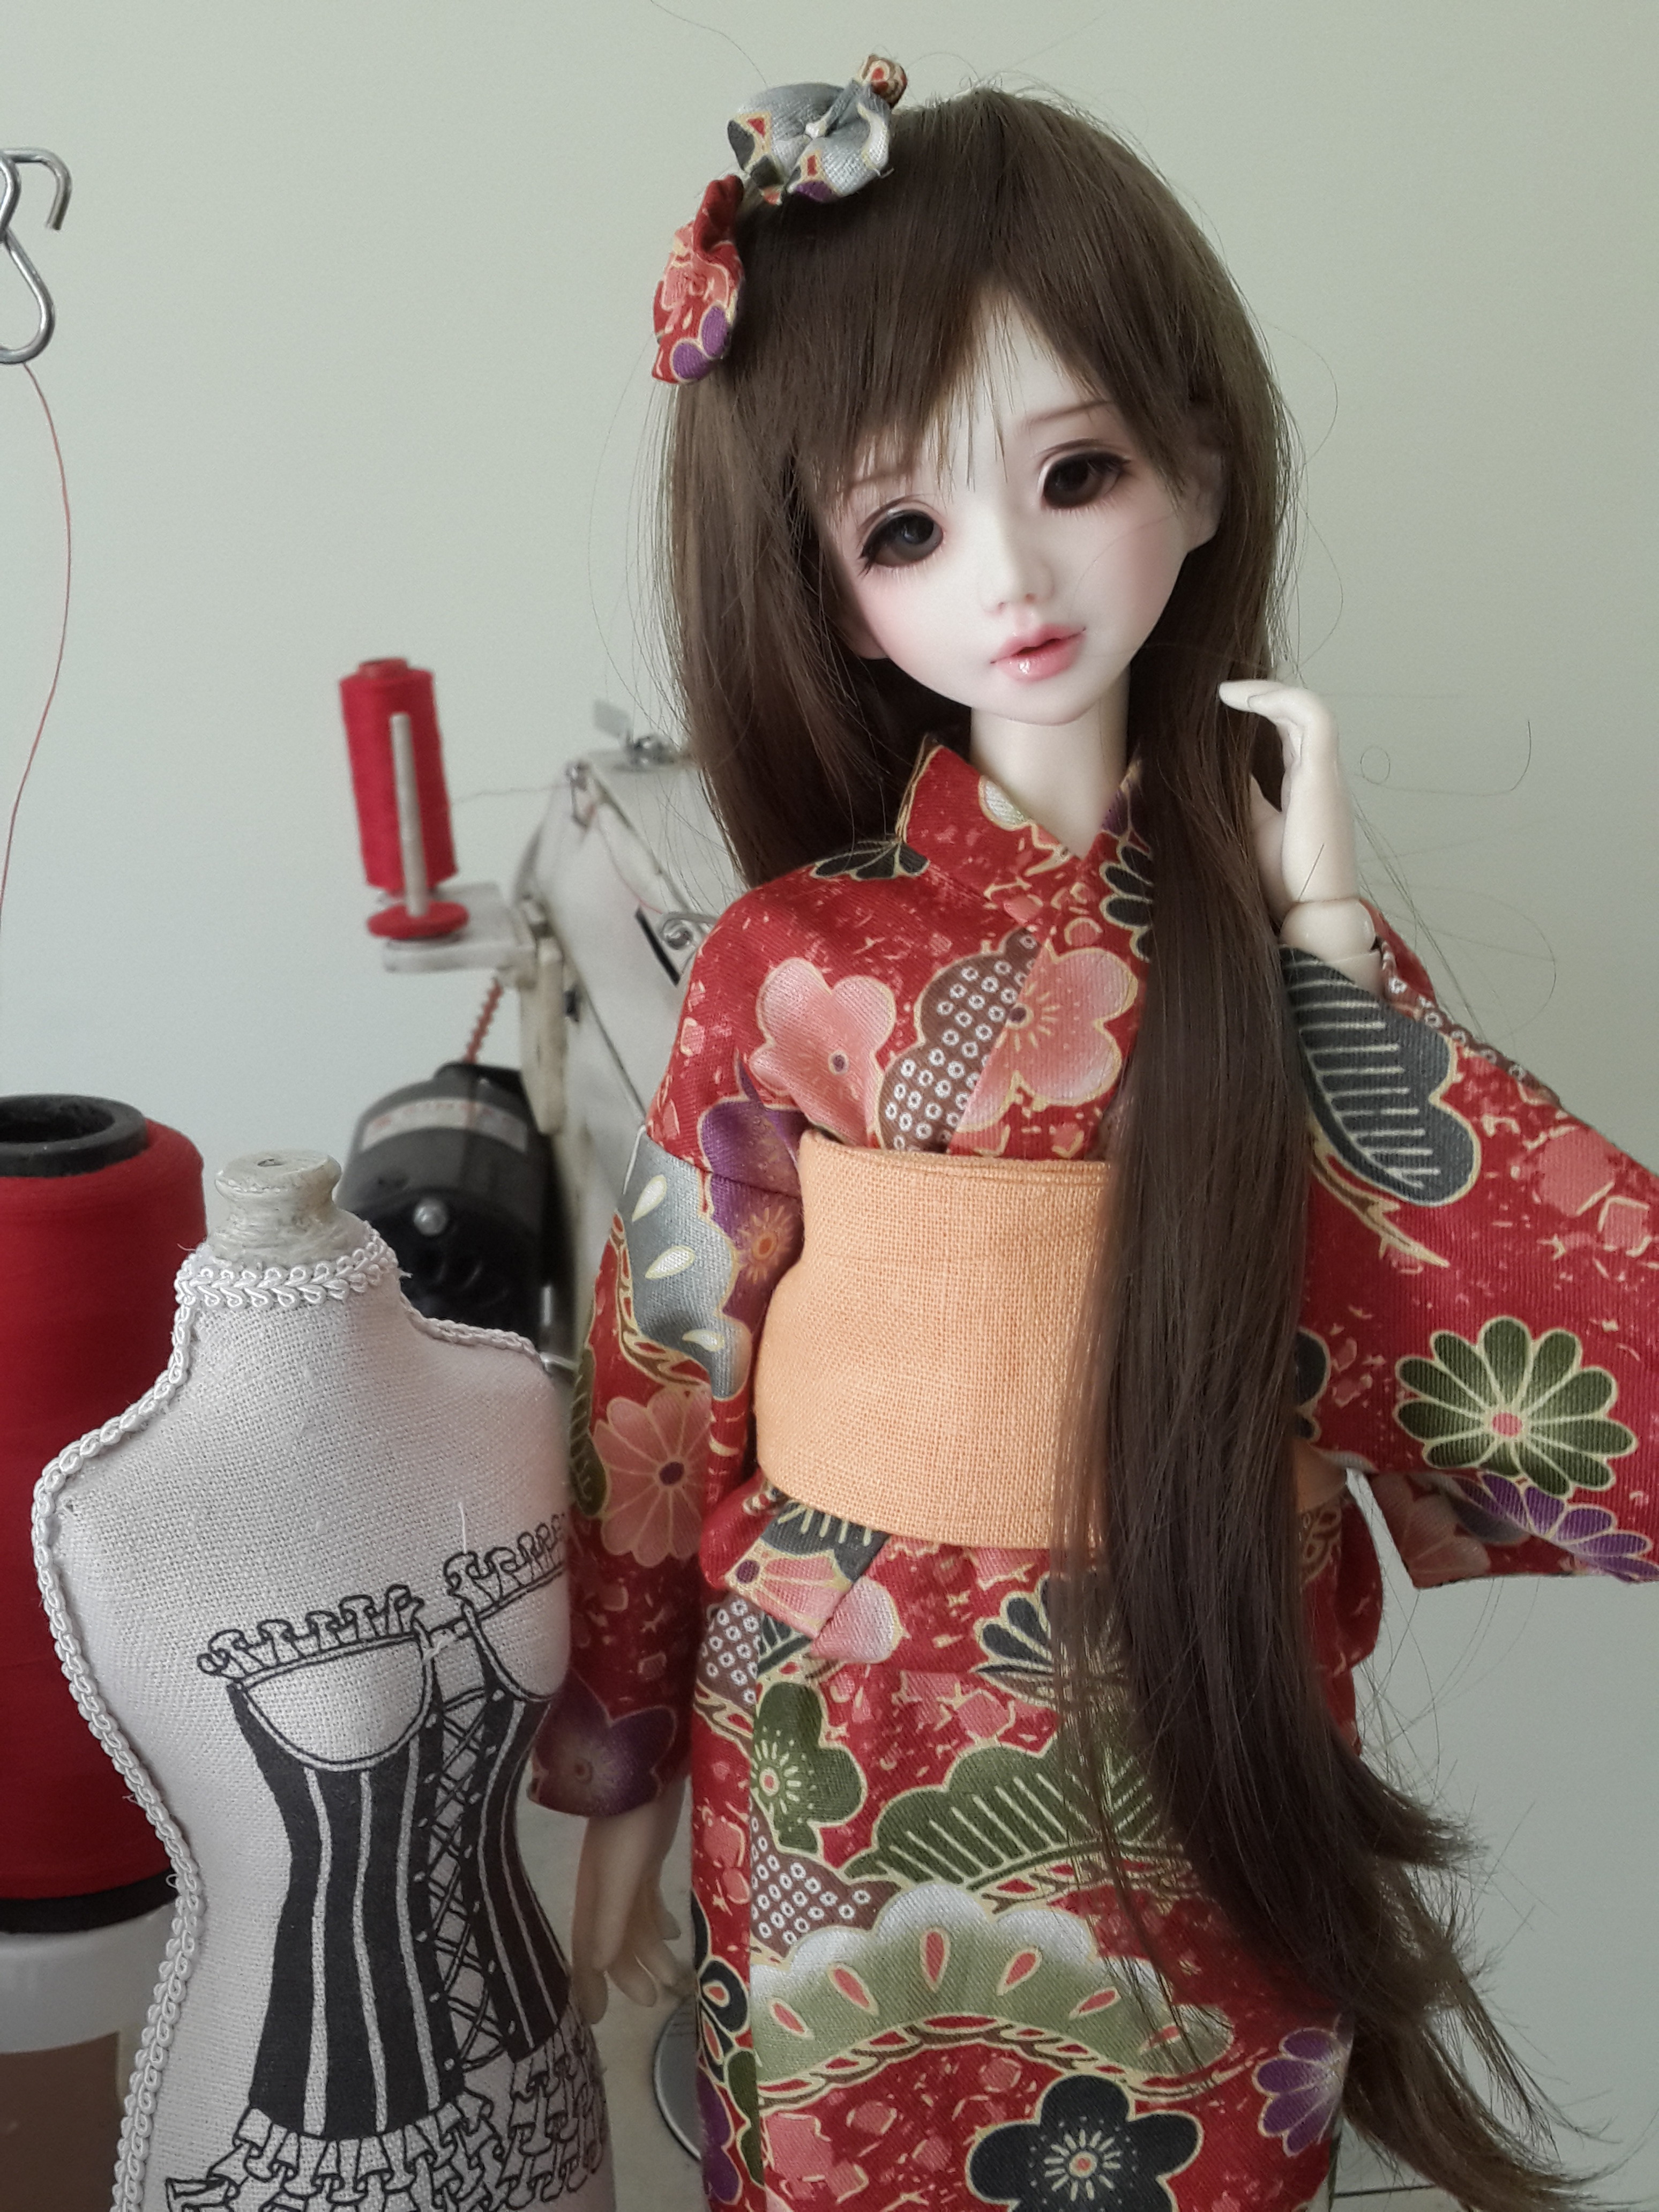
While making this yukata, I learned quite a lot, like why the obi ‘should’ be that wide, why the bodice width should consider the shoulder to shoulder length as well as hip, etc.
Hmm. Let’s see where to start. It”s for my own note actually but I want to write it well.
First the width. Shoulder to shoulder measured from the front body should be considered though the measurement may not be used. Just for comparison to the hip round. 1/2 hip should be compared to shoulder to shoulder length (I compared front body, too. I measured it from side to side body, not 1/2 x chest round). I used both as the base for my pattern.
About the obi, imho, obi width should be from the bottom of the chest (right the bottom) up to waist or a bit below waist. The obi width will hide the wrinkle caused by folding the waist part. Should there’s a wrinkle on the back or front, bring it under the arms, pull the folding gently while fixing the obi and the wrinkle should be hidden and pretty unseen. The yukata, then, is neater to look at.
The skirt part shouldn’t be as narrow as my work above. Yet, it is not too vertically straight. It’s just my preference but it looks better than vertically straight. (^o^)”.
I haven’t made the undershirt but it’s actually a must. (^.^)
I am going to revise the pattern as the front part isn’t too wide to the side and the skirt is too narrow, too.
To put yukata and set it on the doll is almost like when we’re doing it on human. It’s just, i’m making it easier. I’m using a stretch to keep the folding part (waist) from moving. I need to fix and set and fix and set the front part until it looks great. Then, I wrap it with obi.
The collar part should have been doubled but I forgot. It’s (may be) to make it looks stiffer.
The finishing should be by hand though I didn’t do it. Hahahaha. It’s a bit difficult with small size so I serged it with small width serging size. Yet, for some parts, I prefer finishing by hand though.
Next to try is making one with lining. I hope, it won’t be too bulky for small size.
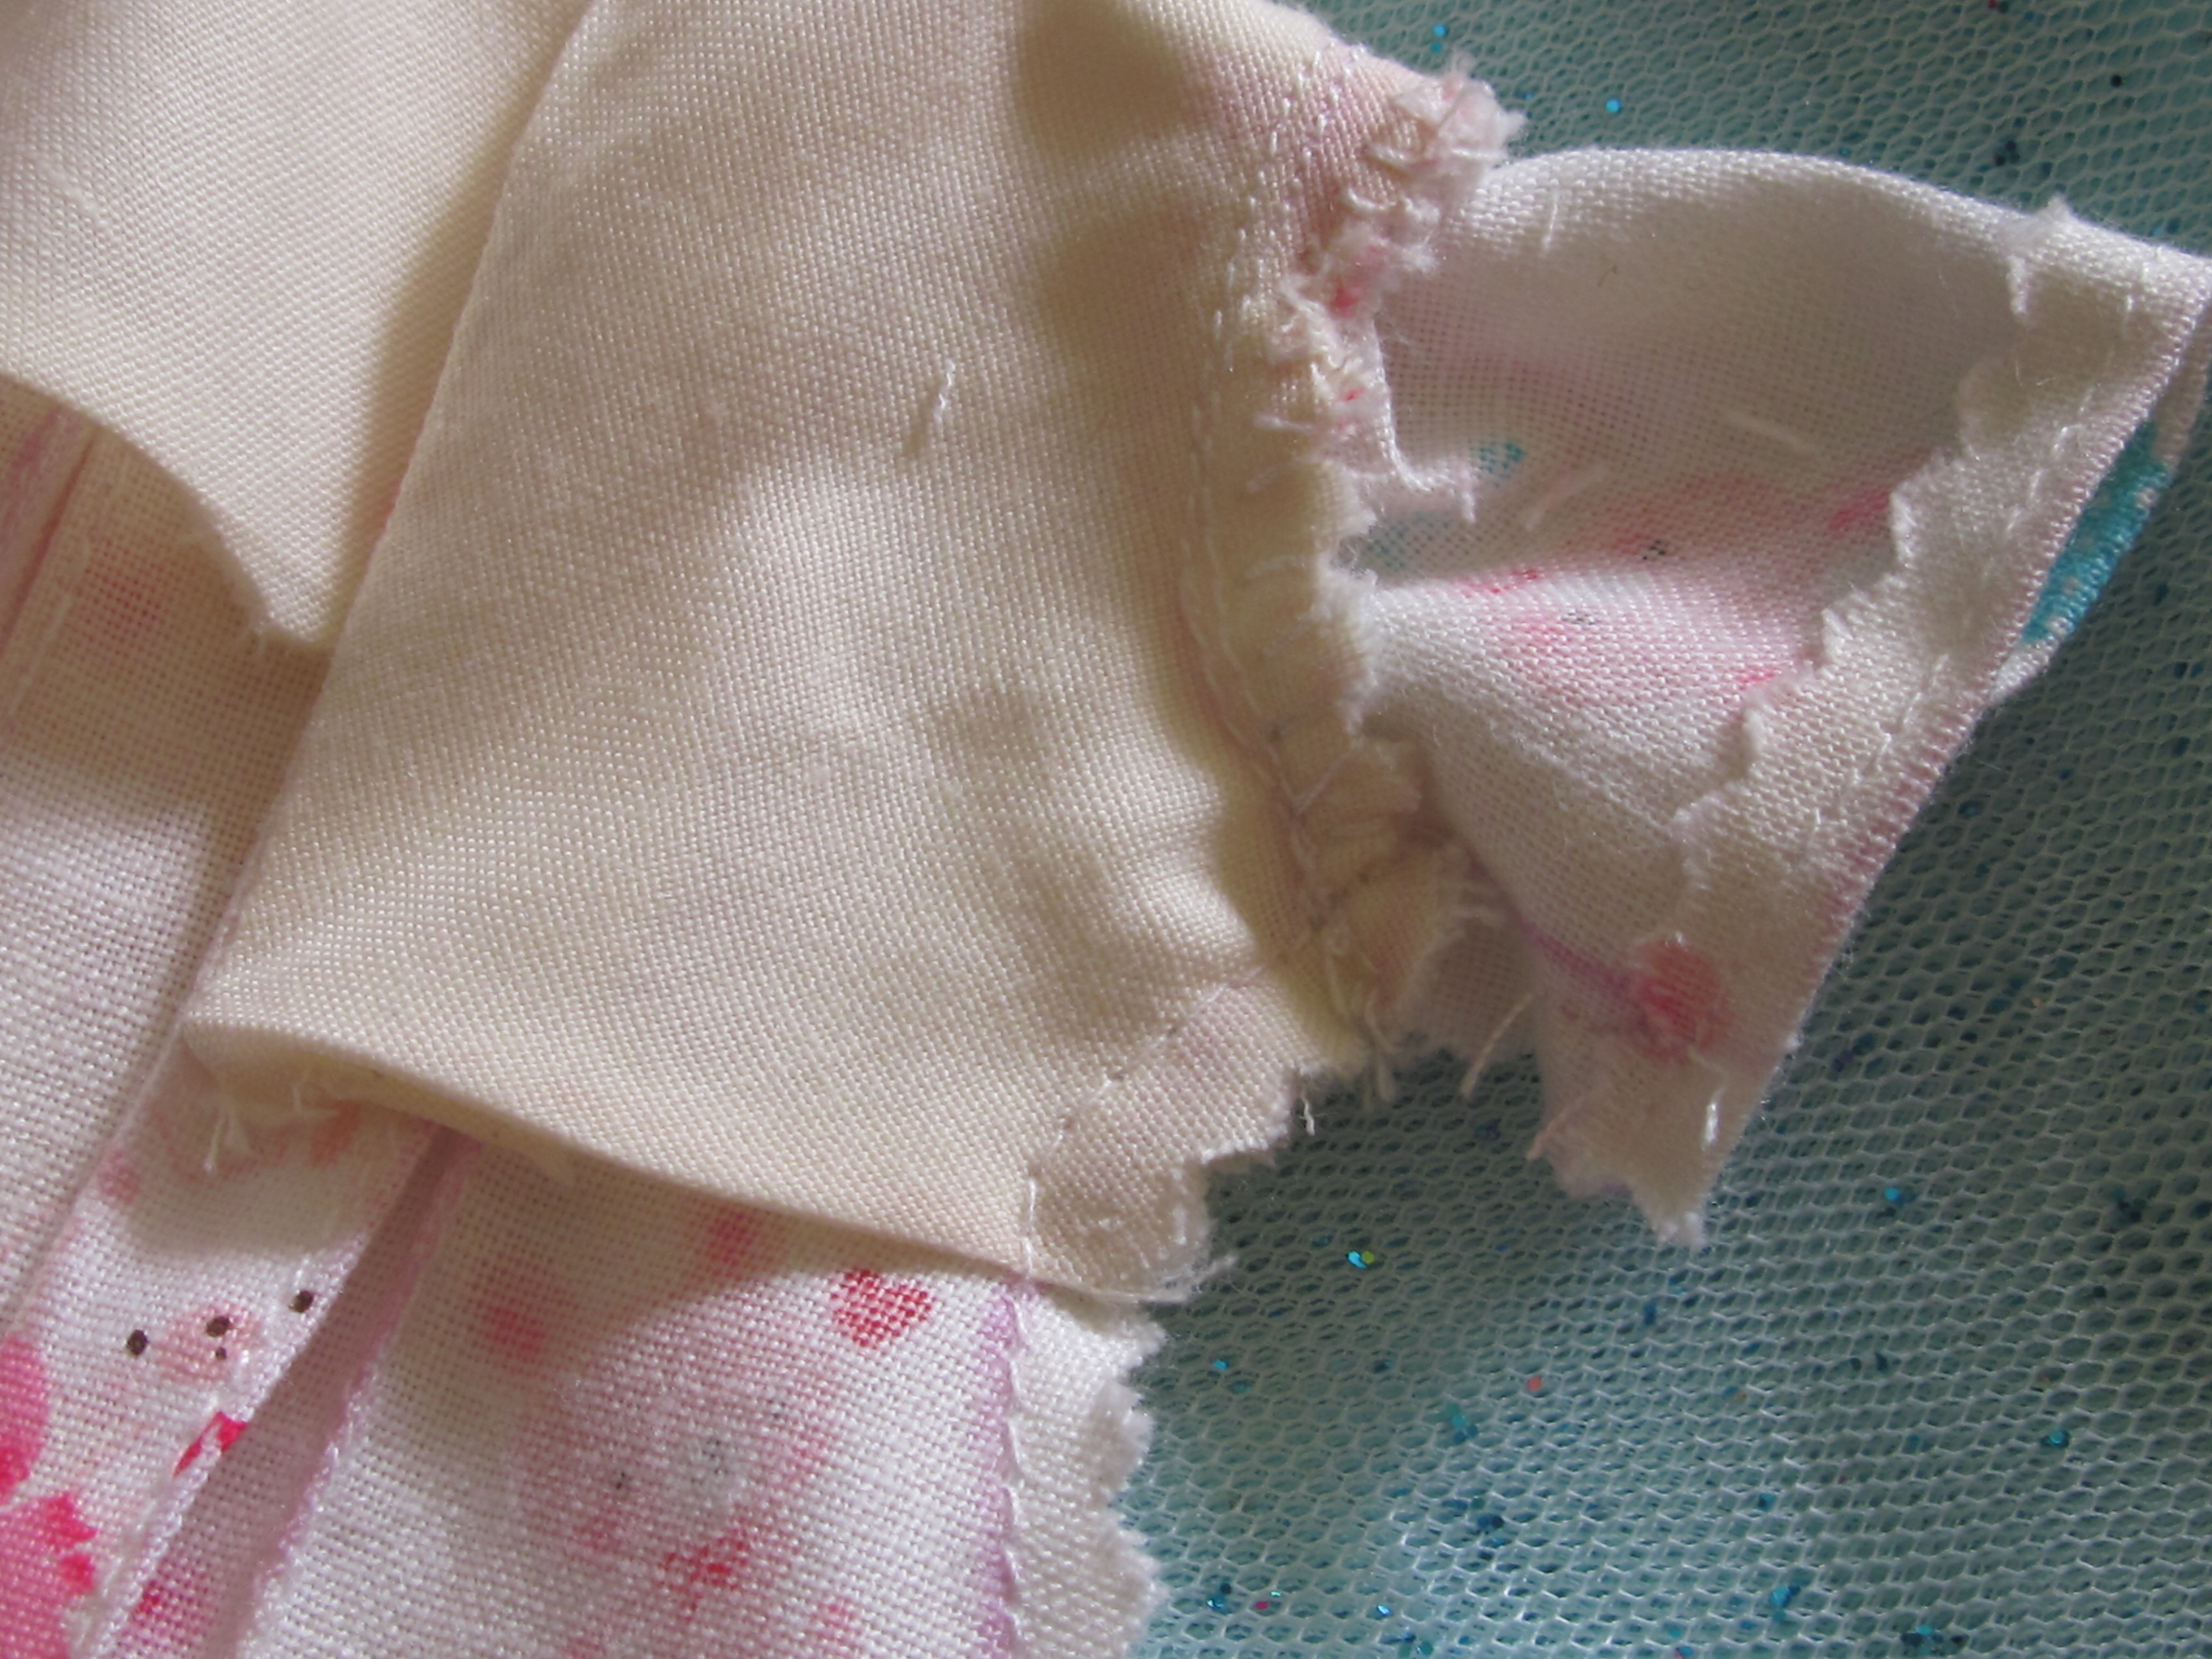
I forgot to give wider seam allowance as I wanted to use the fabric efficiently. Haha. I then realized, oh, boy. So, I tried zig zag. It’s a good chance since i haven’t had a chance to tried zig zag for seam ‘finishing’.
Here are my review:
1. Not all fabrics are suitable for this. Including cotton. I did zigzag but the fabric still frayed.
2. I still prefer serge/overlocking the seam though. Yet, the thickness is something i must handle.
3. May be…maaaay be, I should use special interfacing for some fabric. So, when I cut it zig zag, it’s still safe.
4. I ‘handsew for finishing’ the sleeves hole. May be next time, I just don’t have to serge the hole part, instead, I’ll do handsew for finishing (not for attaching, but finishing the seam edge). And the rest of the seam, I’ll just serge it.
It looks ok from outside but pretty dangerous after washing it. The fraying may be inevitable. I’ll just try washing it and then give it a review again.