
Category Archives: Sewing
Rubber Band (Tape) With Holes
Above is the rubber band I mentioned in my previous post. It’s quite common now. Kids’ pants use it a lot.
Please zoom it to see it.
I learned from store pants I bought for kids while ago. The points are:
- Make a ‘vertical straight hole’ on the waist band. The height is same as the height/width of the rubber band. Use the ‘making-button-hole’ feature in your sewing machine. Make it 2 holes, right and left. Just estimate yourself how many cm from the middle front.
- Cut the rubber the length is from right hole-back waist- left hole PLUS extra 5-8 cm. You don’t have to pull the rubber when measuring the length.
- Slip the rubber into one hole until it goes out on another hole.
- DONT FOLD THE WAIST BAND, YET.
- Sew the each end of rubber band on the waist band (the extra 5-8cm). I used zig-zag to attached it to the waist band. So, it would be about 5-8cm from the holes. It’s just ‘naturally’ attaching or holding the rubber to the waist band using stitch. Just sew with technique you think it’s neat and better and you can use any stitch you think better though. I set no rule here.
- THIS WILL BE THE INNER SIDE of the waist band.
Place a button UNDER the rubber; the position is between the end of the rubber and the hole on the waist you have made on picture no.2. Yes, somewhere under 5-8 cm extra length of rubber
You can place button before inserting the rubber though. Do whatever you feel easier for you to do.
Then, to wear the pants, don’t forget to slip the button into the rubber hole (unless, it fits already or using belt. (^_^) )
The pics are dark since i used notebook camera (T.T) but i hope my notes helps, too. The last pic shows the gathers created by the stretched rubber. The gathers are not a lot because I didn’t really make the waist too big. If I sew the darts and not adding the waist part, it could be fit for my boys. Yet, my boys’ body is hip-less (or waist-less? (^_^)” ), so, it would be better to add belt stripes or using rubber like this. (>_<). I was too lazy to make belt stripes and also, i don’t buy my boys belts. hahaha. I like this rubber (rubber with hole for exactly) style. Well, I can’t say this pants style/design is very formal but sufficient for any occasion for kids. Also, if the rubber has depreciated and not too stretchy anymore, we can still adjust the waist part buy pulling the rubber and hold it with button.
*There is another technique to make pants with rubber more formal style. It’s quite ‘difficult’ though. I think, i post the video here long time ago. Not my video. It’s from youtube. I don’t use the technique here as I don’t want to make formal pants, instead, just a.s.a.p pants.
(Difficult) Washable Pen
I bought this pen from my seller friend. I thought, it was just like another washable pen I had. Apparently, it is NOT. I used the remover only once on this project and the stains were not disappeared. It was still there. Very hard to be removed. I then had a feeling that this will be very difficult to be removed even with another good stain remover or natural stain remover. Even i used the best detergent before remover to remove the stain. This detergent is one i’ve been using since may be i was in college. It’s very-very good quality so far. I didn’t want to use another removers as I know it may degrade the color. I just want to use ONE technique at ONCE. I then remember, a batik artist in my country used regular spidol to draw the pattern. I asked, will the mark disappear? He said, yes, in the process, it will. He uploaded the picture of batik processing someday and I saw he used hot boiled water. I then used the technique. Instead, I boiled my project, I just poured the hot boiled water into a basin with regular detergent I always use. IT WORKED! Goodness!
It is better to use hot water once rather than using remover over and over. I had experience with using remover more than once on a project. It didn’t work and it ruins the color. Using the hot water, the color will yes, it will slightly degrade but I know my fabric is very good, high quality so I was confident enough to use hot water. As long as not over and over again. Combining with good detergent really gives good impact to stain.
I want to take the picture of the pen that crafters must avoid but there’s no brand too as I only bought refill and I didn’t have the pen already TAT.
The pen tint is light blue. There’s no other tint color series from this ‘brand’. There are another pen from different brand (I think) with some colours series. That pen is ok. Only the pen with light blue (not marker. Light blue marker is ok).
Pattern on Fabric
My latest project is sewing a kid’s clothes (girl). For charity actually. When I was pinning the fabric, somehow, my mind was drawn into the pattern of the fabric. I then became very observing. I noticed that the pattern which i thought first is like ‘mirror’ (or ‘two direction’ pattern), it wasn’t. It was actually one direction pattern. So, when it’s cut, the seamstress will need more fabric to create a project (so the pattern is ‘correctly’ seen). This fabric is kind of unique as i really thought it’s two direction pattern fabric instead of one.
Other fabric that I noticed is polkadot fabric. It is NOT random or abstract. It is in fact a very arranged pattern. So, if one cut it not straight, it will look odd. It’s especially seen in small project.
Changing Needle
Again, i forgot to check my sewing needle. When I sew, seems like the tip is not sharp anymore so it damaged the fabric a little bit. Thank goodness, i had a chance to change it so it wouldn’t give damage any further.
Checking the tip of needle and then changing the needle when it’s not too sharp anymore is important
- it eases the sewing. Somehow, the fabric can pass the sewing feet easier if we use the correct and GOOD quality of sewing machine needle.
- it also prevent the fabric damage. Blunt needles can damage the fibre like pull it. It leaves the fabric with thin lines on the fabric. The lines are formed because of the fibres that supposed to be on that lines are broken or pulled or damaged. In extreme case, it can create ‘wrinkle’ on the fabric.
Even in case of we are using a very good quality of needle, checking is a must and changing can be necessary. Sometimes, a very good quality needle is not broken or seems still sharp but it is not. It’s hard to detect but we will know the nature of the needle after lots of sewing hours.
Rayon Fabric
I used rayon fabric on my new doll clothes. I made quite similar to 1/4 circle skirt. I saw the rayon fabric is also good for 1/4 BJD doll. The fall is better than even thin cotton. Cotton sometimes can be stiff. Rayon is less stiff. I might re-use it on bigger doll. I think, the drape will be looked better. Perhaps, I might try flounce project in the future using the same fabric for BJD scale.
Stretch Fabric Learning
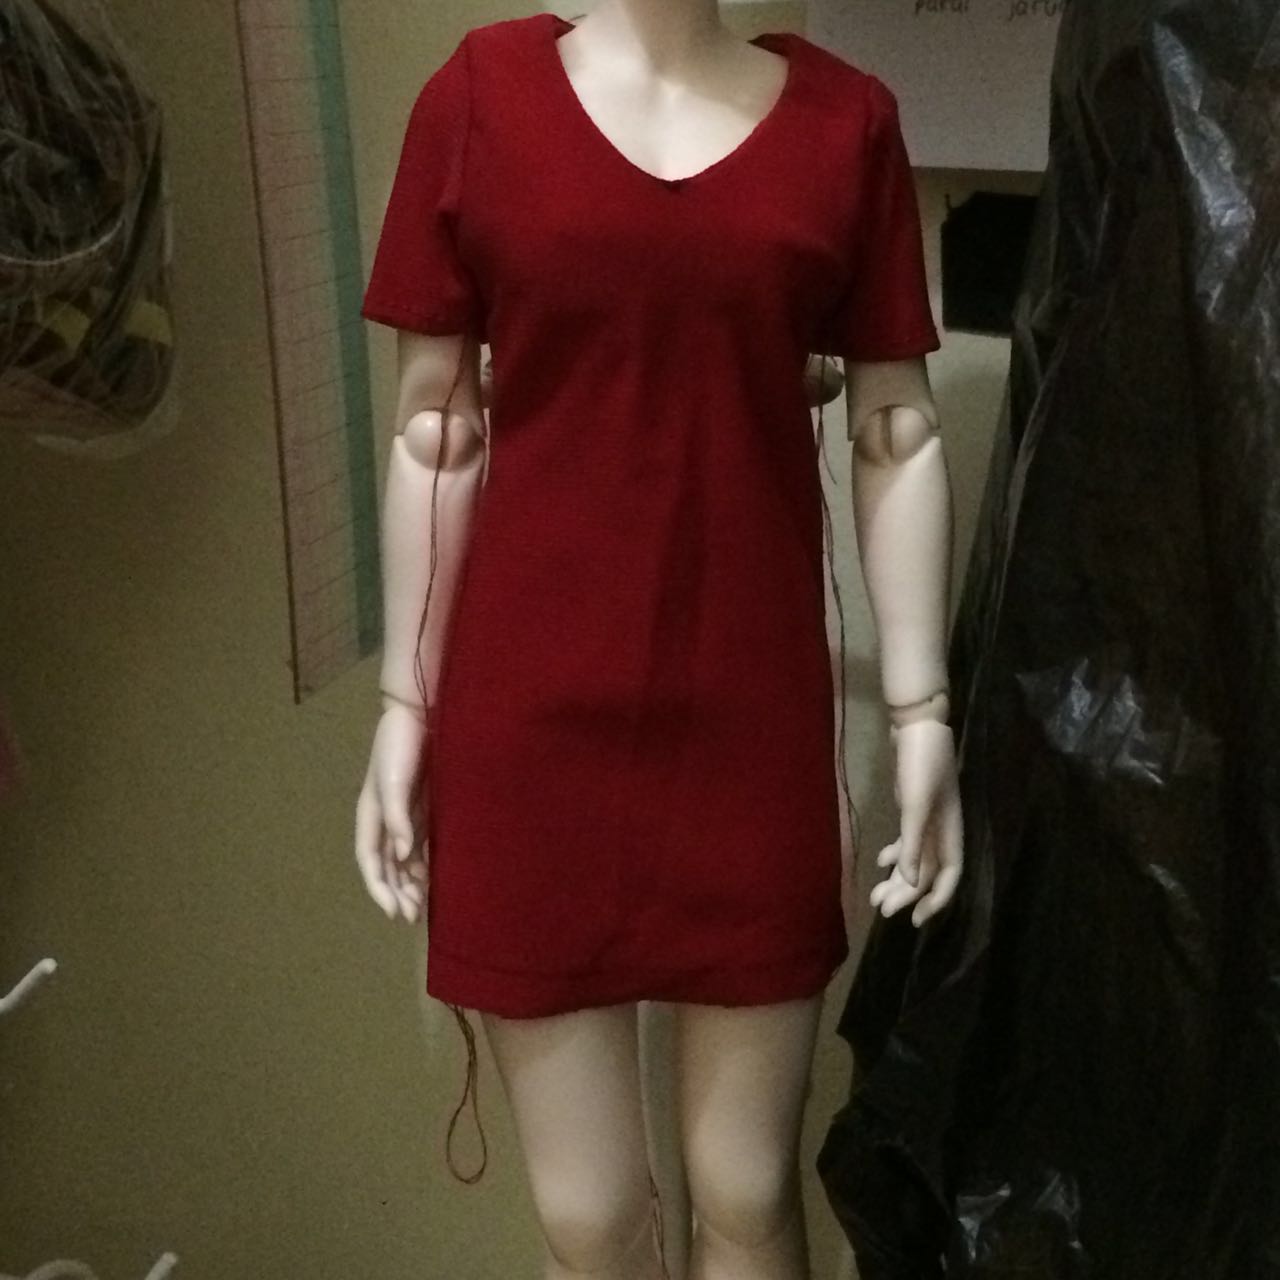
fabric: jersey stretch
needle: special for stretch fabric #9
This is my second trial. The hand part is bulky because i used interfacing on my lining and the lining covered the bodice’s hand holes. May be for next learning, I should use thinner interfacing. I used common/standard interfacing for this.
I didn’t serge the edge. It may ruin the shape and elasticity. It’s ok for not serging it. My purpose for this learning is to sew stretch fabric for simple shape of clothes as well as learning the finishing technique for this kind of neckline.
Using special needle for stretch fabric is really helpful. I would try this first before using special sewing feet. If it’s sufficient, then it’s ok. I didn’t use special stitch for this as this is for doll. It may not be able to be applied to human clothes sewing. It’s also unable to apply on doll projects like stockings and socks.
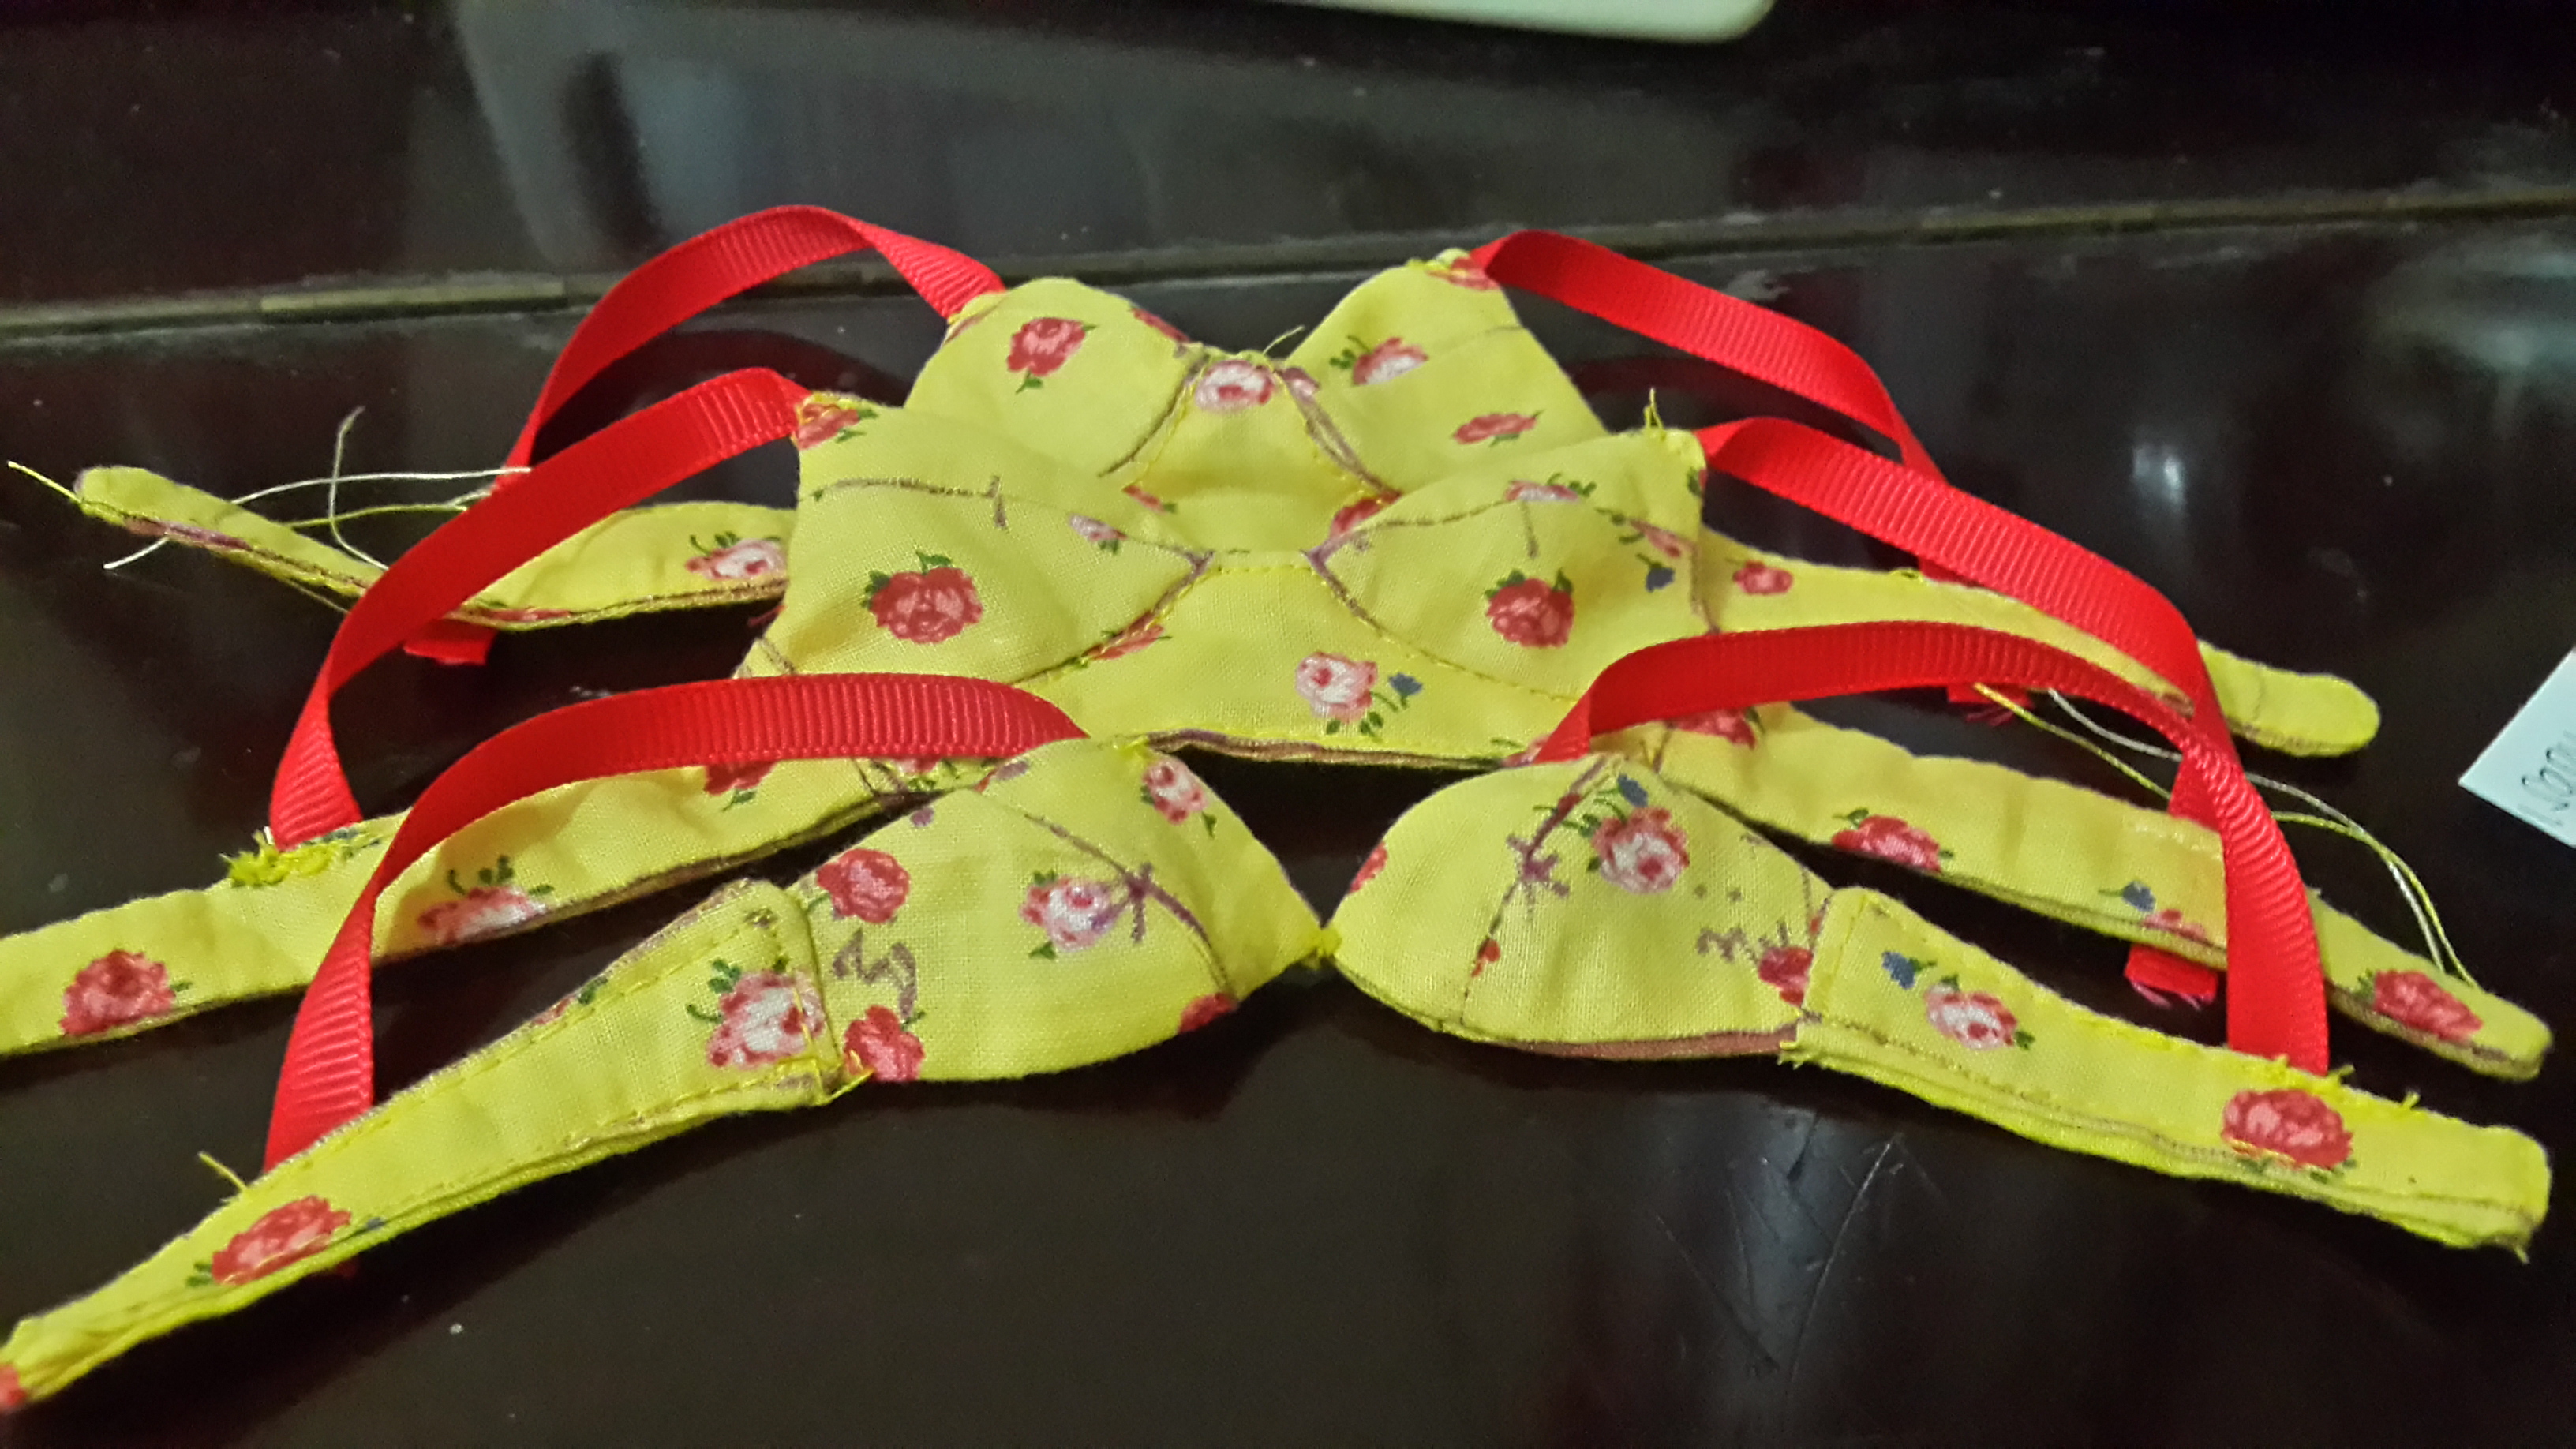
Bra R&D Continued
-________- …. i didn’t mean to but i was curious. So, i made another derivation from pattern version 5. I called it Bra version 5-c. -____- . I think, bra R&D has the most numbers of version after asleep eidolon’s pants R&D. I did pants until 5 version too, I think but no such a b c . (^O^)”’.
I plan to stop for a while until bra version 5-c.
One thing I realize after making this version. Big bust tend to suit with ‘low’ shape of bra. I mean, they will look good if the bra doesn’t cover a ‘whole’ bust. Leave out the ‘skin’ and ‘shape’ to show. Perhaps, why my older or first bra versions looked a bit ‘odd’ and ‘conventional’, it was because I made it to cover the ‘bust-skin’ and ‘shape’.
Protected: Making Bra: Producing Design 1
R&D is (temporarily) finished
Finally, arrived at 3 shapes of bra. From here, i will develop more. At least, my theory is correct (and ‘confirmed’ after I read http://mydollyadventures.blogspot.com/2014/02/making-of-doll-bra.html#.Vu2Tz0vHeHp ).
Actually, I always know that doll is resin and human is ‘flesh, thus, the pattern or clothes making sometimes is different but somehow, i forgot that when making bra. I use push up bra or any other modern (but not sport/classic) bra. The bra shapes my bust but in doll bra making, the resin is hard and thus, I don’t need bra to shape the doll’s bust. All I need is to make a bra that looks like it’s shaping the bust (You may want to read the link I gave above. The author seems to have quite the same theory. I feel confident about my theory though after reading that…haha).
What I do first after thinking about theory is to notice more carefully and detail about how bra hang on human body (I wear it every day but I don’t really notice it). I googled a lot of bra picture (as well as look at mine…haha). I noticed how it shaped the bust and how it ‘should’ hang on human body. From there, I revised my previous pattern.
First to notice is on the bottom part (bottom stripe): it should fall slightly under the bust (bottom bust). We can make it wide or not.
Second to that is where the bottom part of the cup should ‘fall’ on the bust. Yes, it can fall on the bottom-bust line too but since I want to make a ‘push-up’ effect, I raised the bottom part a bit. In human bra, we can use rubber as string and belt to push the bra up (by shorten the string); the bust will adjust. While in doll clothes, even if we use belt, the bust won’t adjust as it’s resin and hard. In this case, we raised the bottom part of the cup to create effect AS IF the bust is ‘raised’ . The length of the string must be correct for the bra to fall on the bust correctly. The author of the link above use rubber lace. It’s auto adjusting then.
So, yes, the pattern revision is to create effect. It was ok but the effect didn’t really show.
Making this bra is ‘simple’ but not simple. Do not underestimate the size and the shape. As the author of the link said, she did math. So did I. Some other people use ‘drapery’ technique by wrapping their doll with papers and then make bra based on that. It can create good accuracy but if I can’t rely it as if I cut it wrong or still not satisfied, I must repeat it over and over again and it’s too fuzzy. I have twins toddler with syndrome. So, that way isn’t my option.
About finishing: I use lining for my doll bra. I put interfacing too on the lining as the lining is thin. Why I didn’t use thicker lining? Because interfacing will give a shape, I need thin lining so it won’t be too bulky if I apply interfacing on it. Interfacing also protects from fraying. Thicker fabrics are still able to fray. If I use interfacing, it can be too bulky.
PS: Sorry i didn’t put the bra on my doll. I want to make it with a better fabric and neater sewing. I havent made the pants. I want to take a picture with proper sewing project