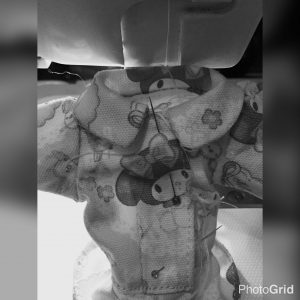
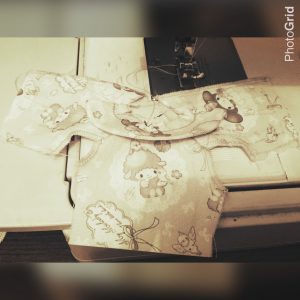
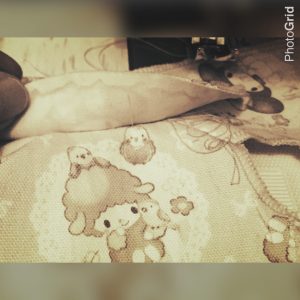
Washing The Finished Project

I made a few masks lately and as usual, after making it, I always washed it and then put it under the sun light/heat or under it’s SHADOW. I found that the projects that I put under sunlight or heat directly will create stain which comes from the fabric own colors, especially and mostly RED! Whether it’s Japanese fabric or local low quality fabrics.

I remember, long time ago, I lived up behind a mountain. The company provided each household with drier machine. First, I put my wet project on TOP of the machine. I turned on the machine to dry my clothes inside while the outside machine body itself felt very warm, including the TOP side. My project somehow, STAINED by it’s own colour. I was frustrated! It was then hard to even tone down that stain.

Then, i thought of put it under bathroom heater, not kind of directly put, but rather lower under the heater. It was still staining! Then I just used the bathroom fan to dry it. Not cooold, not hot. Just room temperature. It worked!


Another case: I used strong laundry soap. It was ok though, not kind of very very strong that will destroy my clothes. Yet, for some fabrics, especially when it contains RED (and black, too, even though black is not an often case as red), it will create stain, too. Seems like the soap reaction to red colour works in a bad way.


Another case: it’s ok to put under the sun heat, as long as the ‘fabric’ is squeezed as hard as possible; the point is the water is very very minimal on fabric. Yet, we can’t always do that. If we didn’t wash the fabric before sewing it, we can’t squeeze the finished projects. We just can press it the best we can do, yet, the water is still a lot on fabric.

In my recent cases, I put it under sunlight /heat shadow, it was ok, but when the temperature is hot, too, even under the ‘shadow’, it can create stain.

Some fabric colours can create erasable stain and some are not. Once it’s staining on it’s own, it’s hard to wash. You see, most fabrics have kind of light background colour, for example black; then the pattern, for example owl, can be red colour. The pattern colour can stain the background colour. Sometimes, i thought, the background colour that would be dangerous but in my cases, the pattern colour can be dangerous, too. I then thought if the paint of each colour used to colour the fabric is different brand/type or what?
I still understand if one fabric colour can stain to OTHER fabric. Yet, I didn’t really think much about it when it’s in one fabric that contained more than 1 colour and it can stain on the fabric itself.

Someone also said to me not long ago, red-black-navy usually create staining. Lately, i also found dark green; may be because i rare work with green, so i just found it. Strangely, dark brown is almost never staining; yet, i just found that my pink fabric stained other fabric. The last one (pink), i suspect the detergent is surprisingly strong and can ‘squeeze’ pink colour out. The fabric i used is a good fabric which USUALLY never stain.

Sometimes, even though i have some experiences, i forgot myself about it. May be because the project is DIFFERENT, so, i’m not cautious.


So, here what we can do:

  1. Wash the fabrics before using it or pre-wash the fabric.

To be honest, I’m so lazy about this, especially because I rarely have the staining problem. Yet, now, when I’m starting to suspect some fabrics, i wash them first. I think, it’s ok to wash AFTER CUTTING but BEFORE SEWING if you are that lazy to wash the whole fabrics. Most fabrics don’t shrink much unless may be if you use very hot water, put it in the drier, or other harsh treatments that shouldn’t be done to that kind of fabrics. (^_^)’. Sometimes, washing the whole fabric can expose more staining on many parts on the fabric itself; so, may be if we cut first and then wash it before sewing it, if there is stain, we can fix it on that location only; not on a whole fabric which may cause headache because stain can be like spots everywhere. Well, it’s up to you, though. (^_^).

2. If you don’t want to pre-wash the fabric, then after finishing the project, wash it and dry it not under the heat or not in hot temperature. So, if outside is hot, put the finished project inside.

3. Don’t soak too long! 5-10 minutes and keep rechecking. It’s because sometimes, we think our laundry soap is ok but apparently, to some craft fabrics, it can pull out some colours and then create stain to that own fabrics. So be careful. Even if you don’t use laundry soap, just keep rechecking! I haven’t tried using silk or baby clothes detergent. Perhaps, next time, i will try it. It’s usually not as strong as common detergent.


*NOTE: to know why heat and other stuff can make such stain to fabric, I won’t explain it because it’s out of my knowledge. It’s so chemical, i think, so i don’t want to talk or discuss any further about it. So, please google yourself if you want to know deeper.

R&D : Sewing Ribbon on Collar

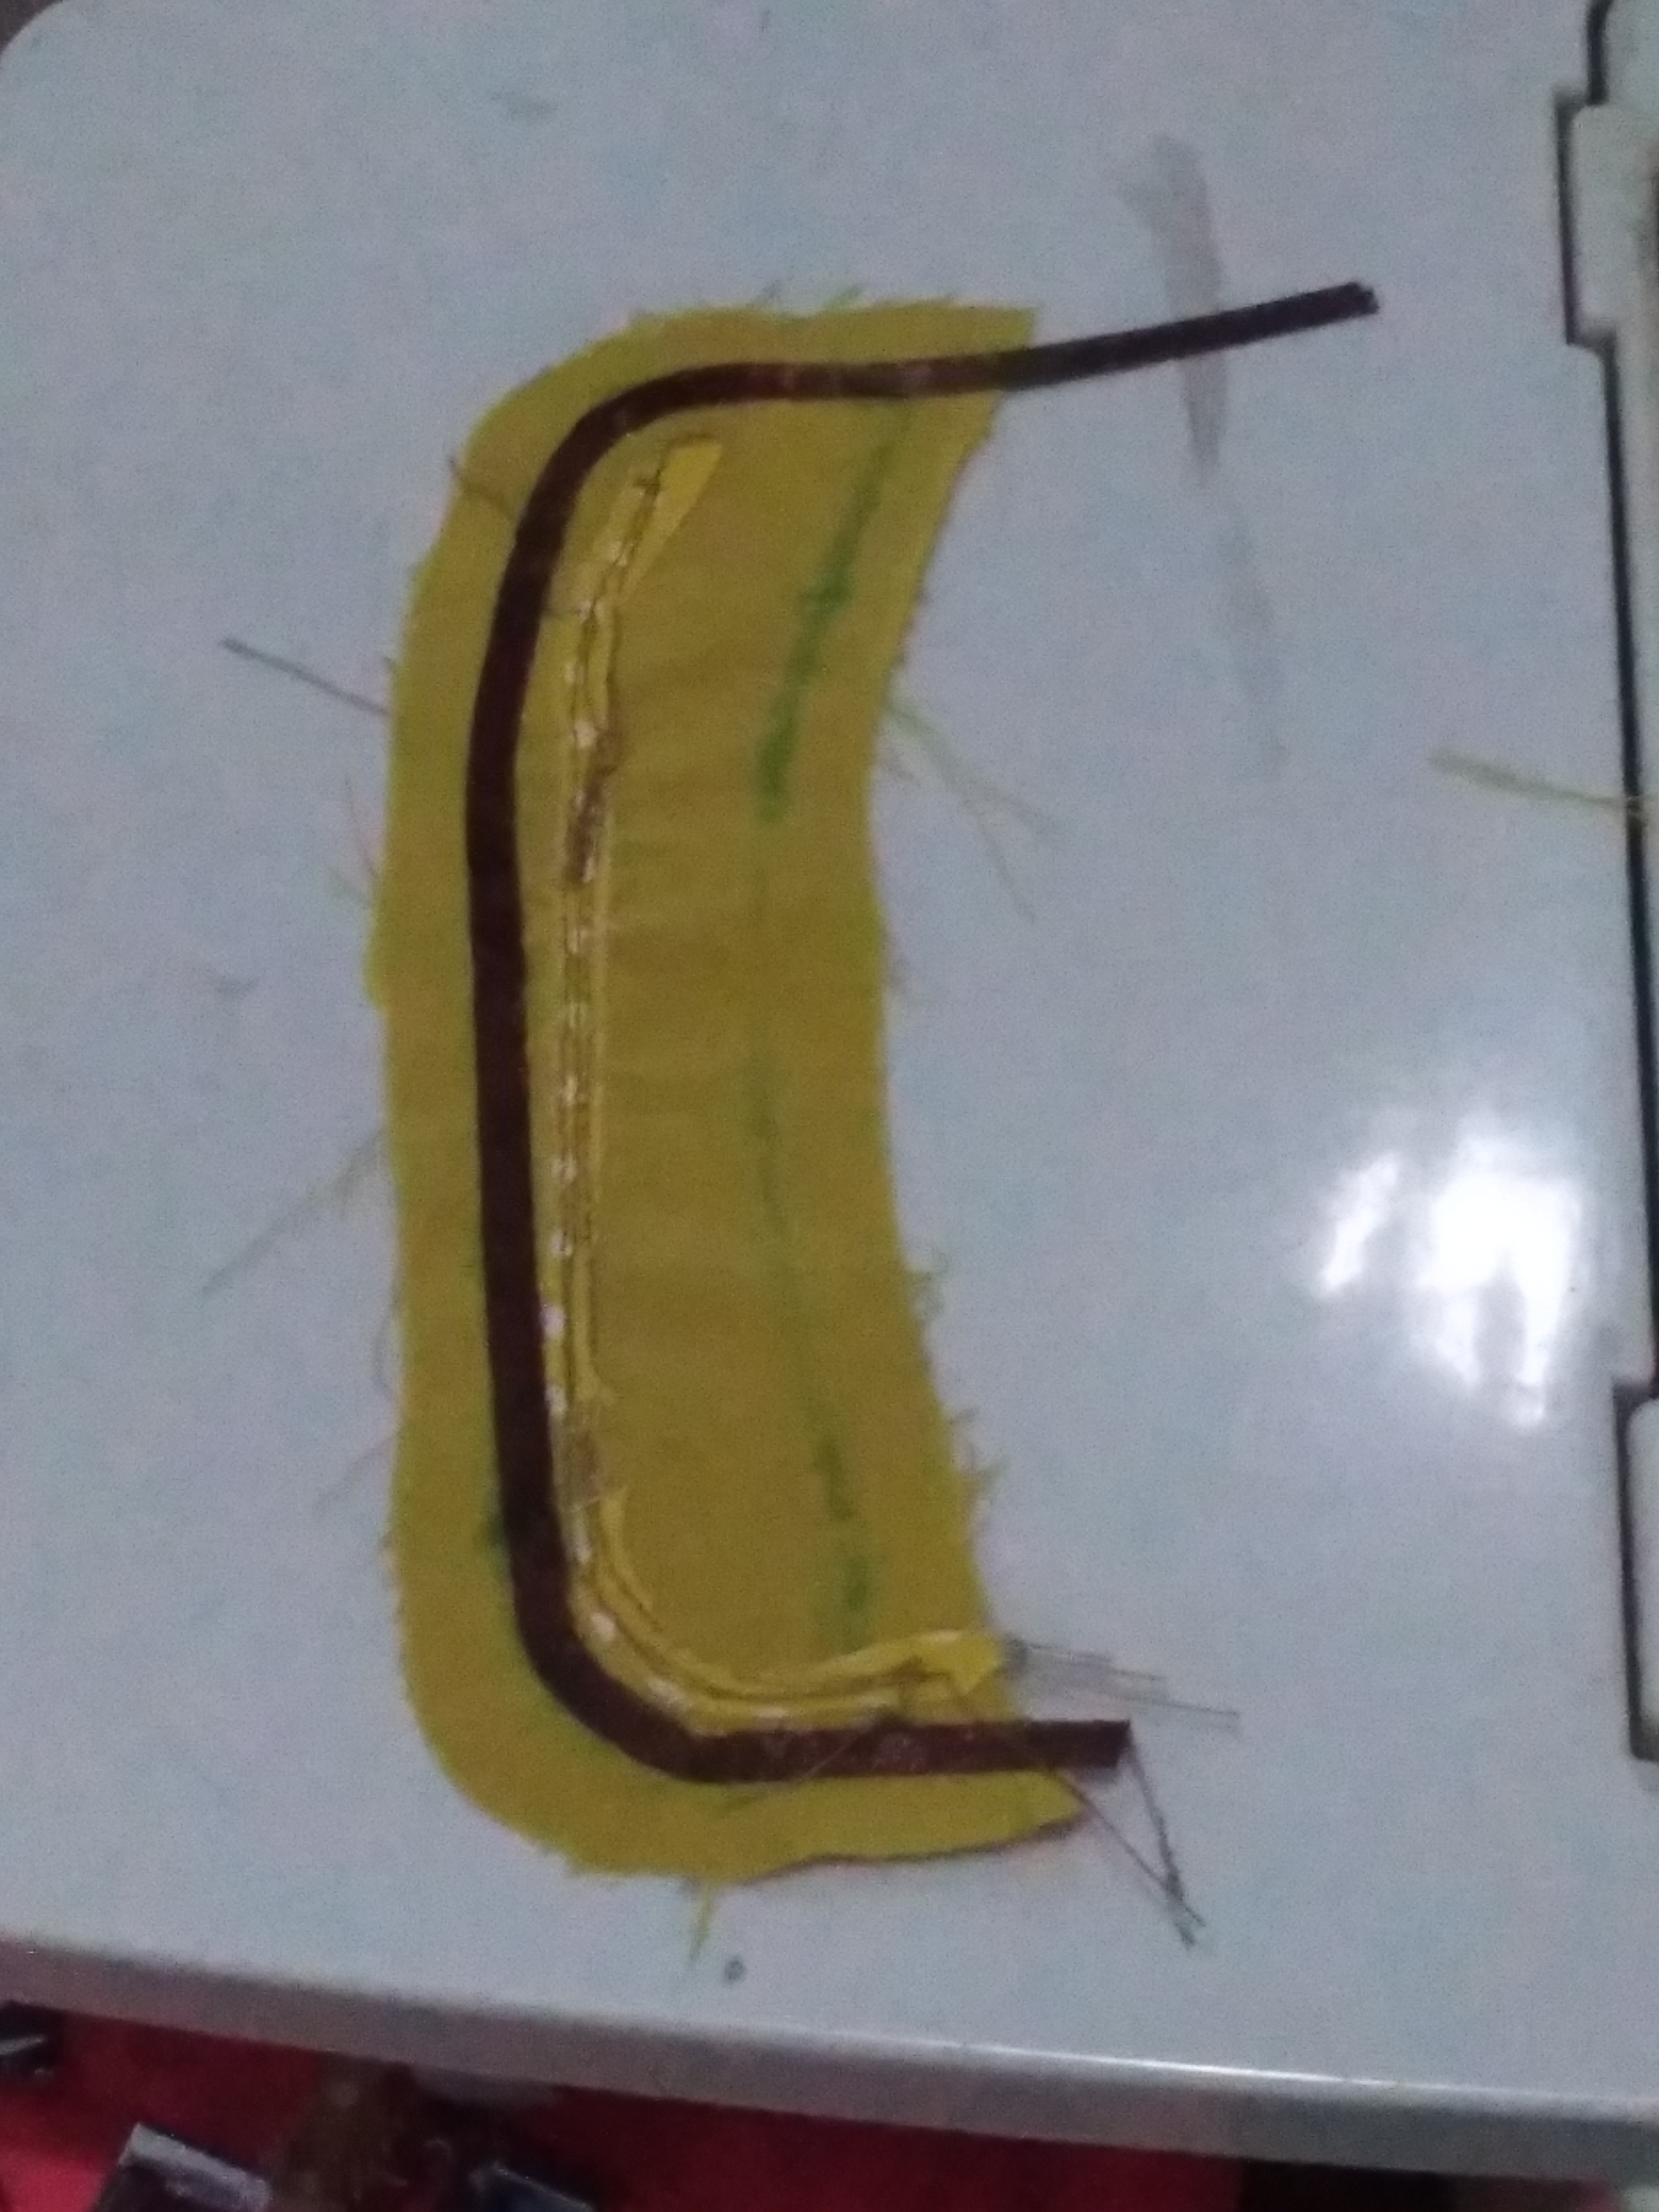
In current project, I am going to R&D sewing ribbon on collar. It is quite challenging for me because the curve side make it difficult for ribbon to follow when is being sewn.

I forgot from where I got the idea but here I am using FABRIC GLUE to attach the ribbon on. It is under process. I have not known if the pen marker can be washed. I have not know if it’s better to sew it. It is a very raw idea under process. I will write more about this later.

The first step was just glue the ribbon then iron it to make the ribbon stay. Do it gradually. Apply glue then iron, apply again and iron again until we finish. It may need some practice to make it perfect.

Posted in R&D

Rubber Band (Tape) With Holes

Above is the rubber band I mentioned in my previous post. It’s quite common now. Kids’ pants use it a lot.


Please zoom it to see it.

I learned from store pants I bought for kids while ago. The points are:

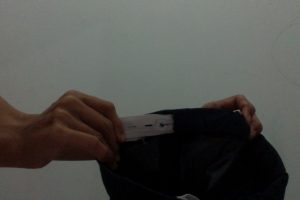
  1. Make a ‘vertical straight hole’ on the waist band. The height is same as the height/width of the rubber band. Use the ‘making-button-hole’ feature in your sewing machine. Make it 2 holes, right and left. Just estimate yourself how many cm from the middle front.
  2. Cut the rubber the length is from right hole-back waist- left hole  PLUS extra 5-8 cm. You don’t have to pull the rubber when measuring the length.
  3. Slip the rubber into one hole until it goes out on another hole.
  4. DONT FOLD THE WAIST BAND, YET.
  5. Sew the each end of rubber band on the waist band (the extra 5-8cm). I used zig-zag to attached it to the waist band. So, it would be about 5-8cm from the holes. It’s just ‘naturally’ attaching or holding the rubber to the waist band using stitch. Just sew with technique you think it’s neat and better and you can use any stitch you think better though. I set no rule here.
  6. THIS WILL BE THE INNER SIDE of the waist band.

Place a button UNDER the rubber; the position is between the end of the rubber and the hole on the waist you have made on picture no.2. Yes, somewhere under 5-8 cm extra length of rubber
You can place button before inserting the rubber though. Do whatever you feel easier for you to do.

Then, to wear the pants, don’t forget to slip the button into the rubber hole (unless, it fits already or using belt. (^_^) )


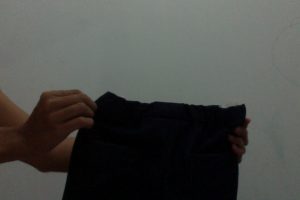
The pics are dark since i used notebook camera (T.T) but i hope my notes helps, too. The last pic shows the gathers created by the stretched rubber. The gathers are not a lot because I didn’t really make the waist too big. If I sew the darts and not adding the waist part, it could be fit for my boys. Yet, my boys’ body is hip-less (or waist-less? (^_^)” ), so, it would be better to add belt stripes or using rubber like this. (>_<). I was too lazy to make belt stripes and also, i don’t buy my boys belts. hahaha. I like this rubber (rubber with hole for exactly) style. Well, I can’t say this pants style/design is very formal but sufficient for any occasion for kids. Also, if the rubber has depreciated and not too stretchy anymore, we can still adjust the waist part buy pulling the rubber and hold it with button.


*There is another technique to make pants with rubber more formal style. It’s quite ‘difficult’ though. I think, i post the video here long time ago. Not my video. It’s from youtube. I don’t use the technique here as I don’t want to make formal pants, instead, just a.s.a.p pants.

Using Tricot On Doll Clothes Collar (part 2)

Without my realize, i was working on yosd size. (I thought this was msd size because the height was msd).

The collar looks really good. The tricot theory works well. Anyway, as long as you don’t keep checking the bottom collar like third picture, it won’t be seen bad. It is ok in doll clothes but not in human clothes. It’s another toleration when sewing doll clothes.


Using Tricot On Doll Clothes Collar

It’s been a mystery to me how companies can make good collar. There are solution for small size collars:

  1. fabrics.
    1. The fabric must be thin yet not too thin.
    2. Thin is not enough. The fabric must not ‘stiff’. If you think, chiffon is thin and good for doll, no. It’s not always like that.
  2. No use of interfacing.
    1. Interfacing can add thickness. Even if with thin interfacing, still.

With those theory, I still don’t feel satisfied with my doll collar.

One day, i bought esadol school suit/jacket. The collar is very nice and fall on the bodice well. I then started watching the collar. The bottom collar uses very thin kind of fabric. yet, it’s sticky. I didn’t know what it is and how come it was sticky to the top part of collar.

I’m working on a project with collar right now. I was thinking about esadol jacket. I then think, perhaps… TRICOT? (please google: tricot interfacing to get to know what it is). Could it be? I was not sure myself but I did cut tricot as the bottom part of collar instead of same fabric or thinner fabric.

I am processing it so I don’t know the result yet. Wanted to do it this evening but i was afraid, it might take more concentration than usual. I couldn’t do it if my boys are around. If I did a mistake or if the theory is wrong, I might doomed.


(Difficult) Washable Pen

I bought this pen from my seller friend. I thought, it was just like another washable pen I had. Apparently, it is NOT. I used the remover only once on this project and the stains were not disappeared. It was still there. Very hard to be removed. I then had a feeling that this will be very difficult to be removed even with another good stain remover or natural stain remover. Even i used the best detergent before remover to remove the stain. This detergent is one i’ve been using since may be i was in college.  It’s very-very good quality so far. I didn’t want to use another removers as I know it may degrade the color. I just want to use ONE technique at ONCE.  I then remember, a batik artist in my country used  regular spidol to draw the pattern. I asked, will the mark disappear? He said, yes, in the process, it will. He uploaded the picture of batik processing someday and I saw he used hot boiled water. I then used the technique. Instead, I boiled my project, I just poured the hot boiled water into a basin with regular detergent I always use. IT WORKED! Goodness!

It is better to use hot water once rather than using remover over and over. I had experience with using remover more than once on a project. It didn’t work and it ruins the color. Using the hot water, the color will yes, it will slightly degrade but I know my fabric is very good, high quality so  I was confident enough to use hot water. As long as not over and over again. Combining with good detergent really gives good impact to stain.

I want to take the picture of the pen that crafters must avoid but there’s no brand too as I only bought refill and I didn’t have the pen already TAT.

The pen tint is light blue. There’s no other tint color series from this ‘brand’. There are another pen from different brand (I think) with some colours series. That pen is ok. Only the pen with light blue (not marker. Light blue marker is ok).

Pattern on Fabric

My latest project is sewing a kid’s clothes (girl). For charity actually. When I was pinning the fabric, somehow, my mind was drawn into the pattern of the fabric. I then became very observing. I noticed that the pattern which i thought first is like ‘mirror’ (or ‘two direction’ pattern), it wasn’t. It was actually one direction pattern. So, when it’s cut, the seamstress will need more fabric to create a project (so the pattern is ‘correctly’ seen). This fabric is kind of unique as i really thought it’s two direction pattern fabric instead of one.

Other fabric that I noticed is polkadot fabric. It is NOT random or abstract. It is in fact a very arranged pattern. So, if one cut it not straight, it will look odd. It’s especially seen in small project.