The ‘Key’ in Yukata Project

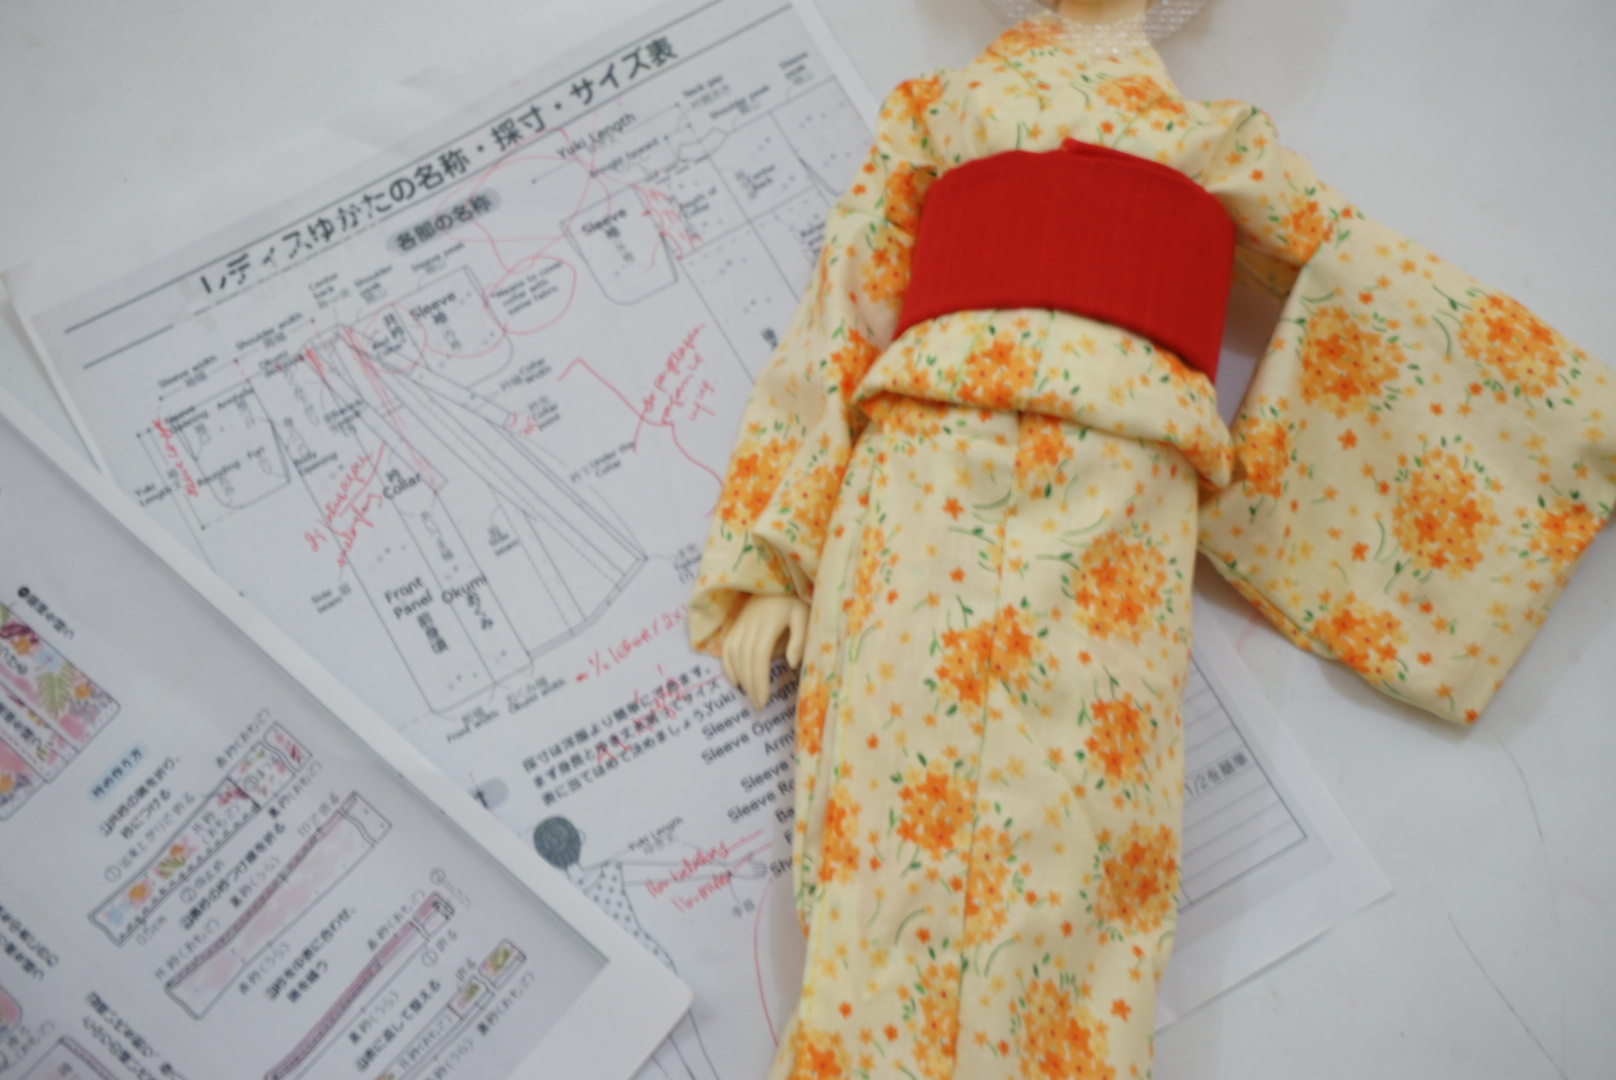
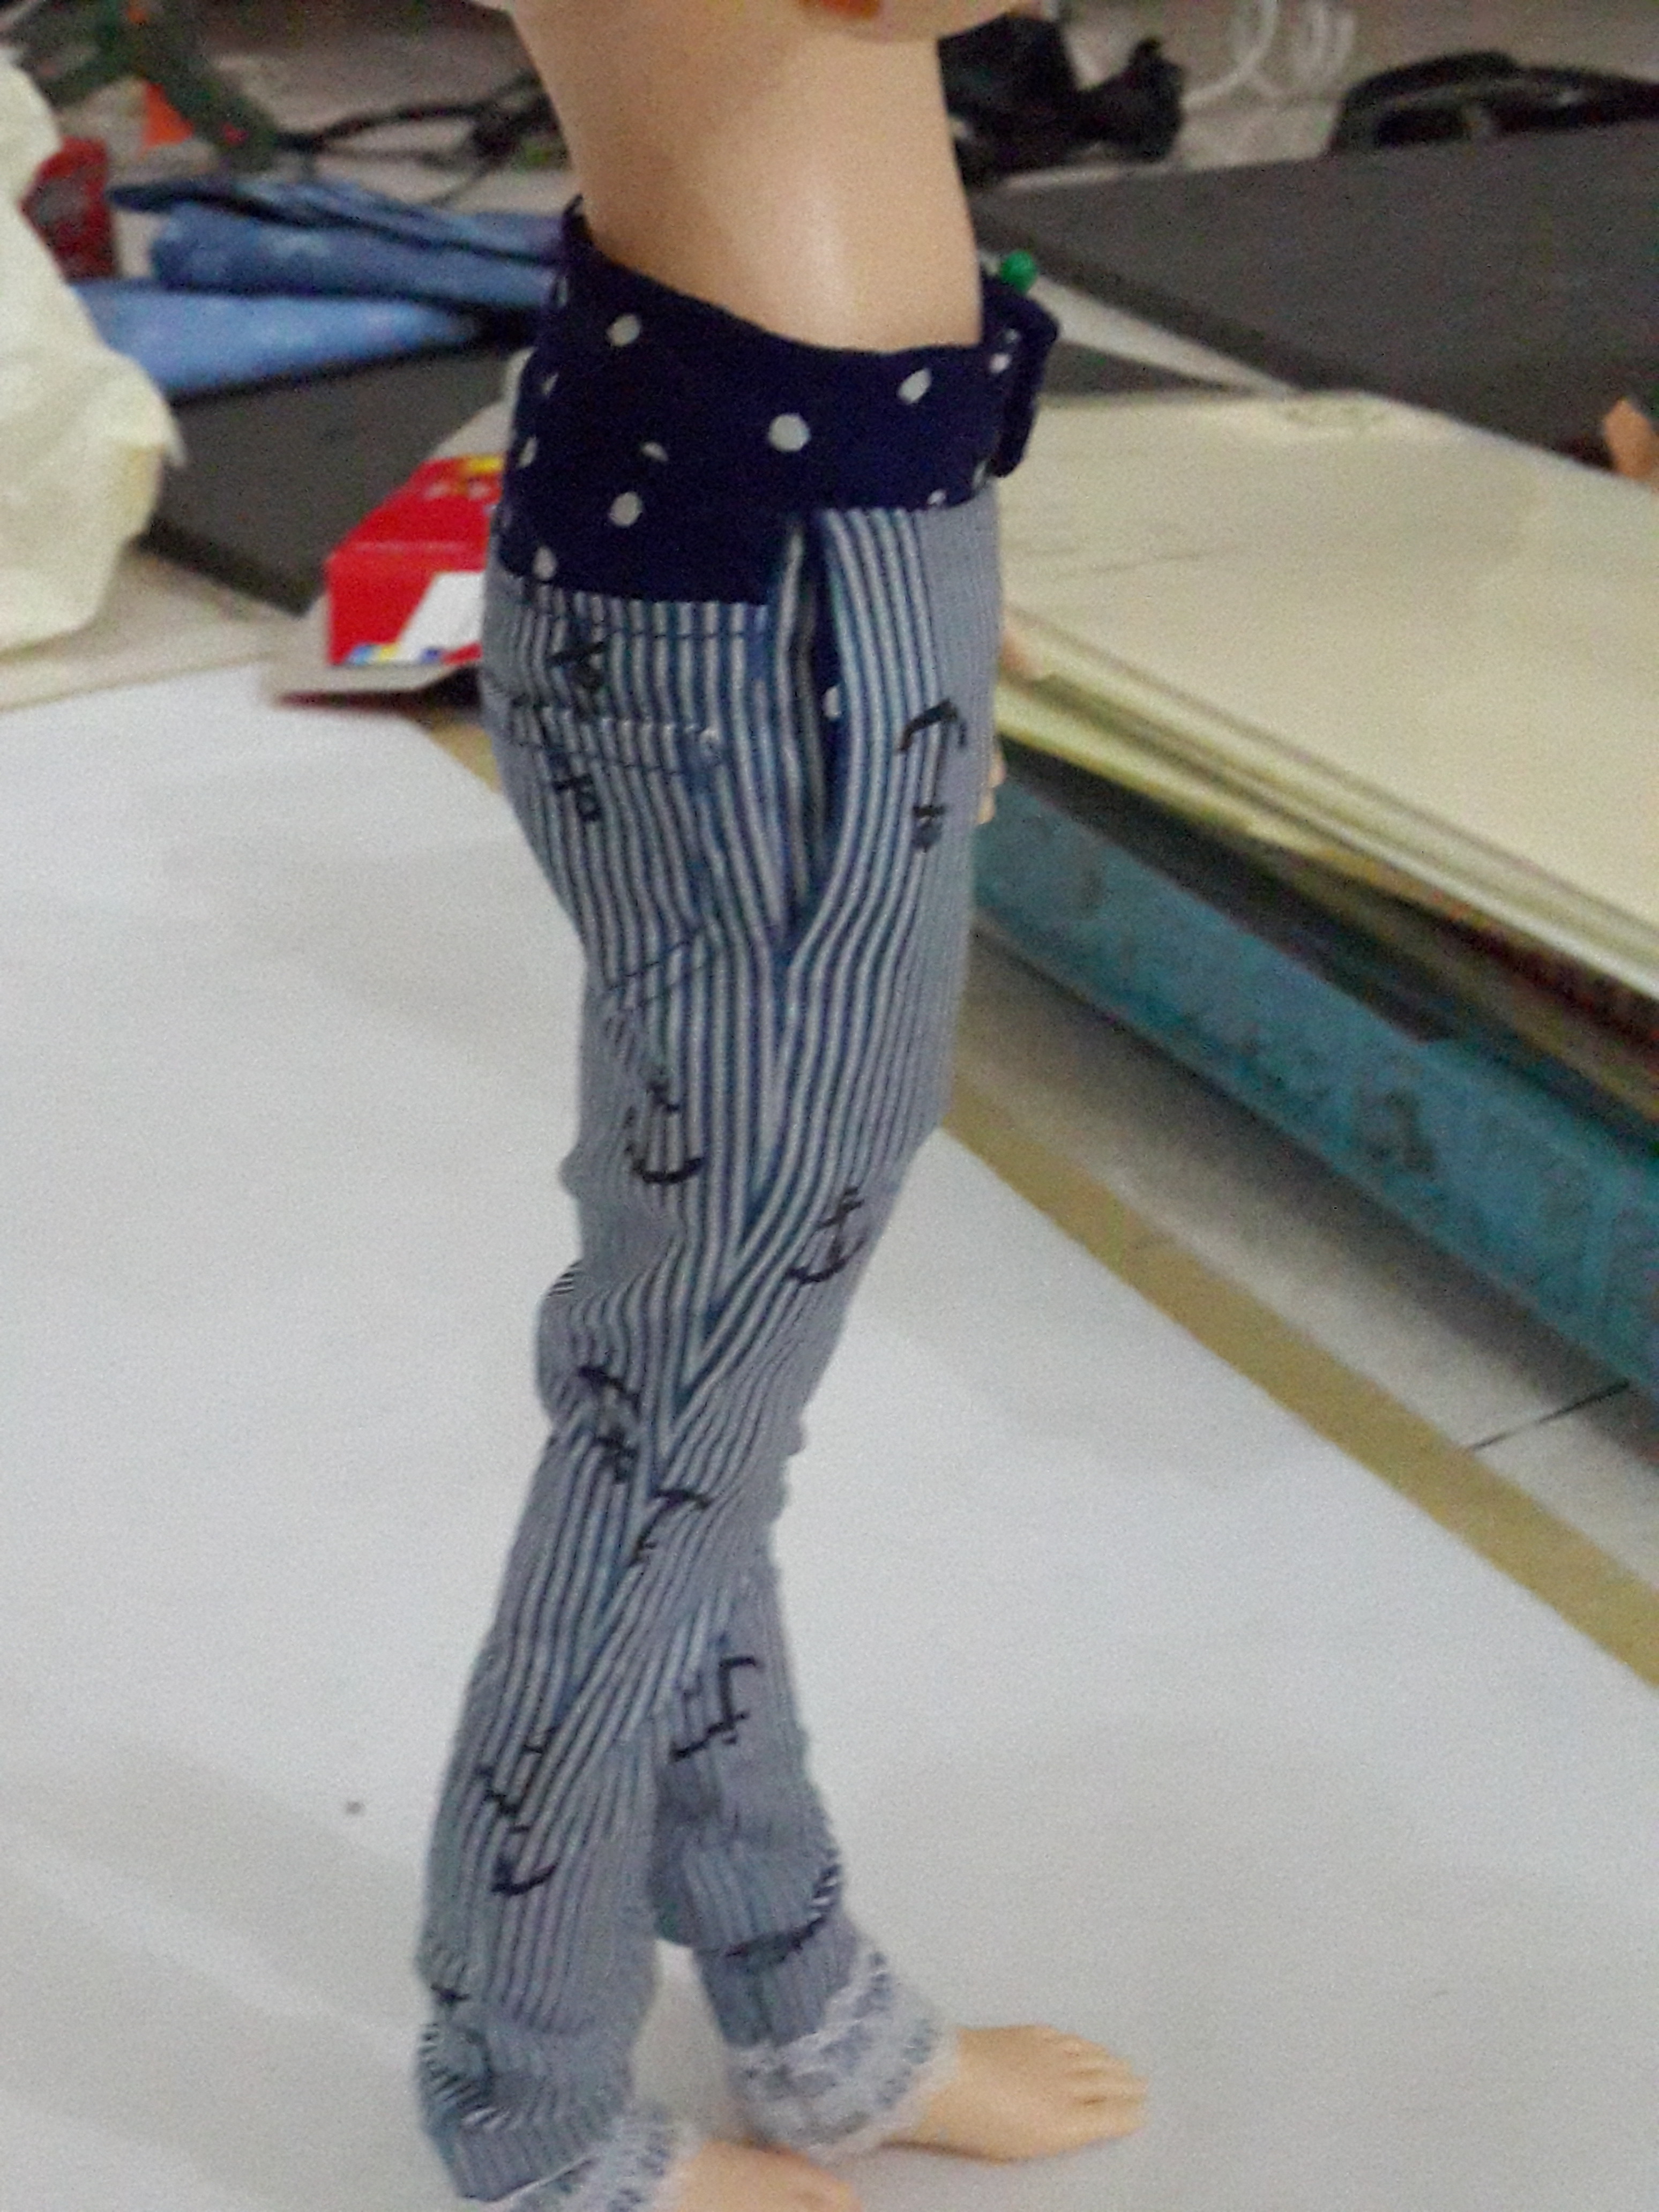
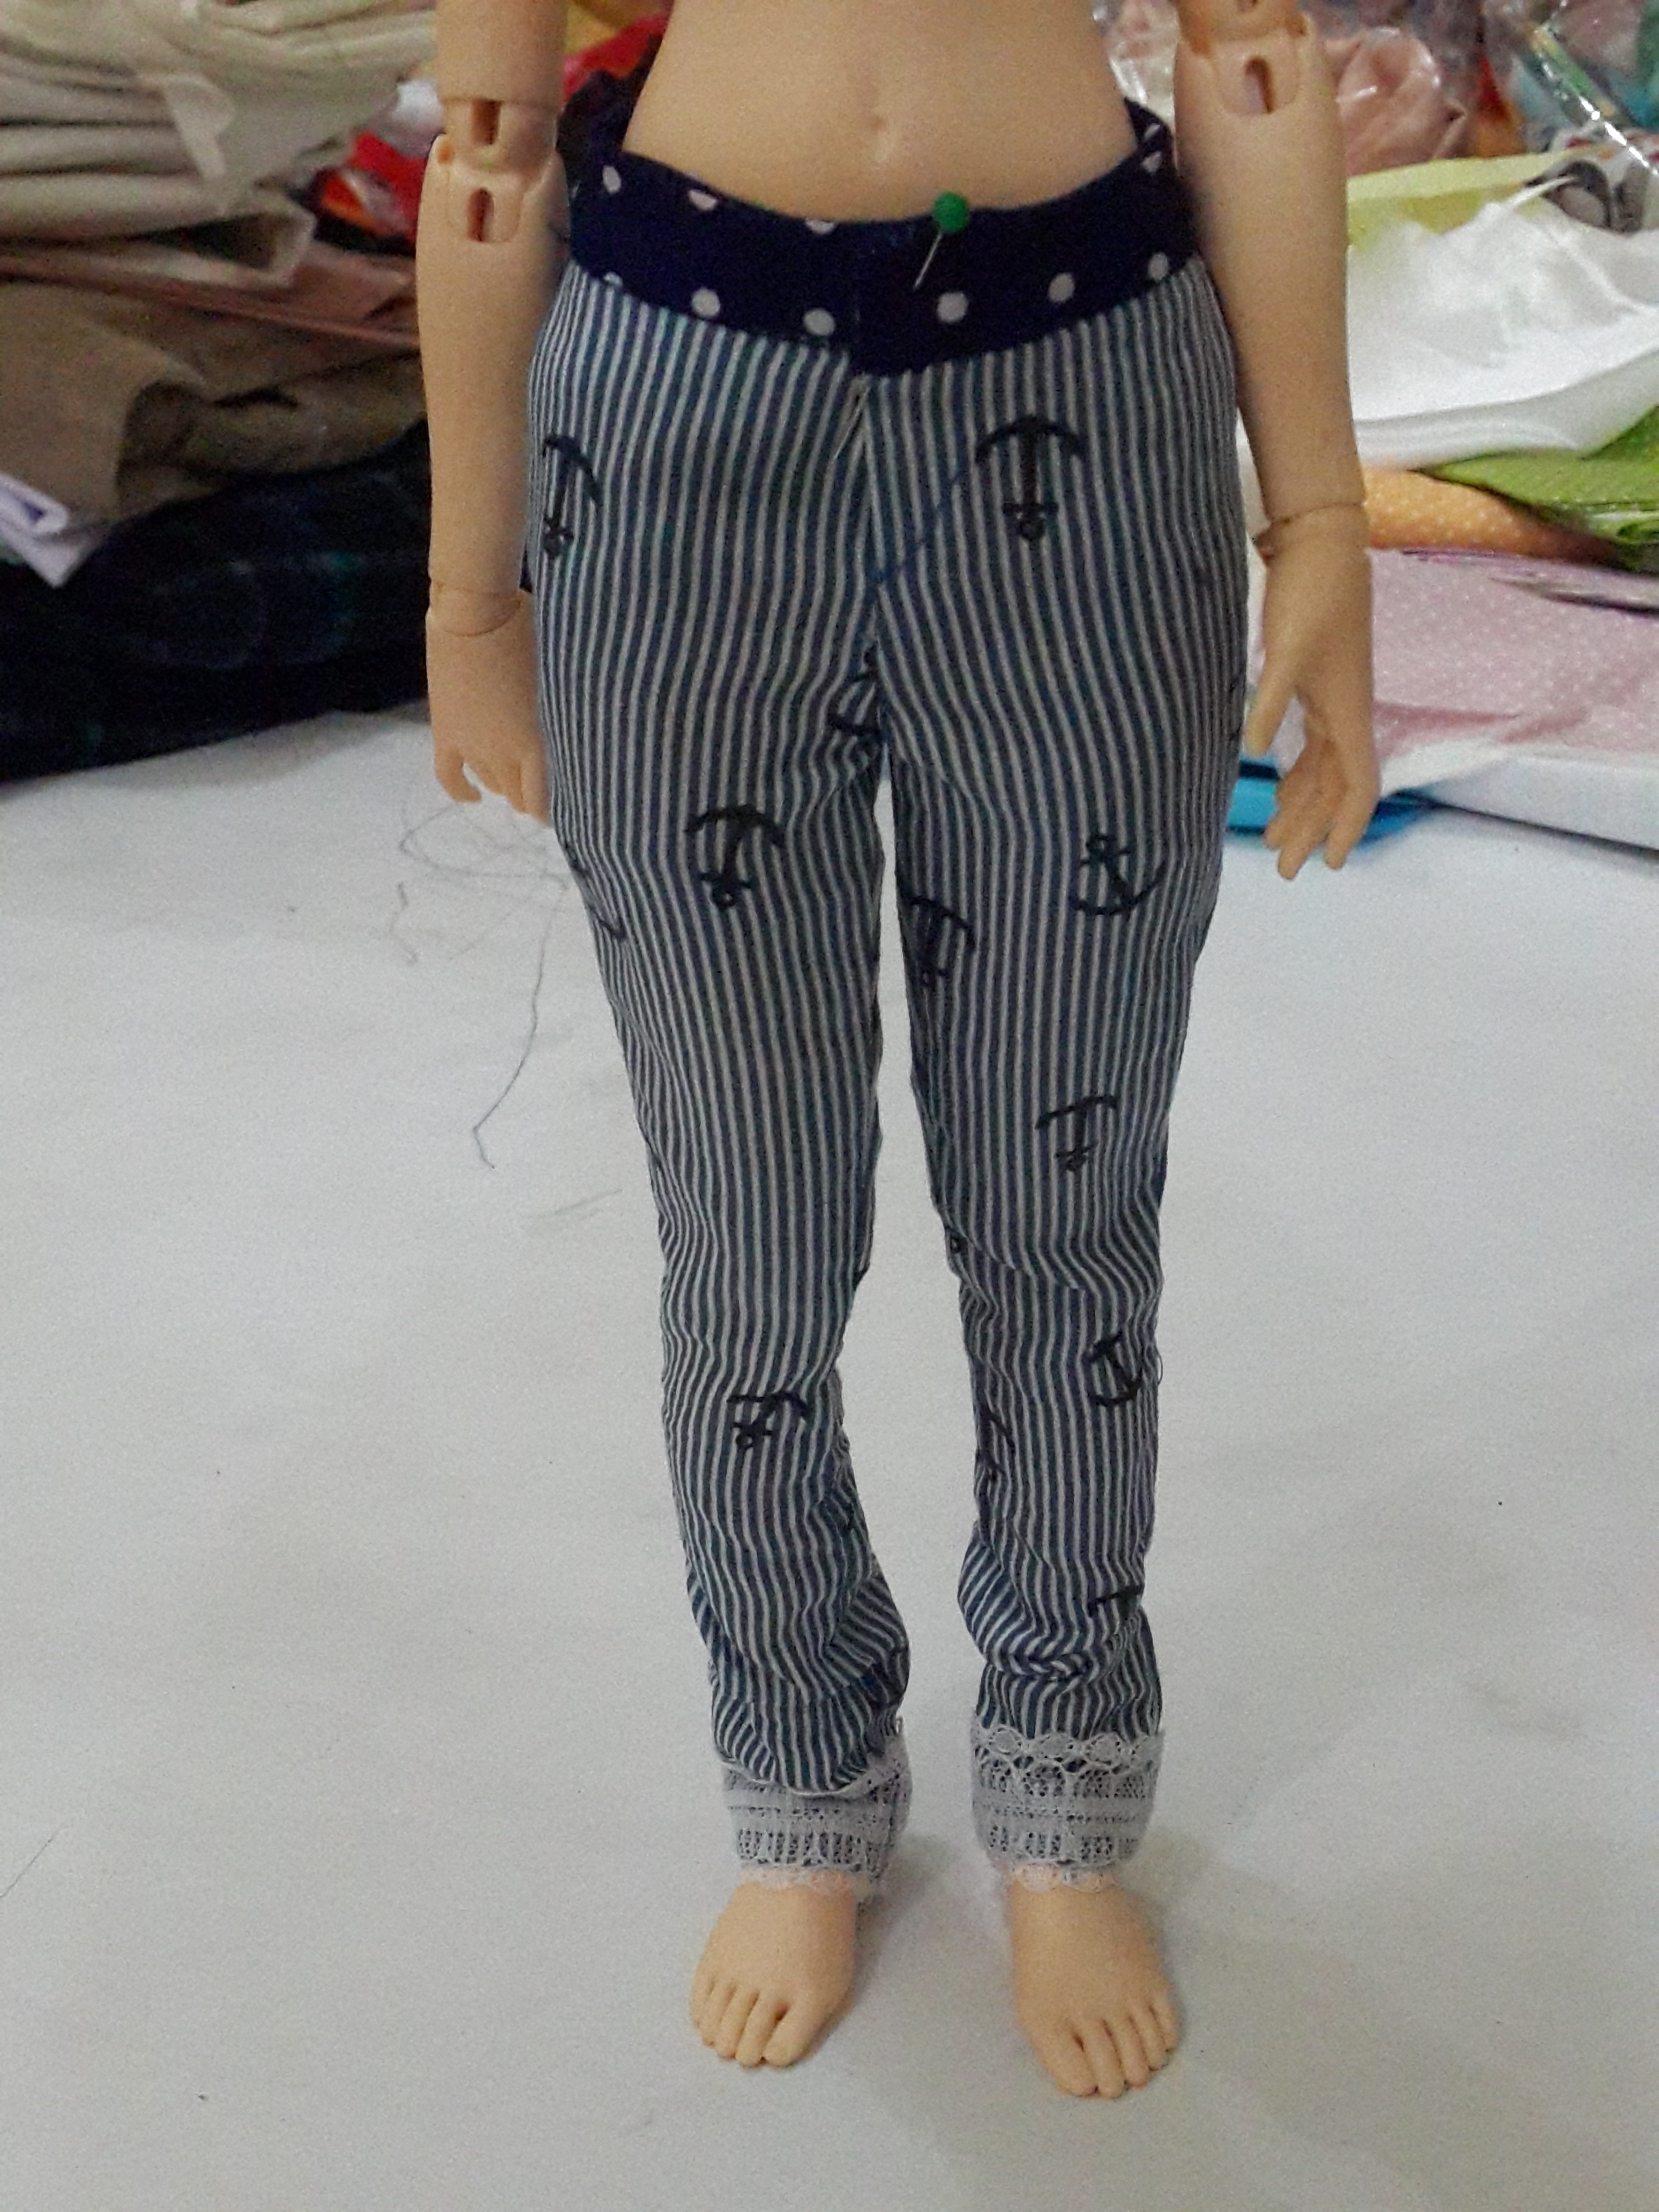
after sewing ‘lots’ of yukata, i just realized few minutes ago that (one of) the key is on the length. The length must be right so the ‘excess’ on the waist part to be covered by obi won’t leave too much wrinkles. That’s of course, besides the width of the yukata; it is important, too, but i think, the length is same important as the width. I made yukata for about 60cm doll but i made the ‘length’ of yukata 2cm (or more) more than that. I couldn’t understand, why the wrinkles were still a lot while the i’d reduced the width. I then analyzed a bit and got an idea to shorten the length. voila! Wayyyy better. The yukata becomes more manageable easier too.

These are before i cut the length

FB_IMG_142630084281220150314_085842

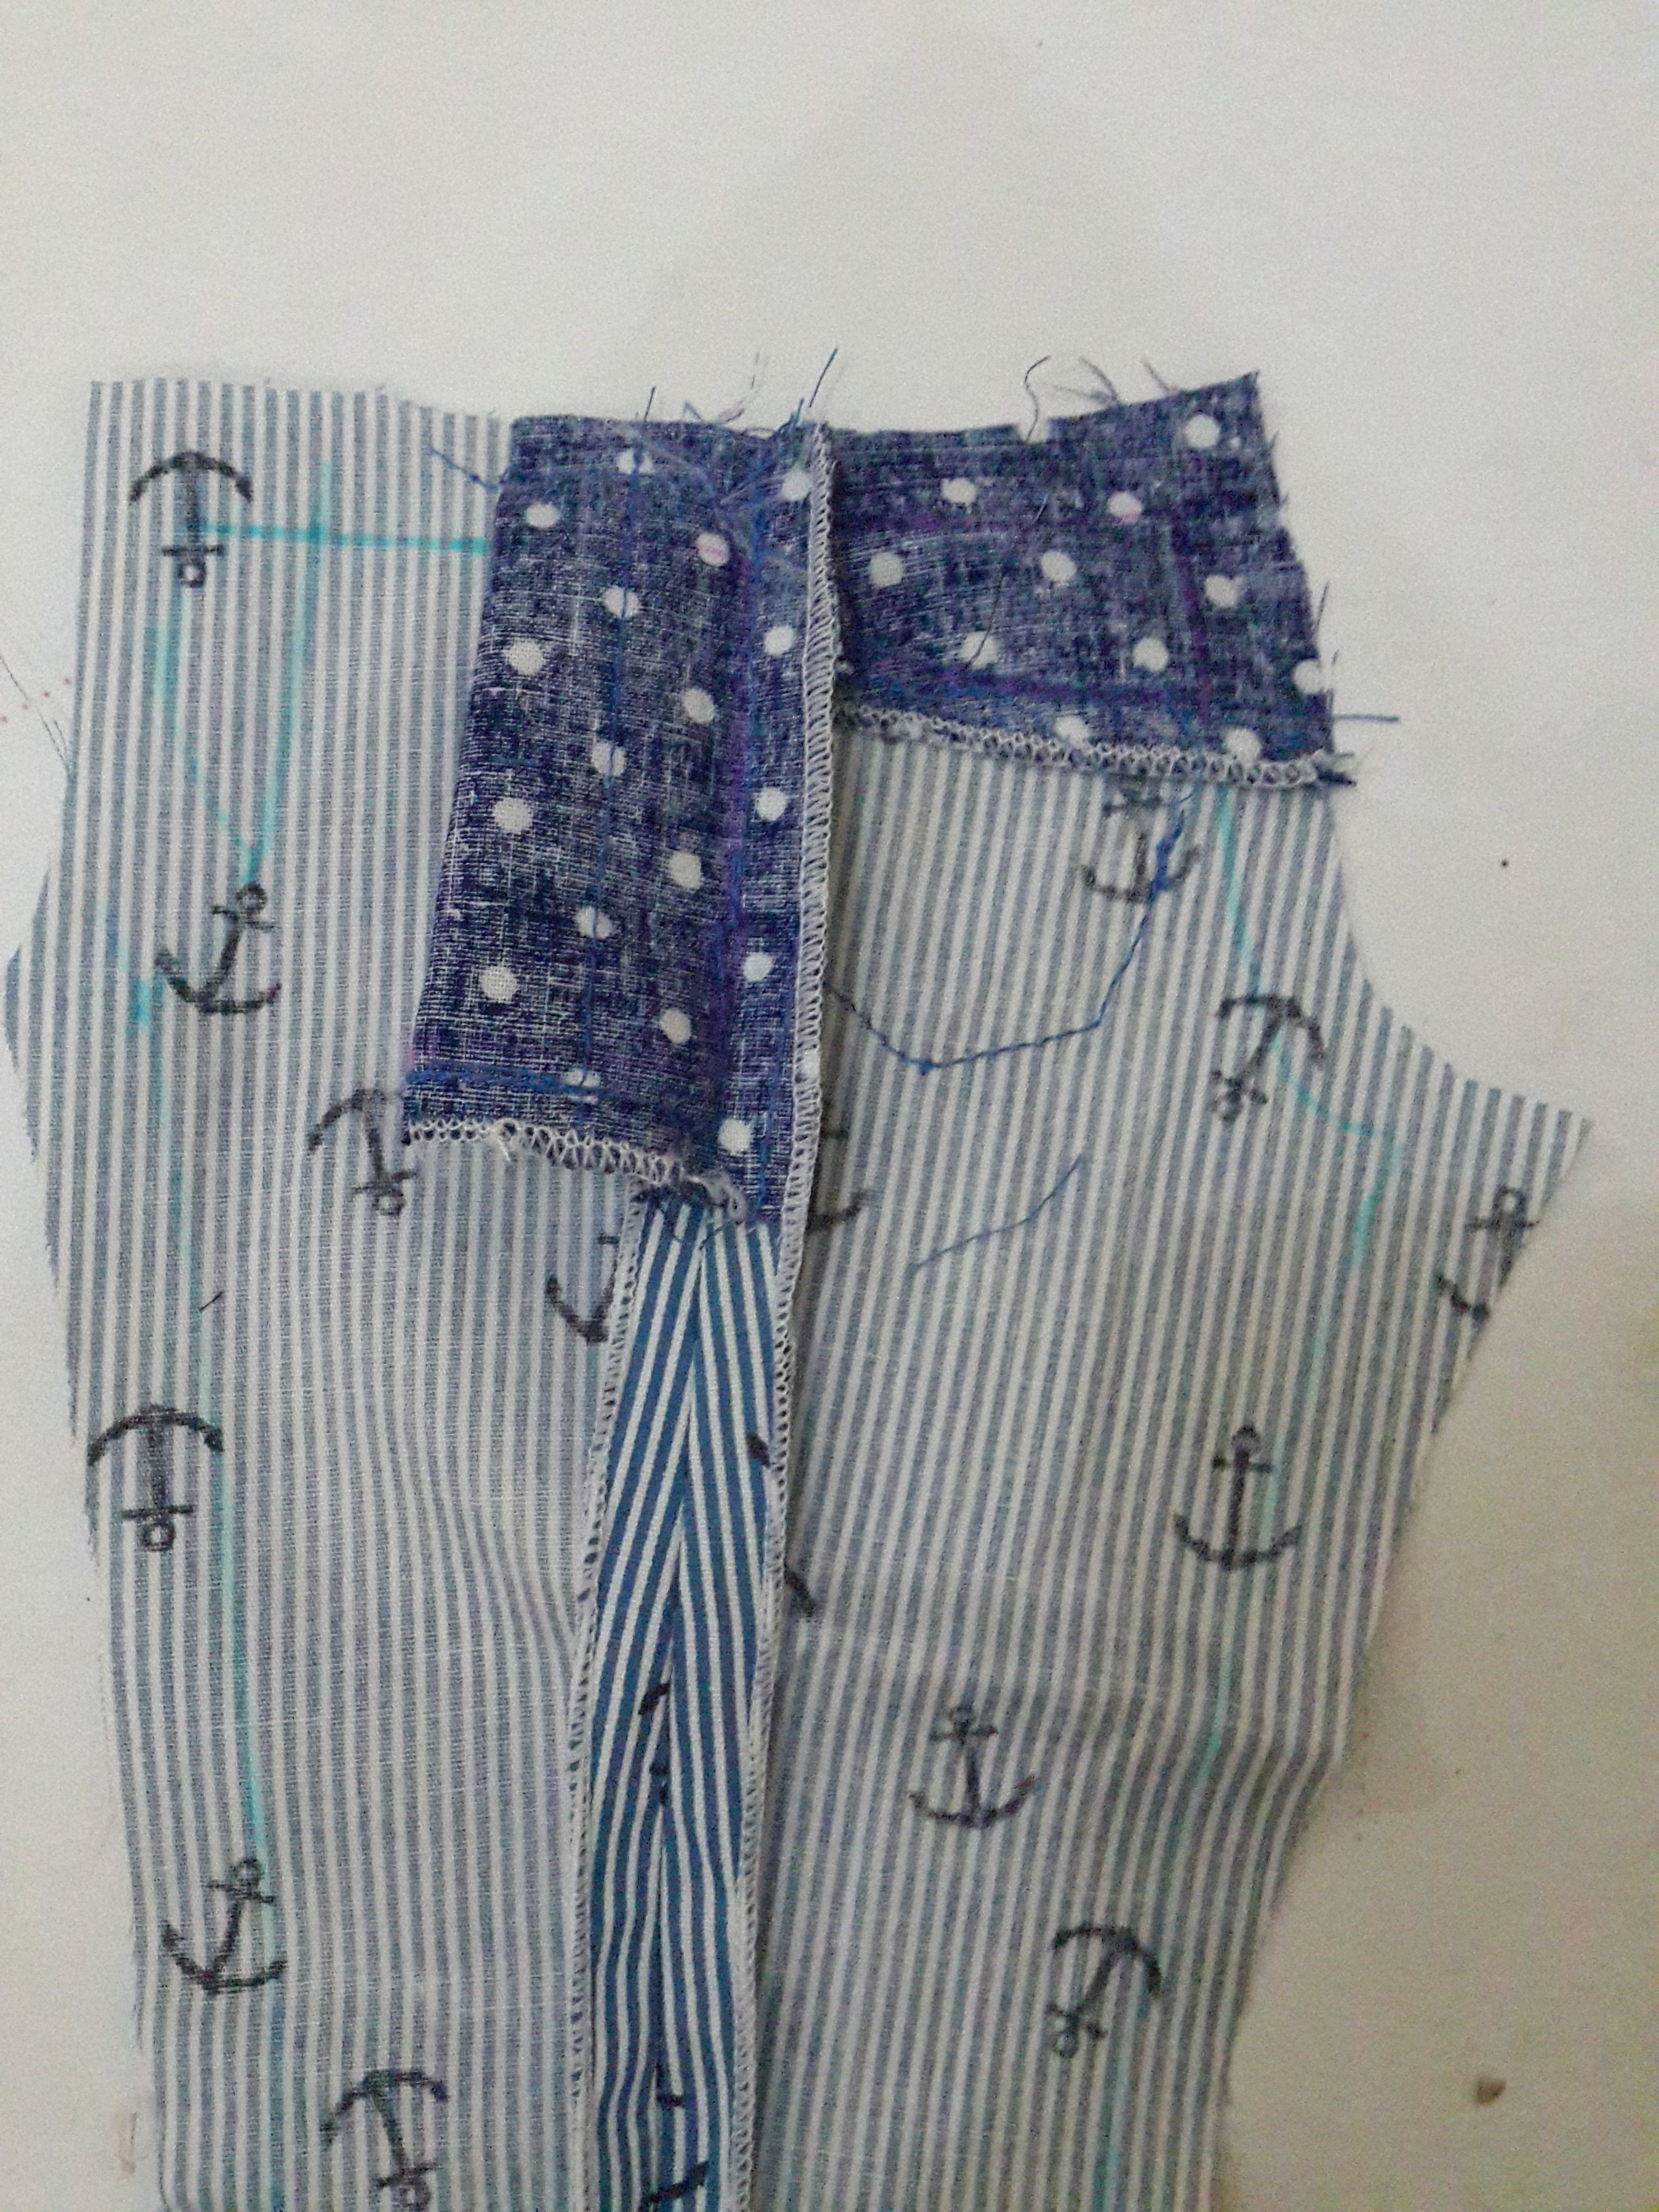
dont mind abt the obi. hahaha. i just used whatever stripes around my working room. the left batik one is kind of cotton fabric. i think it is parish or rayon. not really thick rayon but thin. i like the fall on the body.

the right one is crepe. it is amazing! this fabric falls better on bjd than satin, chiffon, and thinner satin.

i cant stand to serge the seam though it was an r&d project. XD

Fasting…

So…

i’m ‘forced’ to have doll fasting… TAT …no doll hunting until next year easter. TAT . I’d been ‘warned’ and I ignored…

Oh…if you don’t believe in God, well, I do… (^_^)… Feel like I have to do fasting until next year easter…not this year easter… (^_^)’…me is naughty naughty daughter…can’t call myself a daughter because i’m naughty TAT

Yukata-Back To Basic (Human Yukata)

yukata


I have the book but i left it in my teacher’s house. So, i printed from internet. Anyway, after 3rd-not-so-satisfying patterns, i decided to use this pattern. I actually ‘learned’ about it but then since it was too confusing, i made it myself. And now, i went back to this pattern and tried to understand eventhough still a bit confusing. Result? With a bit different understanding, i found it that this is the BEST so far.

Yet

I’m also waiting for my purchased yukata. I want to know myself how a good-made-doll-yukata looks on my doll. I also want to know how they did the finishing, so if i want to make and sell yukata, my handmade quality will not be too faaaaar behind. (^O^)””’…

YoSD Casual Clothes Project

20140815_103722 20140815_103814


I never made yosd clothes ‘seriously’ before. I just made it. Looked ok. and that’s it.

This time, i take it a little bit more seriously in a more simple project. I make long pants for yosd and make sure the fitting is ok. I didn’t mean to make a ‘sexy’ very fit pants. I just want a casual pants, so the yosd will look as ‘young’ sd or as a kid. If you think making this kind of not-too-fit clothes is simple, not for me. It’s not an easy project actually. In my head, clothes must be fit and that thought drives my hand to create pattern. I rarely make a pattern that is a little bit loose (or not too fit). YET. I must say, i’m proud of myself that I managed to make it for this project only in ONE trial. Hahaha…I’m so happy!

The T-shirt is something i want to try as well. I didn’t serge it since i’m afraid, the fabric can be stretched out too much. Yes, I use stretch cotton fabric. There’re some notes I would like to share here:

1. Using zigzag is the best for hemming when you don’t have special machine to sew fabric like this.

2. I tried a sewing feet that was said for sewing this kind of fabric but I don’t feel it’s great in terms of sewing small curves which the doll clothes have.

3. There’s a special needle for that but since the needle is too expensive, i didn’t use it. (^o^)”’. Not, for this one.

4. I didn’t serge it but I trim it with zig-zag scissor.

5. Set the feet pressure not too high so the fabric can pass the feet more smoothly without being too much stretched out.

It’s a bit tricky when sewing this kind of fabric. Trial and error can happen. I did it in 1-2 trials. The good thing about using this fabric is, (may be) we don’t have to make the pattern as a strict good-fit one. It’s ok a bit too small or tight as the fabric will adjust itself to the body due to it’s stretch nature. But again…it’s own preference of how we want the t-shirt look like on the body, YET, in my personal opinion, I don’t take it too ‘strict’ when making the T-shirt pattern. (^_^)d.

Sometimes, I just want to play

20140801_154409 20140809_132014


Those are my new work for my dolls. i’m going to sell them but somehow… I don’t know…somehow, I just feel, I just want to play my dolls without thinking of having business with it.

Sometimes, I feel discouraged to do business (again) but some good words came out from good people and encouraged me to do it again.

I guess…I’ll try again.


Anyway…I would like to say a bit about the bustier thing. I chose sailor fabric and color theme to make this one. Sailor clothes is great but a bit boring since it’s too many seen. I want to give another ‘look’ of sailor theme by making this super sexy yet cute outfit.


Making pants for minifee, narae, and kdf (MSD slim)

20140713_134510 20140713_134558 20140713_134423 20140713_134400 20140713_123357


This is my first time makin side-slip pockets like this (I forgot the formal name. :D). This is not too difficult though need a bit trick. I put additional fabric same as outside fabric layered on top of the pocket which part is joined with the back side of the pants. We can absolutely use 1 fabric same as main fabric though. It’s just a trick so when the pocket is a bit ‘opened’ because of the pose of the doll, the difference of the fabric isn’t too obvious. It’s ok though to use different fabric to create a ‘difference effect’.

I serged the the fabric here. I use Singer White serging machine. I set up the machine so the serging result is not wide.

The fitting is great though I’m not good in taking photo to show how good it is :D. I will upload the pants for sale.

I’m still using sew-snap button instead ‘knocked’ one. I don’t know. I am still not confident to use that button. o.O”’


YoSD Size Project

20140707_14543220140707_134452

front

20140707_13395920140707_133939#1

back                                                                     lining

*I think, you might have to set the monitor light at maximum because the fabric is pretty dark and my camera didn’t capture the detail clearly.

I must take a note here for myself about where to sew first.

1. Middle Front and Back. Back is sew only about 1/3, left 2/3 for the opening.

2. Put Front and Back part on the CROTCH part. Leave the side un-sew yet.

3. Sew shoulders B and F together.

4. Repeat for the lining.

5. Sew together the main fabric and lining on the leg-holes part.

6. Sew together the neck line, main and lining.

7. Sew the sleeves, each main and lining.

8. Sew the lining side up to the bottom of the sleeves.

9. Pull the fabrics, main and lining out of the hole of the middle back-opening.

10. Sew the side of main fabric up to the bottom of the sleeves.

11. Repeat for the other side.

12. Sew together the middle back of main fabric and lining.

a. one side is sewn by hand. Fold inside and sew by hand.

b. one side is serged. Don’t need to fold inside. To make it easier to be serged, we can stitch it together or sew it together first and then serge it on top of the seam.


I can make it easier or sew it easier but here in my project, my goal is to attach the lining as neat as possible (‘main fabric seam’ is less seen). The fitting isn’t the main concern here but the shape is. I was aiming to make a ‘clown’ or ‘bear’ costume shape. It’s pretty basic pattern i made here, yet, from here, i wish to have time to develop the pattern into many cute style for YoSD size.

The size I made is for Asleep Eidolon size. Somehow, this size is the best since it’s a pretty ‘all-size’ YoSD size. I mean, i can use this size for Aidolls, Volks, and Momocolor. And because of the nature of the ‘figure-shape’ of the aidolls, the pattern turned out to be the best look on Aidolls. Isn’t that great?

I’m so happy with the result. I wish to have more time to develop this today but well…other priority must be served.

Pinkish!

20140406_111323

Love this style so much. The hat was made by Pitsucraft. Lovely.

The outfit was made by me. Love everything on her. Cute, sexy, and sweet at the same time.

WIP Baby Pink Dress

20140611_192616 20140611_192621


I still have to make a black frill skirt. Will do it later. This dress is…i don’t know how to say it. It’s easy but…yea…it’s easy to make. It’s a bit difficult when attaching the lining but not kind of really difficult. Just need to get used to it. Hahaha…

I actually made this dress as alternative plan B for party dress. I didn’t manage to finish it. Not even to start it. I made another dress before this from silk batik. I might upload it later here. Both are made from the same pattern but resulted in different look unless noticed well…


Cute VS Disco

Made this while ago but didn’t have time to upload here.

The first Dress is kind of trial. I used local fabric. I didn’t really like the result. I mean, in real, it looks shabby. I then tried to make it again with imported fabric. Love the result. They look great in photo but  not in real. I don’t know, I don’t feel local fabric looks great for doll clothes TAT. They have great patterns but not the quality of the fabric itself.

MARY CHOO

    MARY CHOO

20140415_165546


The second dress is kind of discotheque theme. Haha Ah, i should make a bra or stretched bustier. She looks too sexy. Haha. Anyway, this is a quick-made dress. I am not really satisfied with the result but it’s ok as I don’t plan to sell it (yet). Want to remake this kind of dress when I have time.

RUINA

RUINA