This is my second R&D wig. It was a mess. the fibers weren’t enough so I had to cut it again so i could finish it. The parting line is still the hardest so far. It is the fiber handling versus glue that makes it difficult. Need to practice more.

This is my second R&D wig. It was a mess. the fibers weren’t enough so I had to cut it again so i could finish it. The parting line is still the hardest so far. It is the fiber handling versus glue that makes it difficult. Need to practice more.

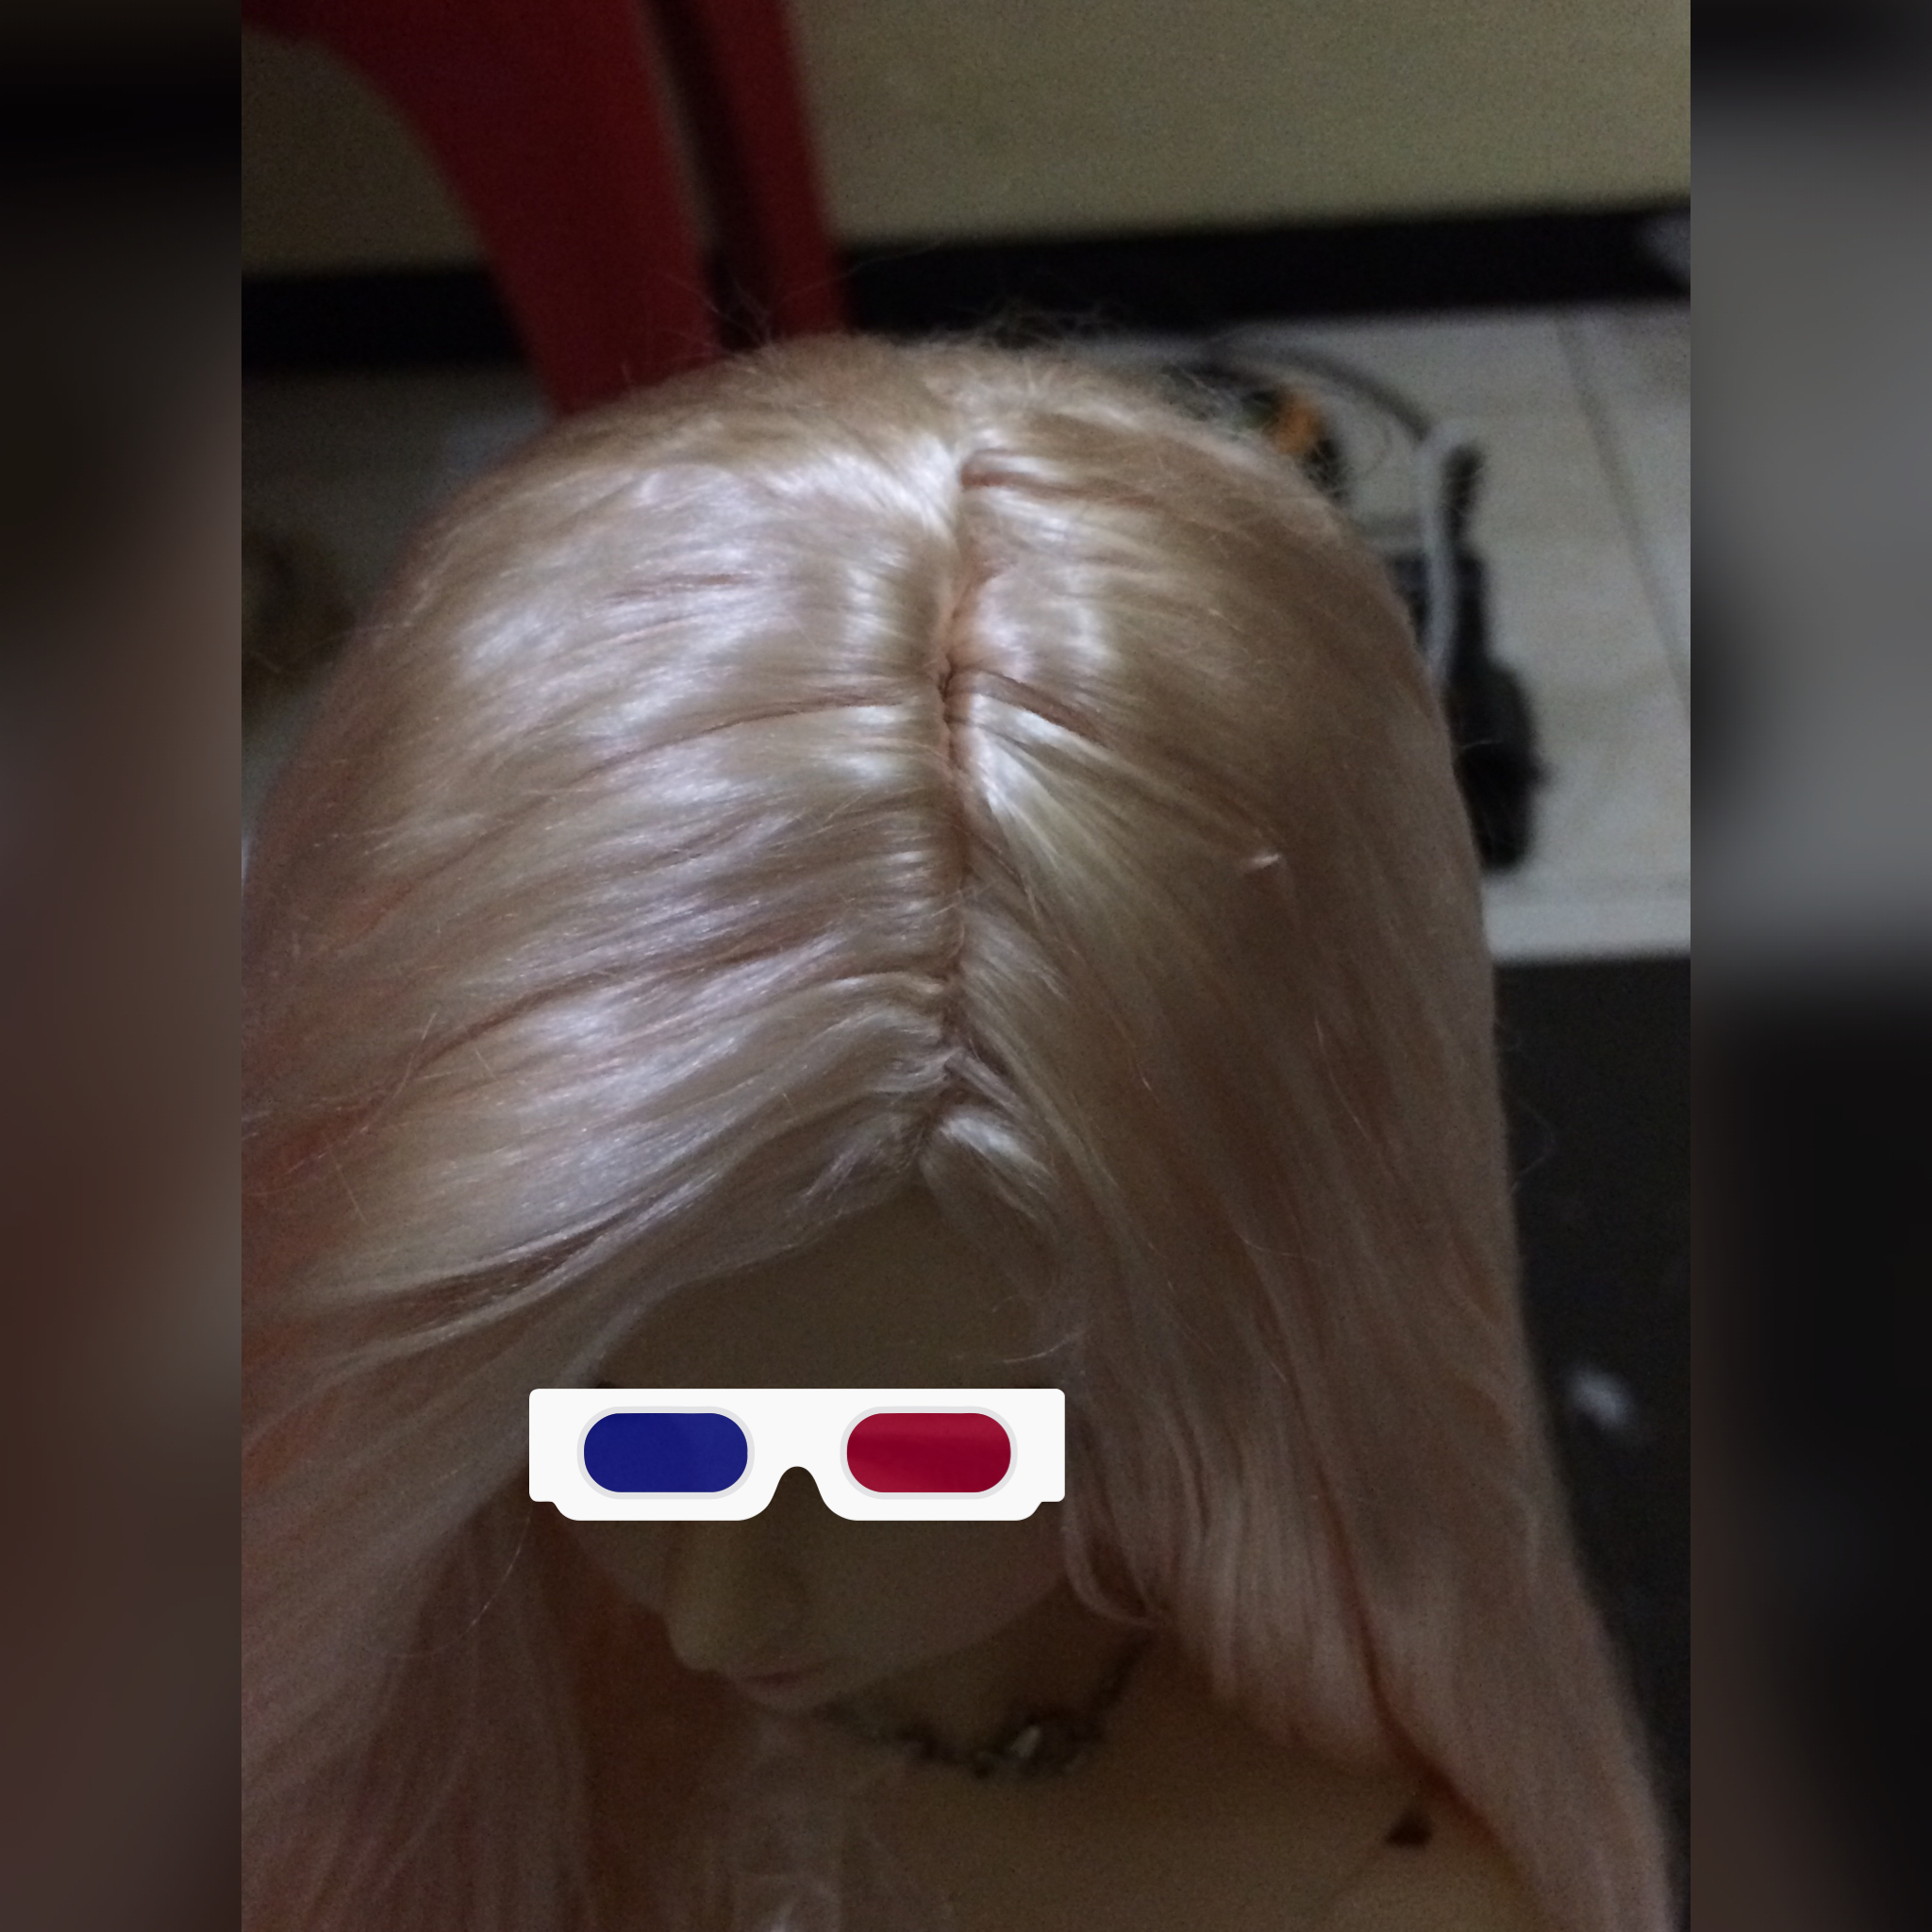
This was supposed to be my first trial but it was postponed because I ran out of fiber. Haha.
I changed the technique in the middle that why the right side of the parting line is kind of thicker than the left side (>-<)”’ .
I haven’t ironed the wig yet but already cut it. I haven’t had any knowledge about hair cutting so, yes, it was a mess. (^O^)”’.
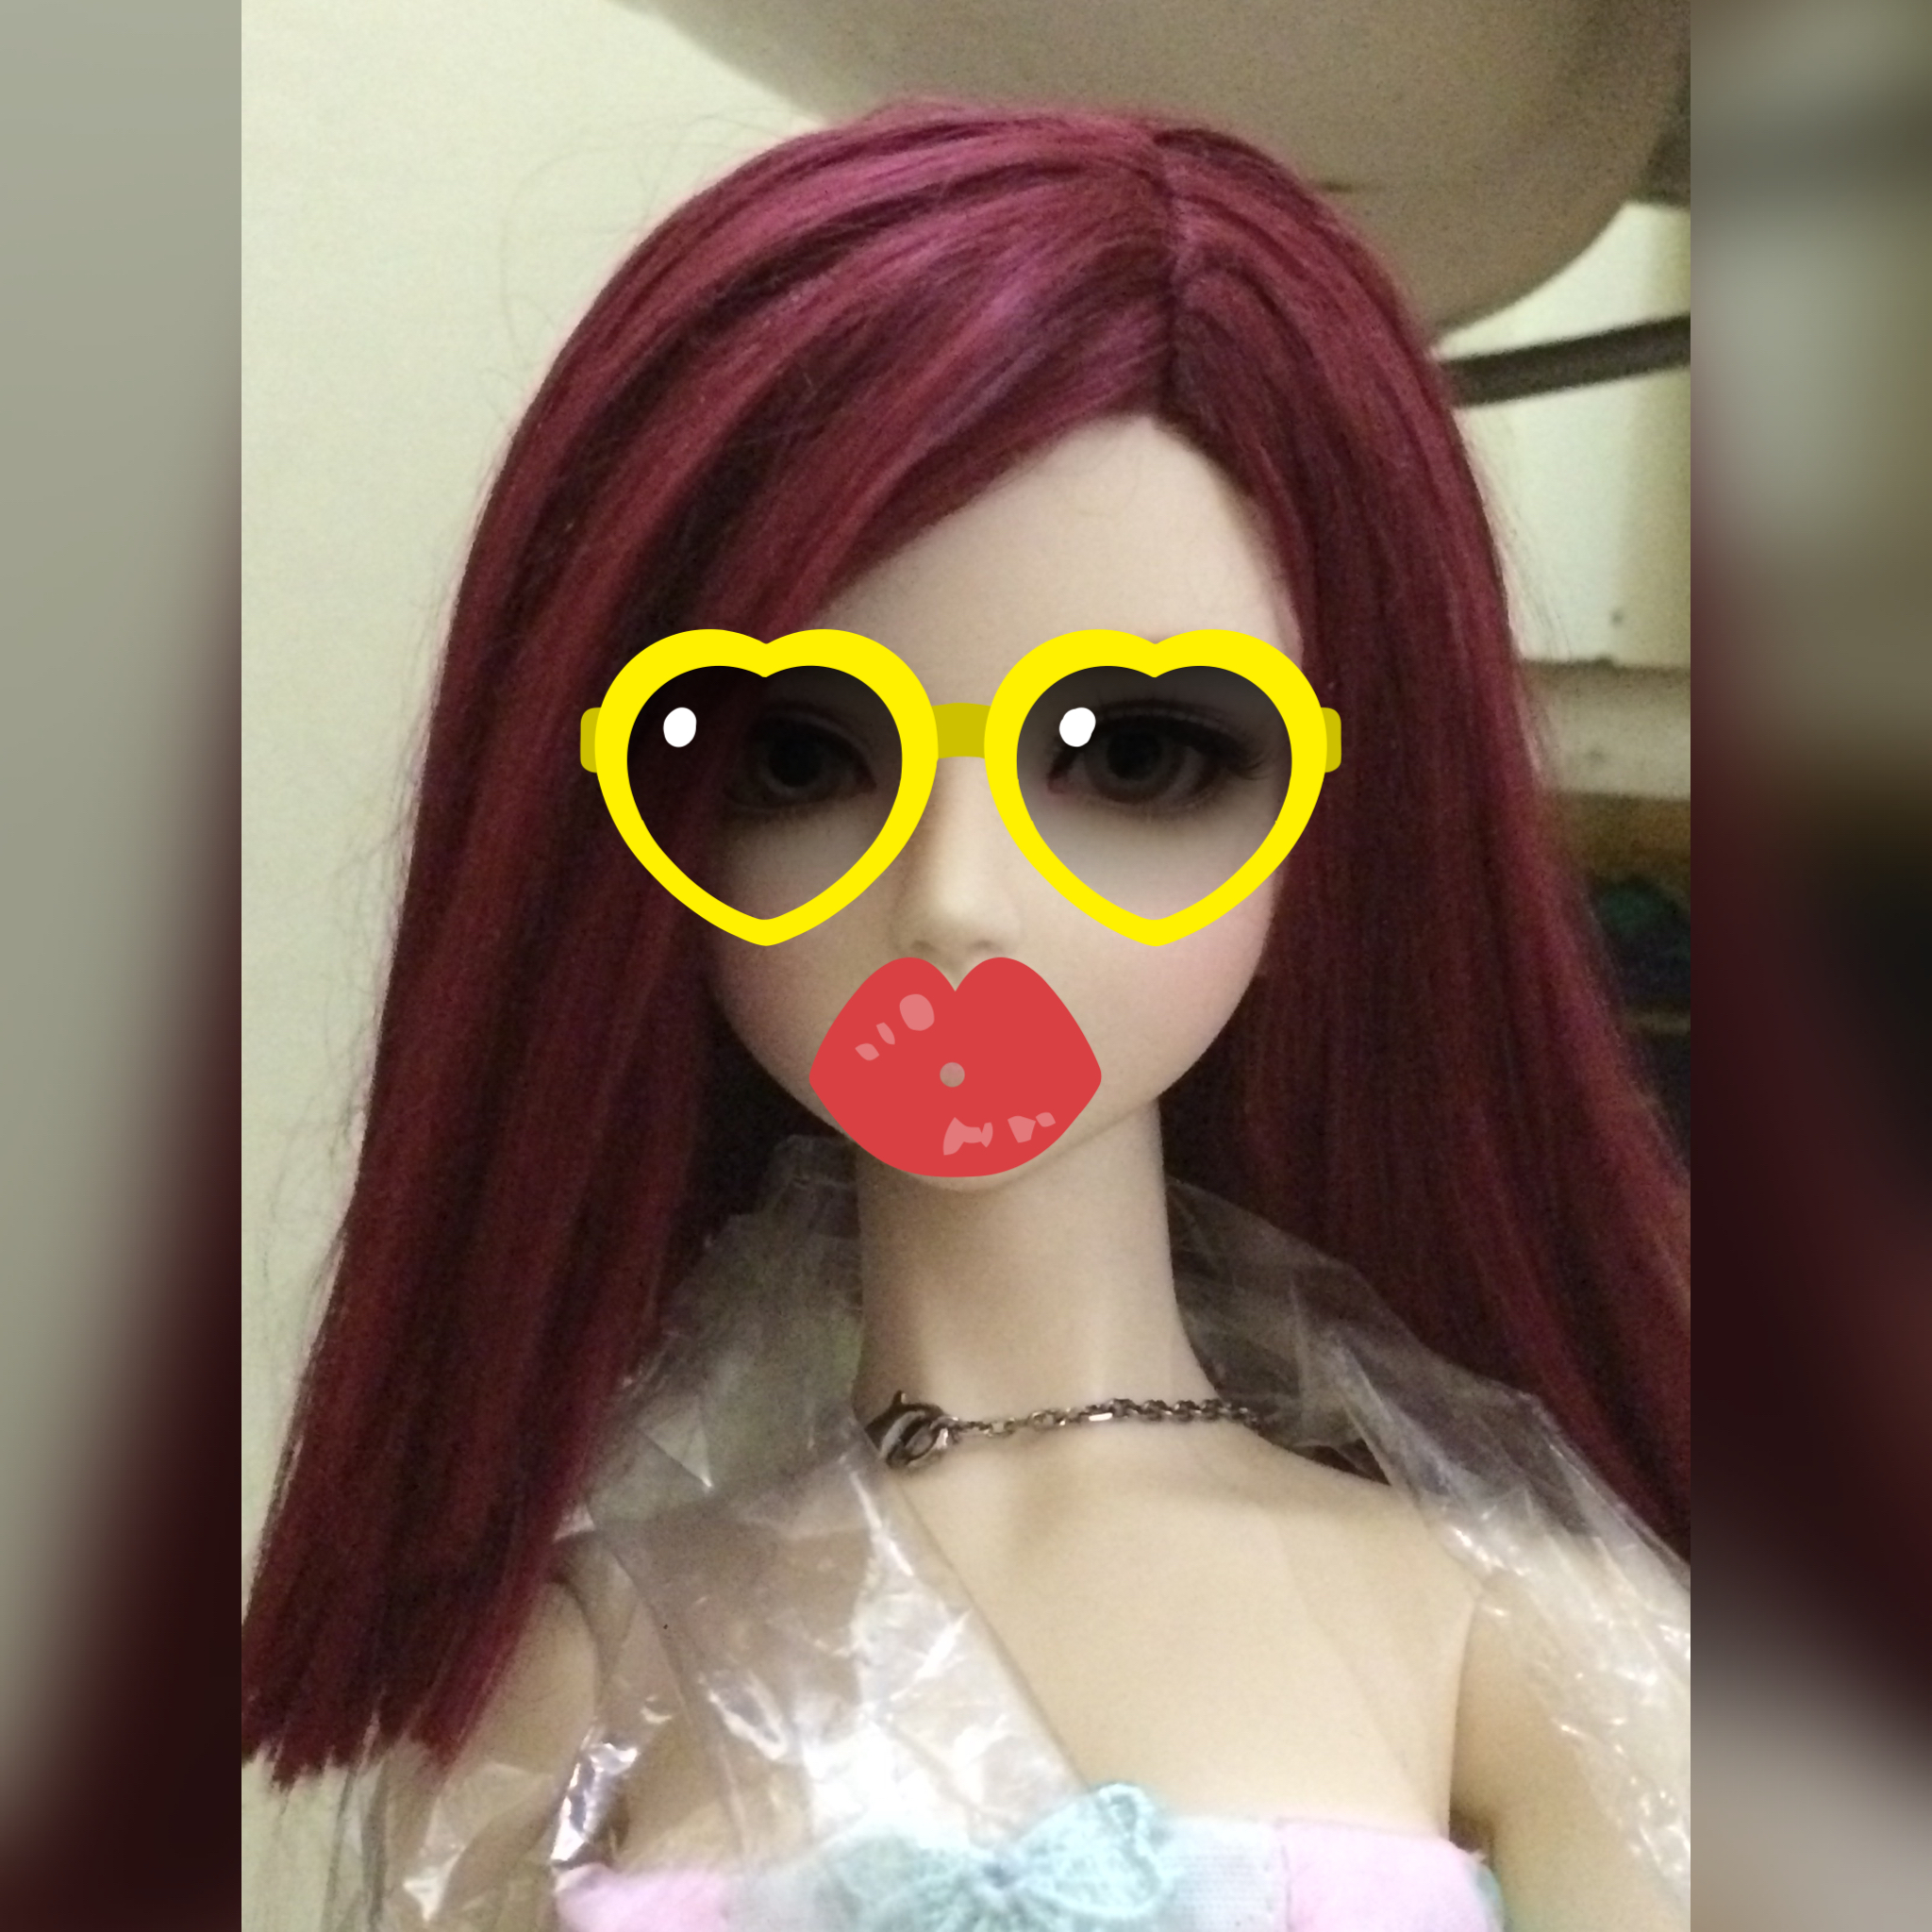
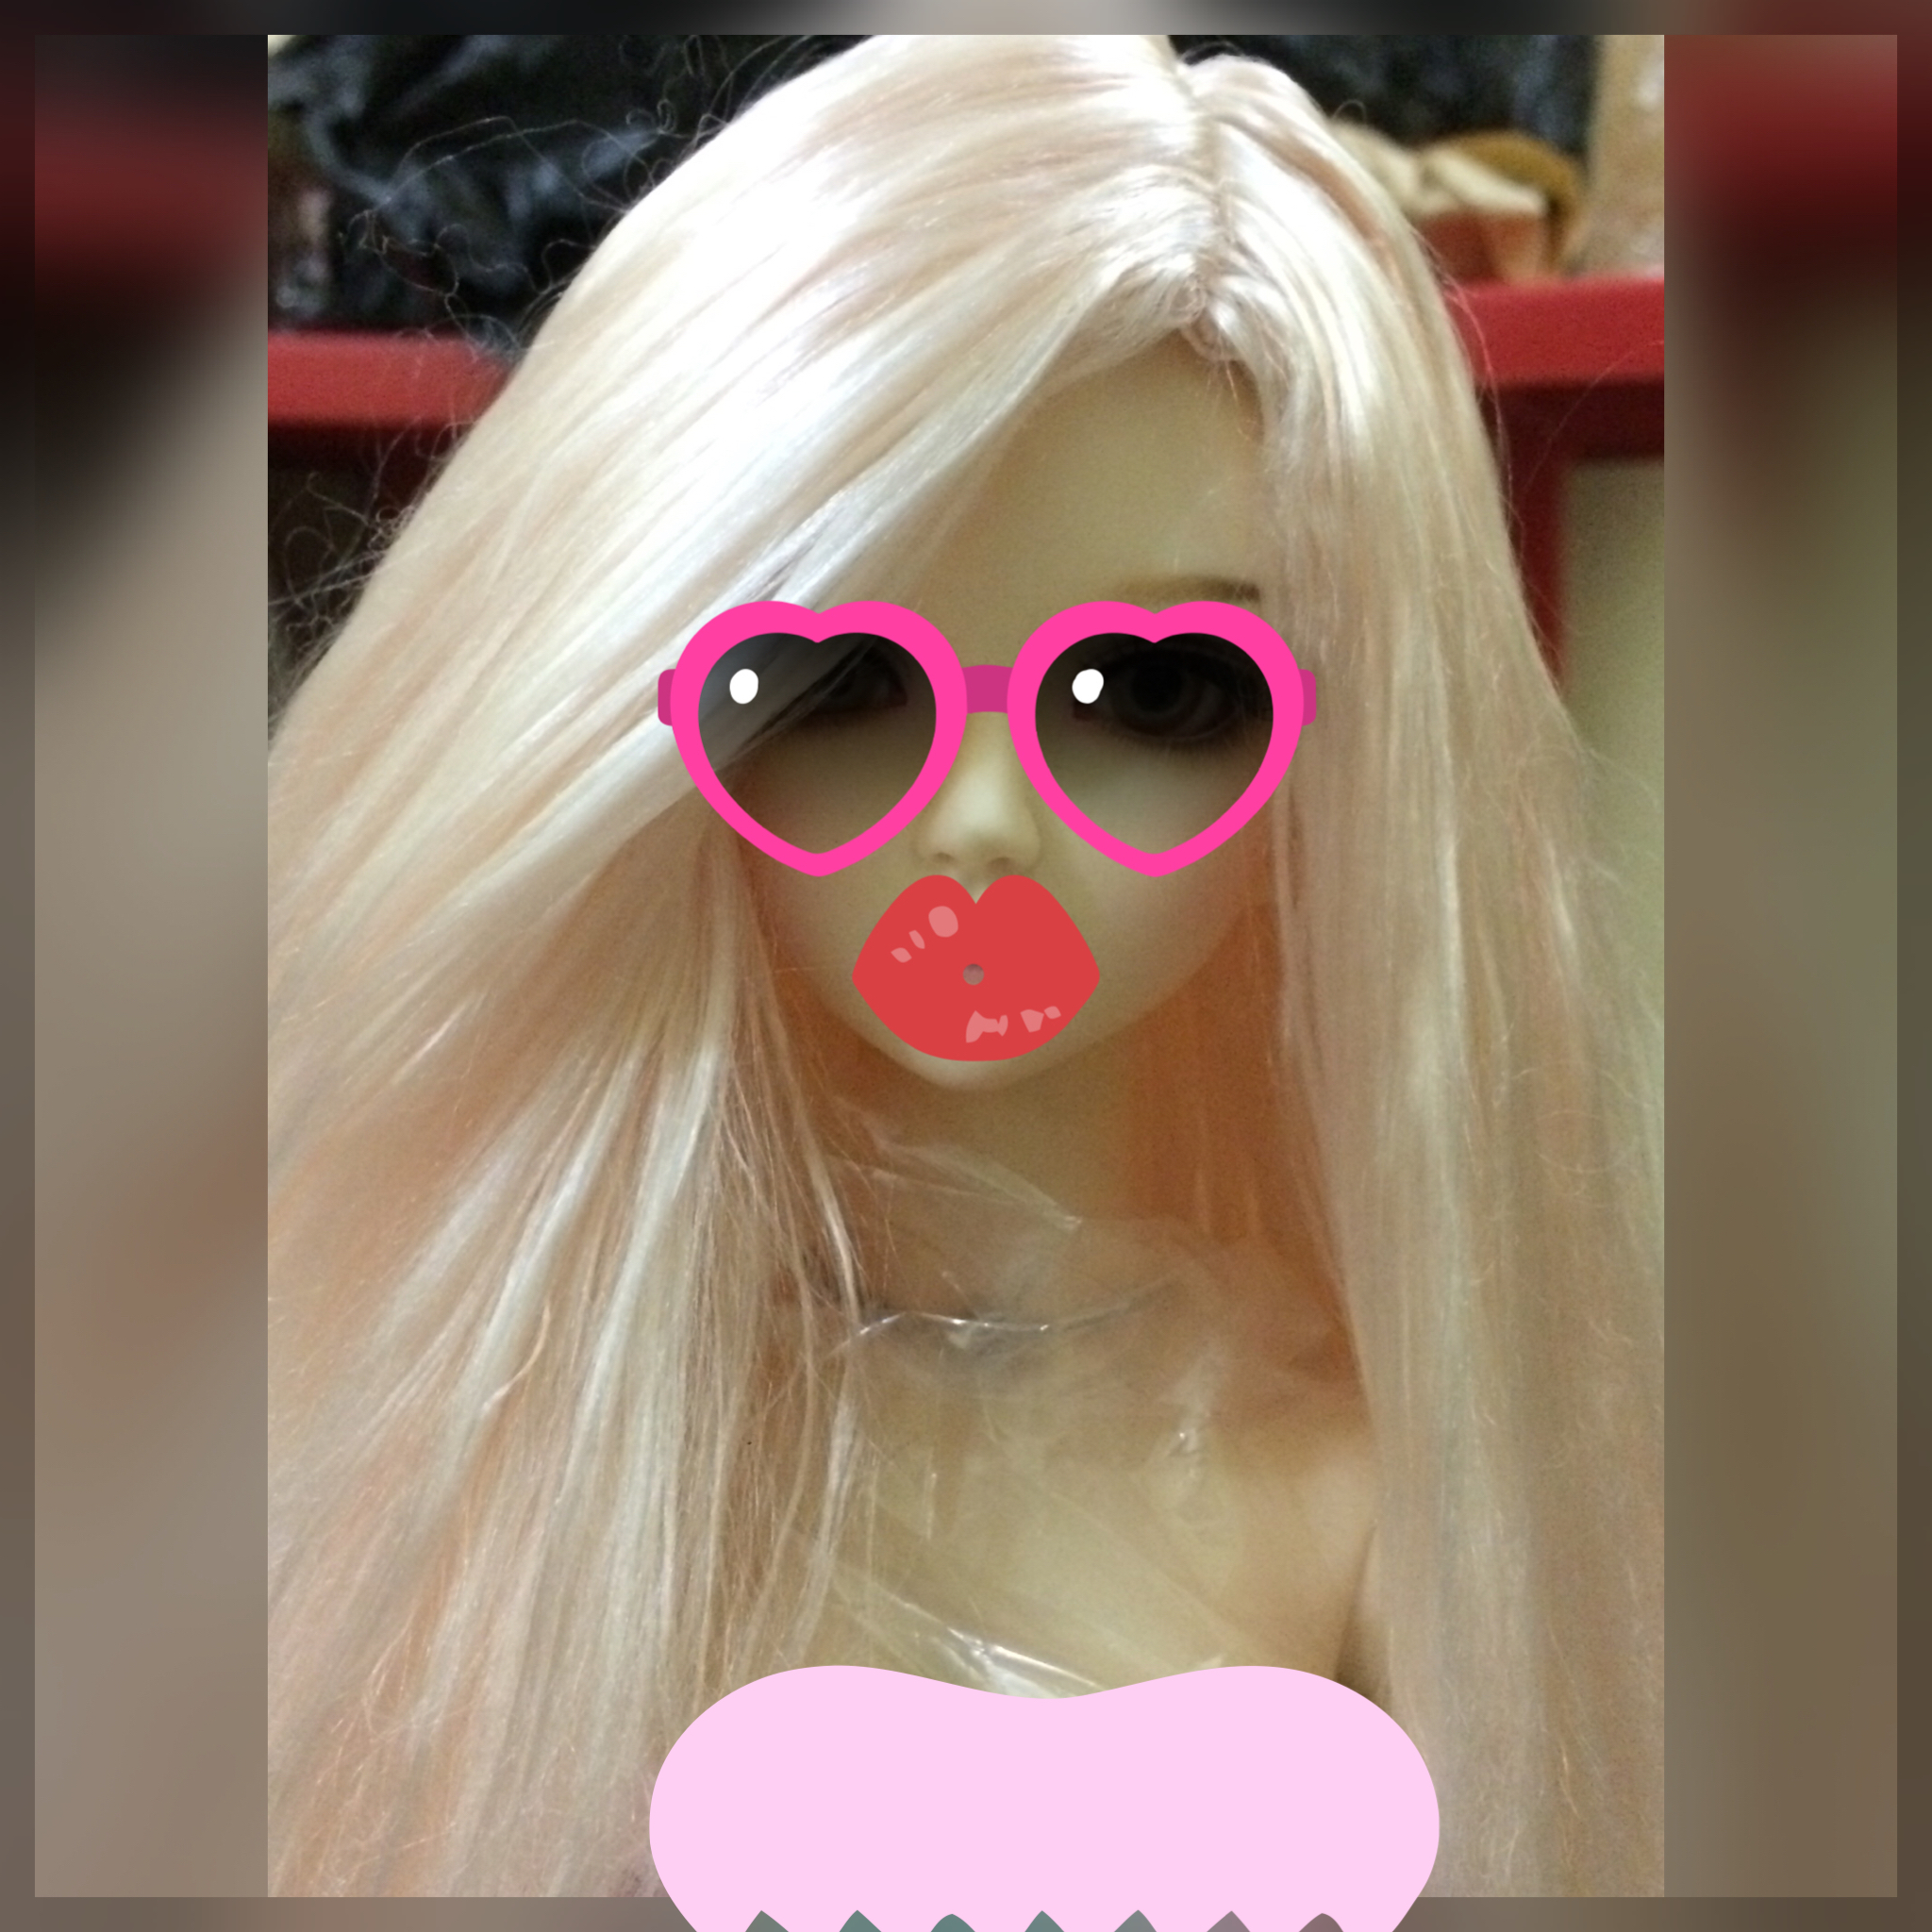
I annoyingly hide my doll face. (>u<)
Using viscose fibers seems easy as it’s soft and in my case, it’s straight but in reality, it is super soft and fine that i can say, it’s ‘fragile’ and easily separated. Once it’s separated uncontrollably, it becomes a disaster. So, I have to separate it very carefully so, i have minimum fibers to waste.
Those two are very important to start. How to put it on the wig cap etc, you can search it in youtube or support an artist video by paying it. I heard from a friend, Andreja made a video about it but we have to pay to see it. (^_<)d
Goodness…
MSD volks body…i wonder if restringing will do. The pose ability is the worst. Perhaps, I should give it a try ti replace the string itself and start from zero.
i really still have to search suitable fabric for the shirt. i am washing it now. i will be processing it with softener afterwards. I will try rayon next time.
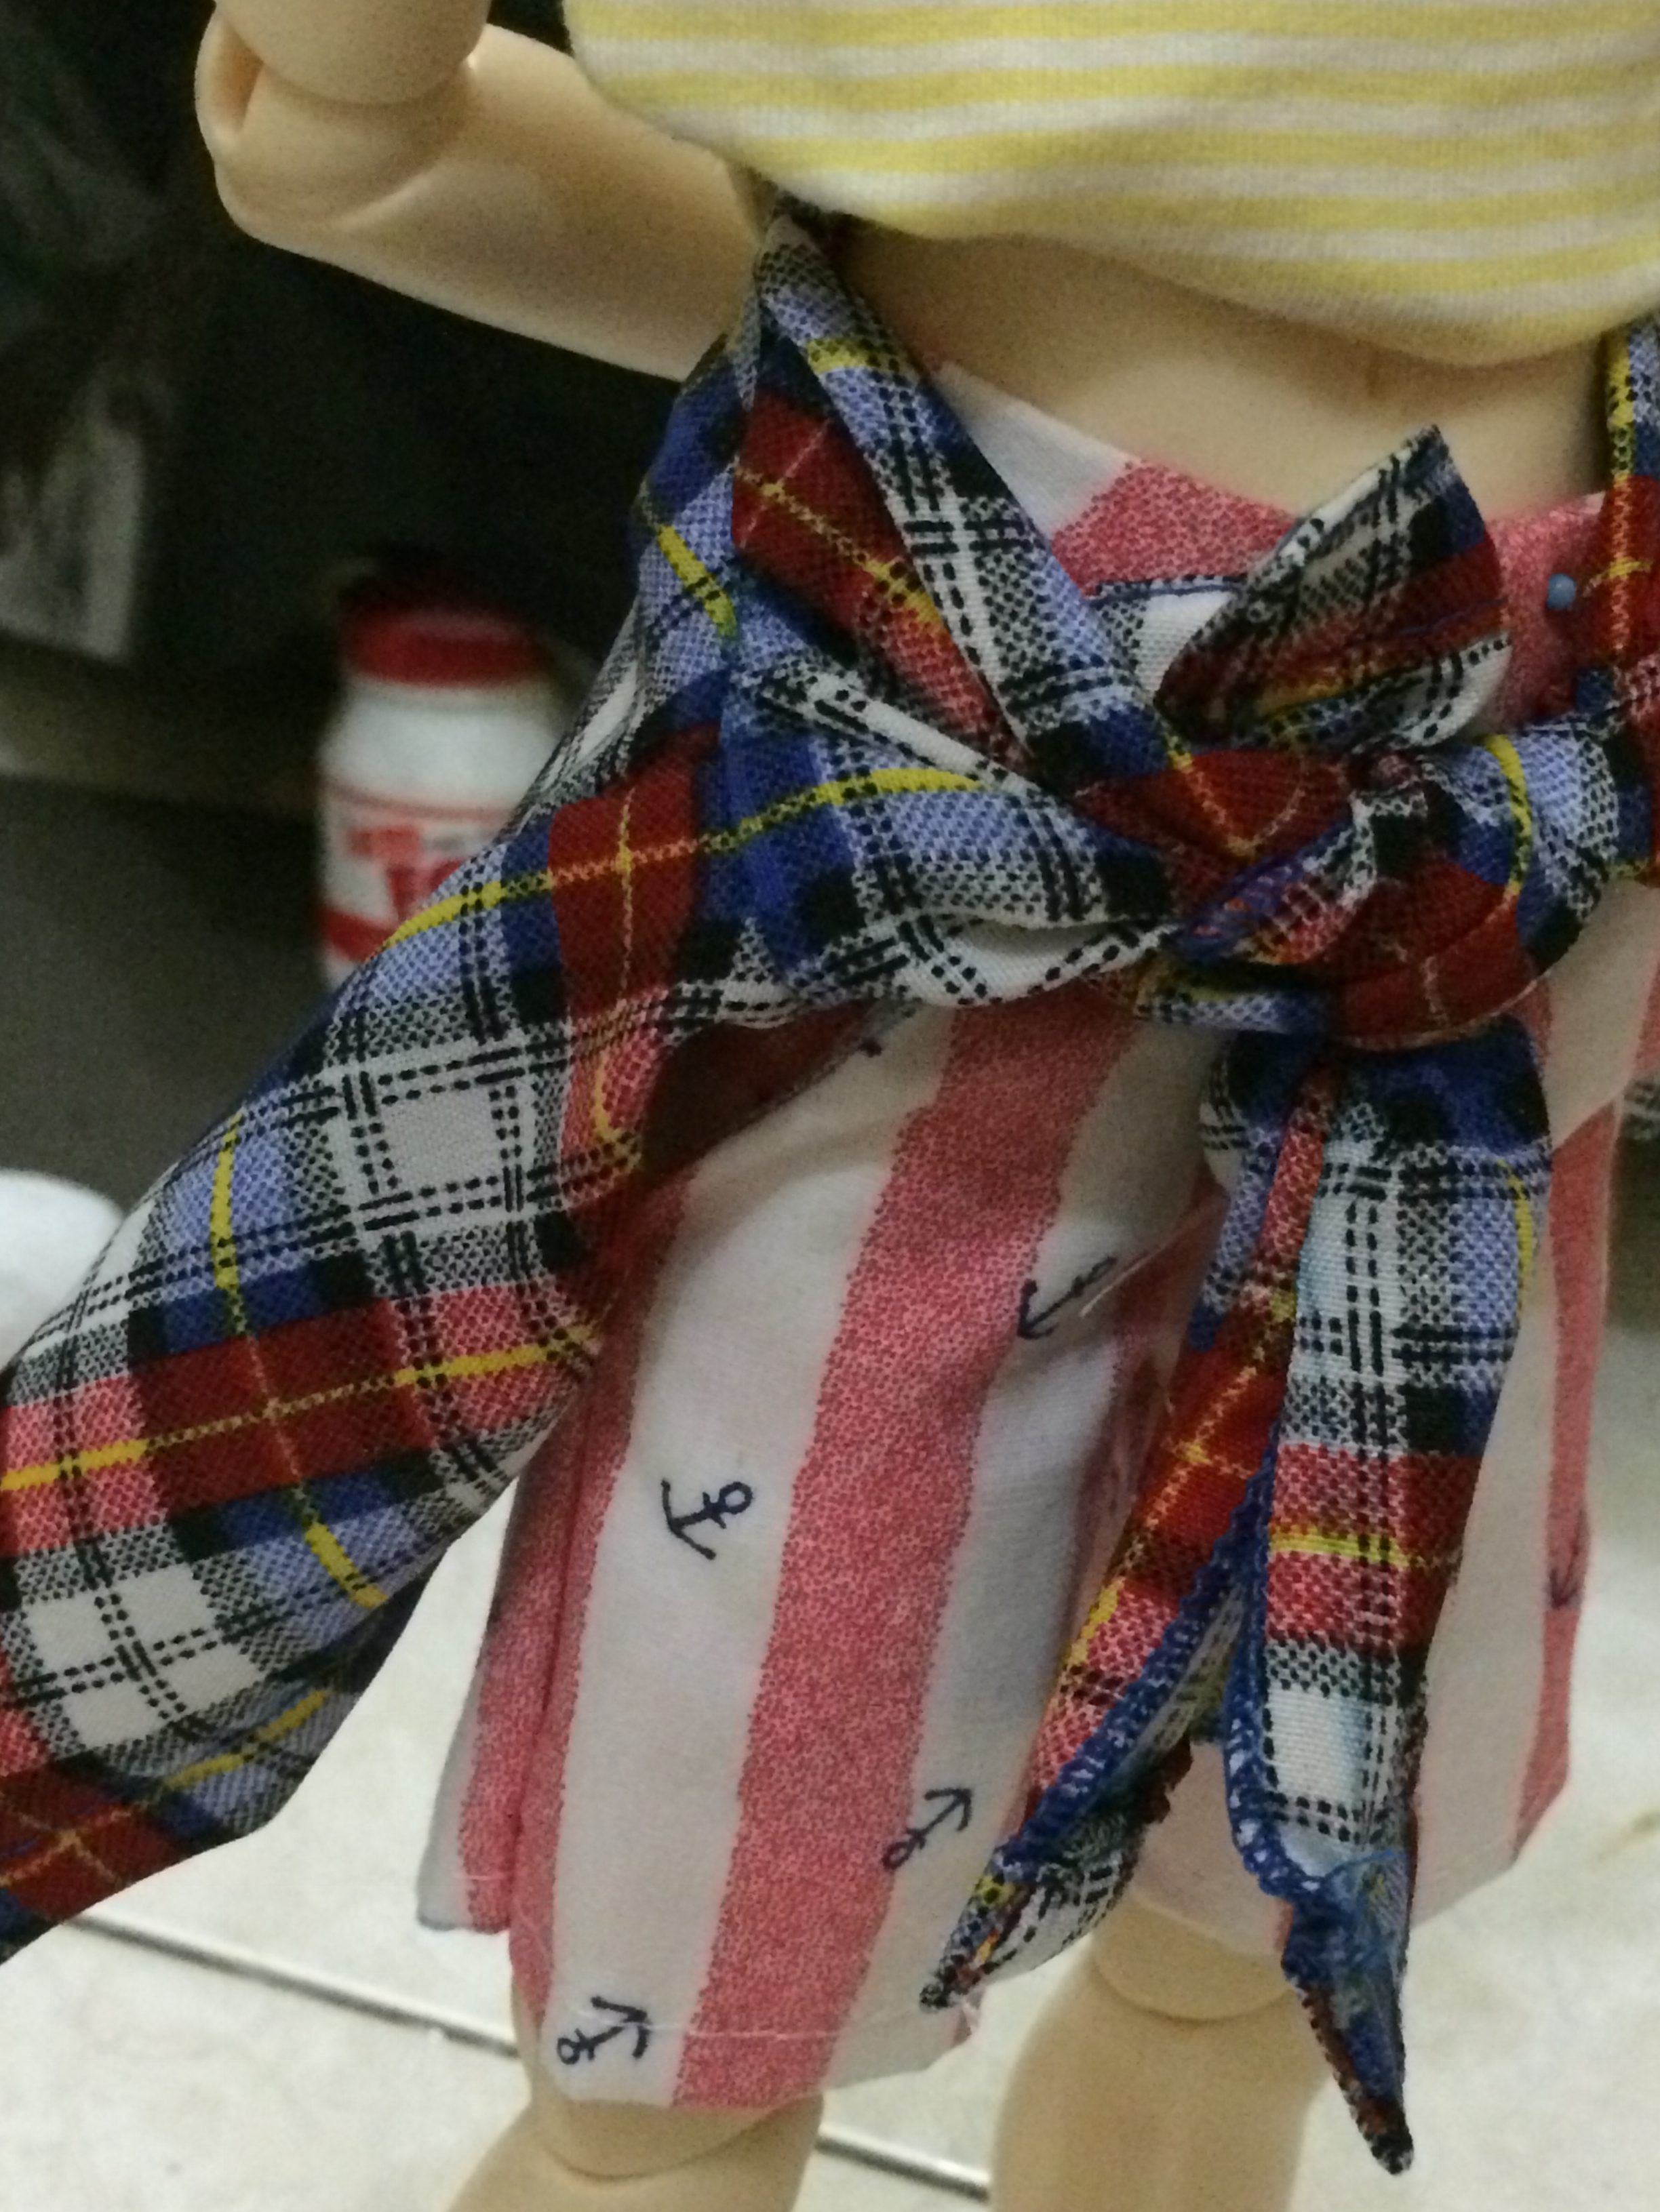
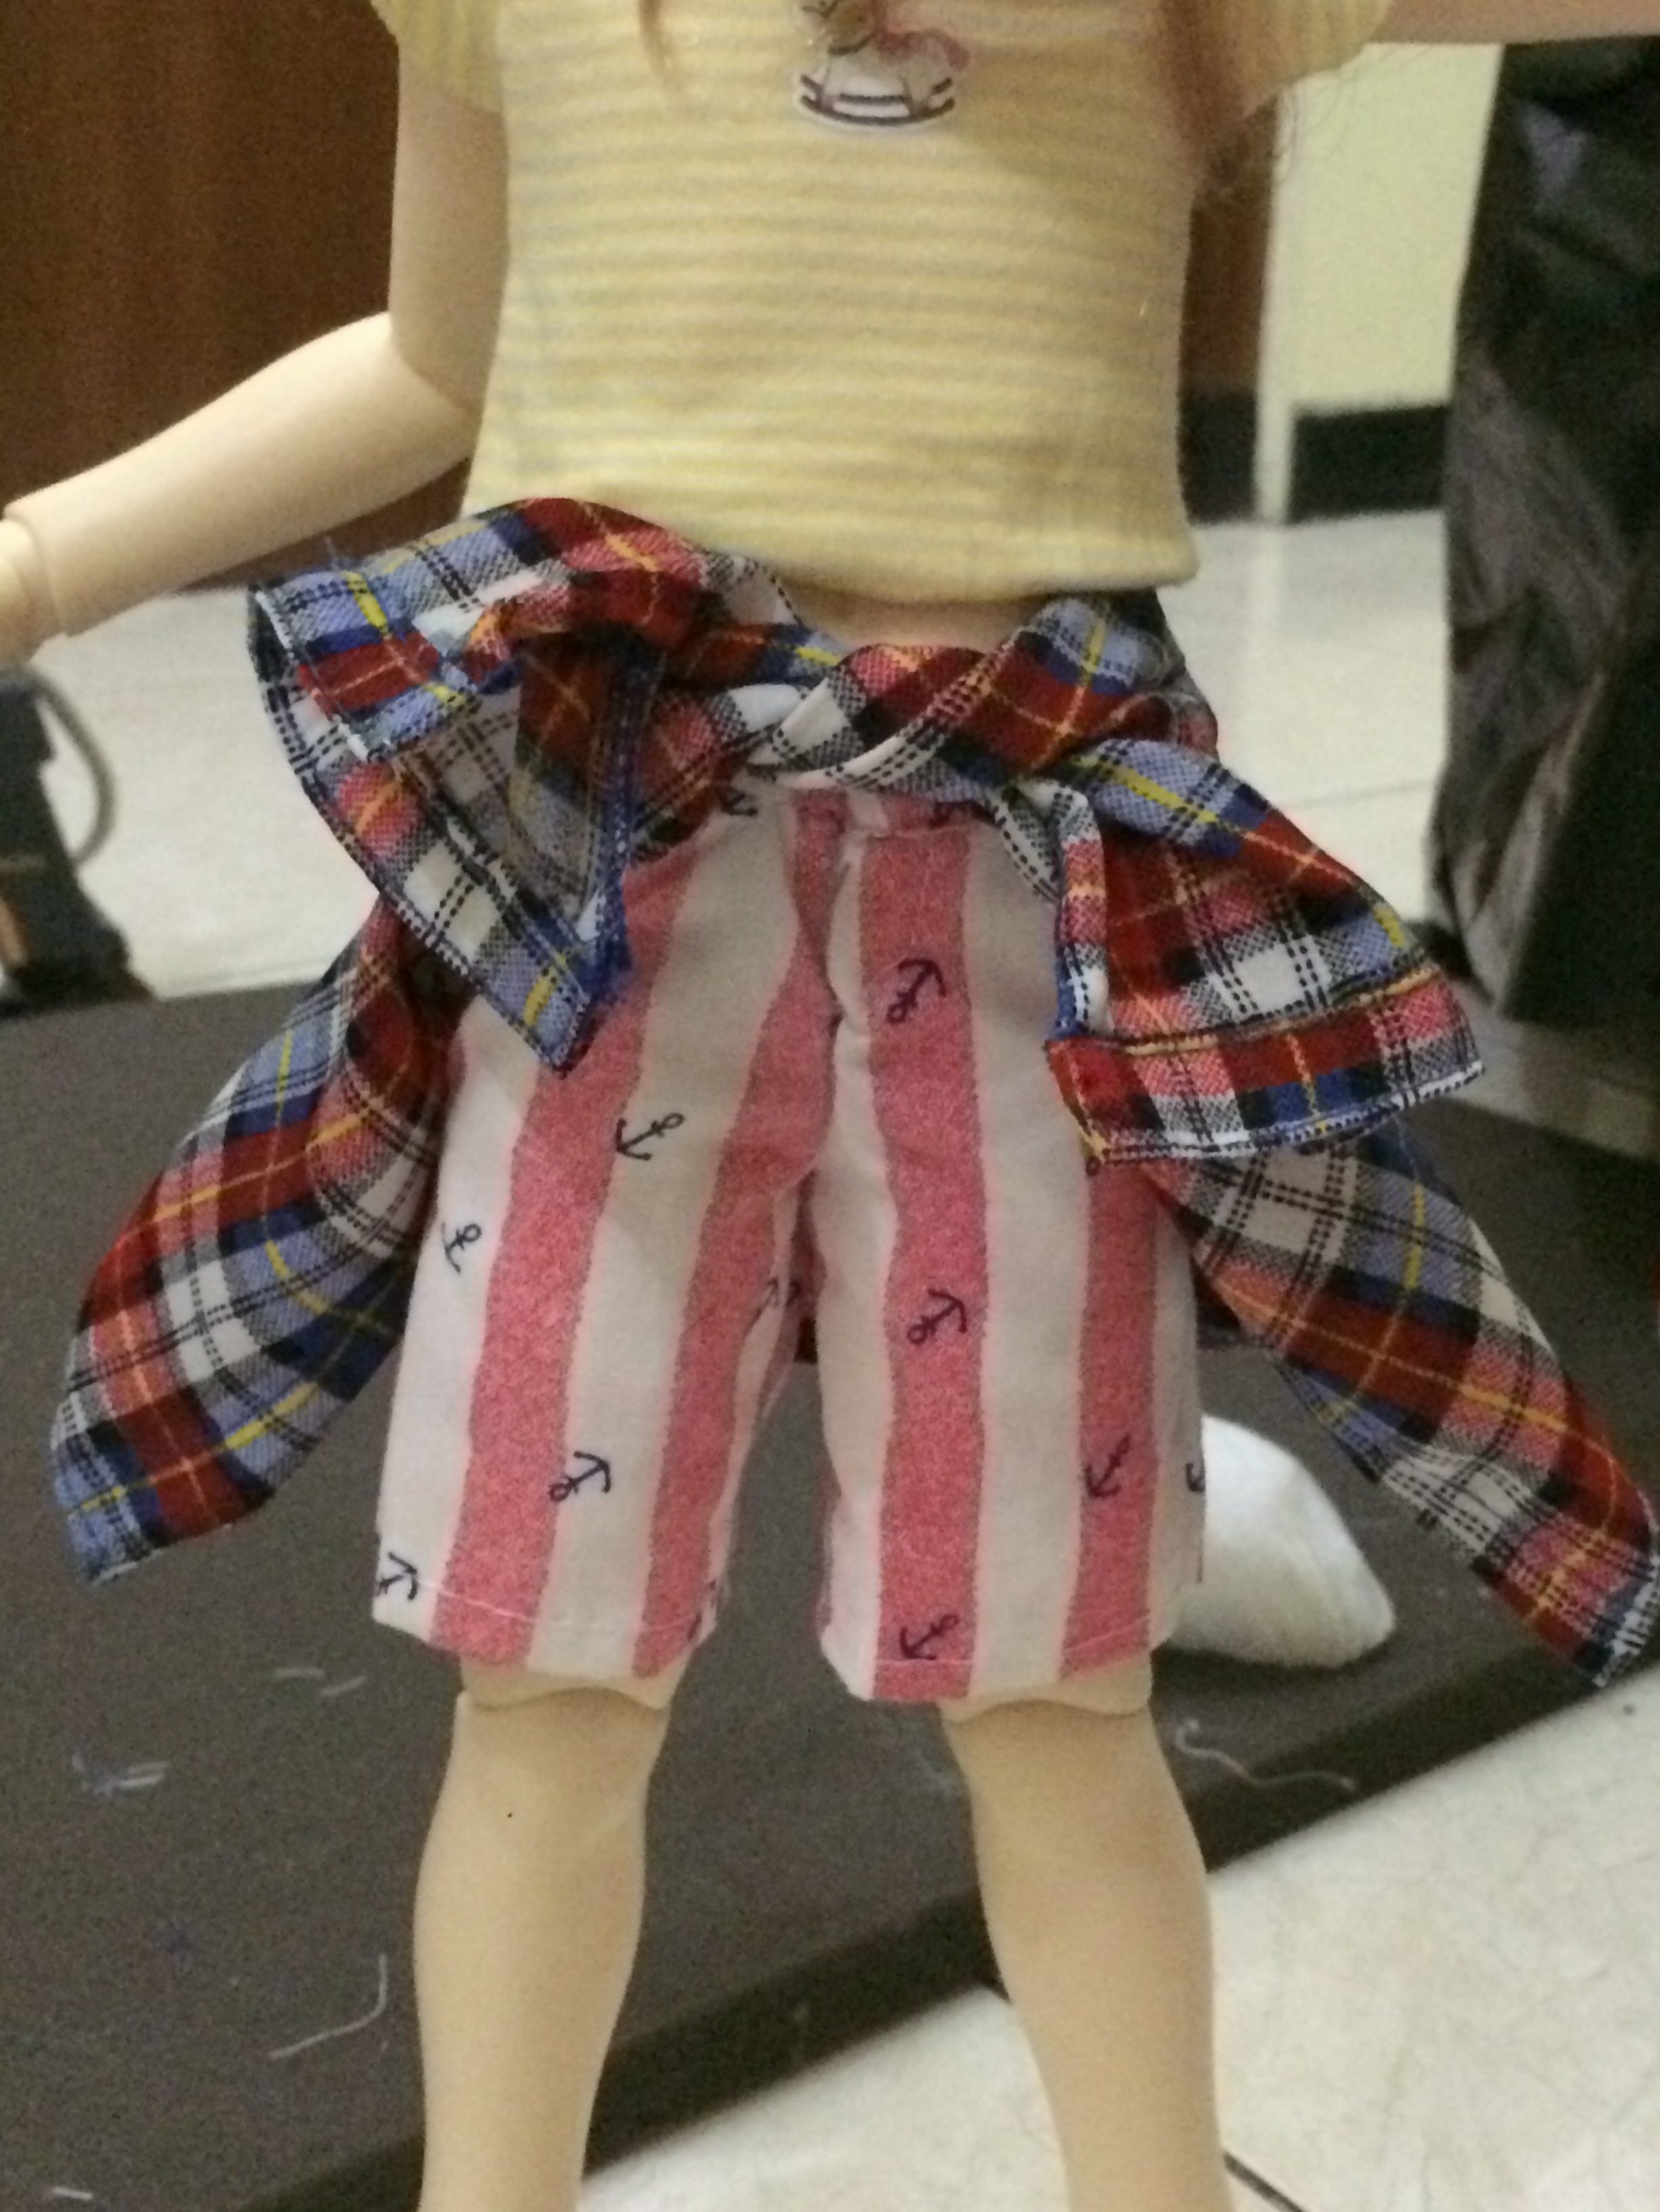
This is r&d for both pants and this style at the same time. i was working on volks pants and this style at the same time. so i just made it as i could achieve 2 goals at the same time.

because i was too lazy to make two pants, I made 1 pants but put the shirt on in different way. That’s why you see left and right side are different. It’s not a mistake. It’s intended. Personally, I like the left picture. It’s more natural. When I wrap my shirt around waist, it is like that.
When wrapping, i pull up the back of the shirt. As you see, it look ‘folded’ inside. It’s because i pull up the shirt. Somehow, it looks more natural dan if i just let the shirt pulled down. It looks too tight on the hips.
Pattern technique:
You have to know how to make shirt and pants. I won’t give you any pattern of it as it’s BASIC sewing. You can find it anywhere in google or buy it from simplicity or purchase burda sewing magazine.
If you have known the technique, here I just want to share where to begin with.
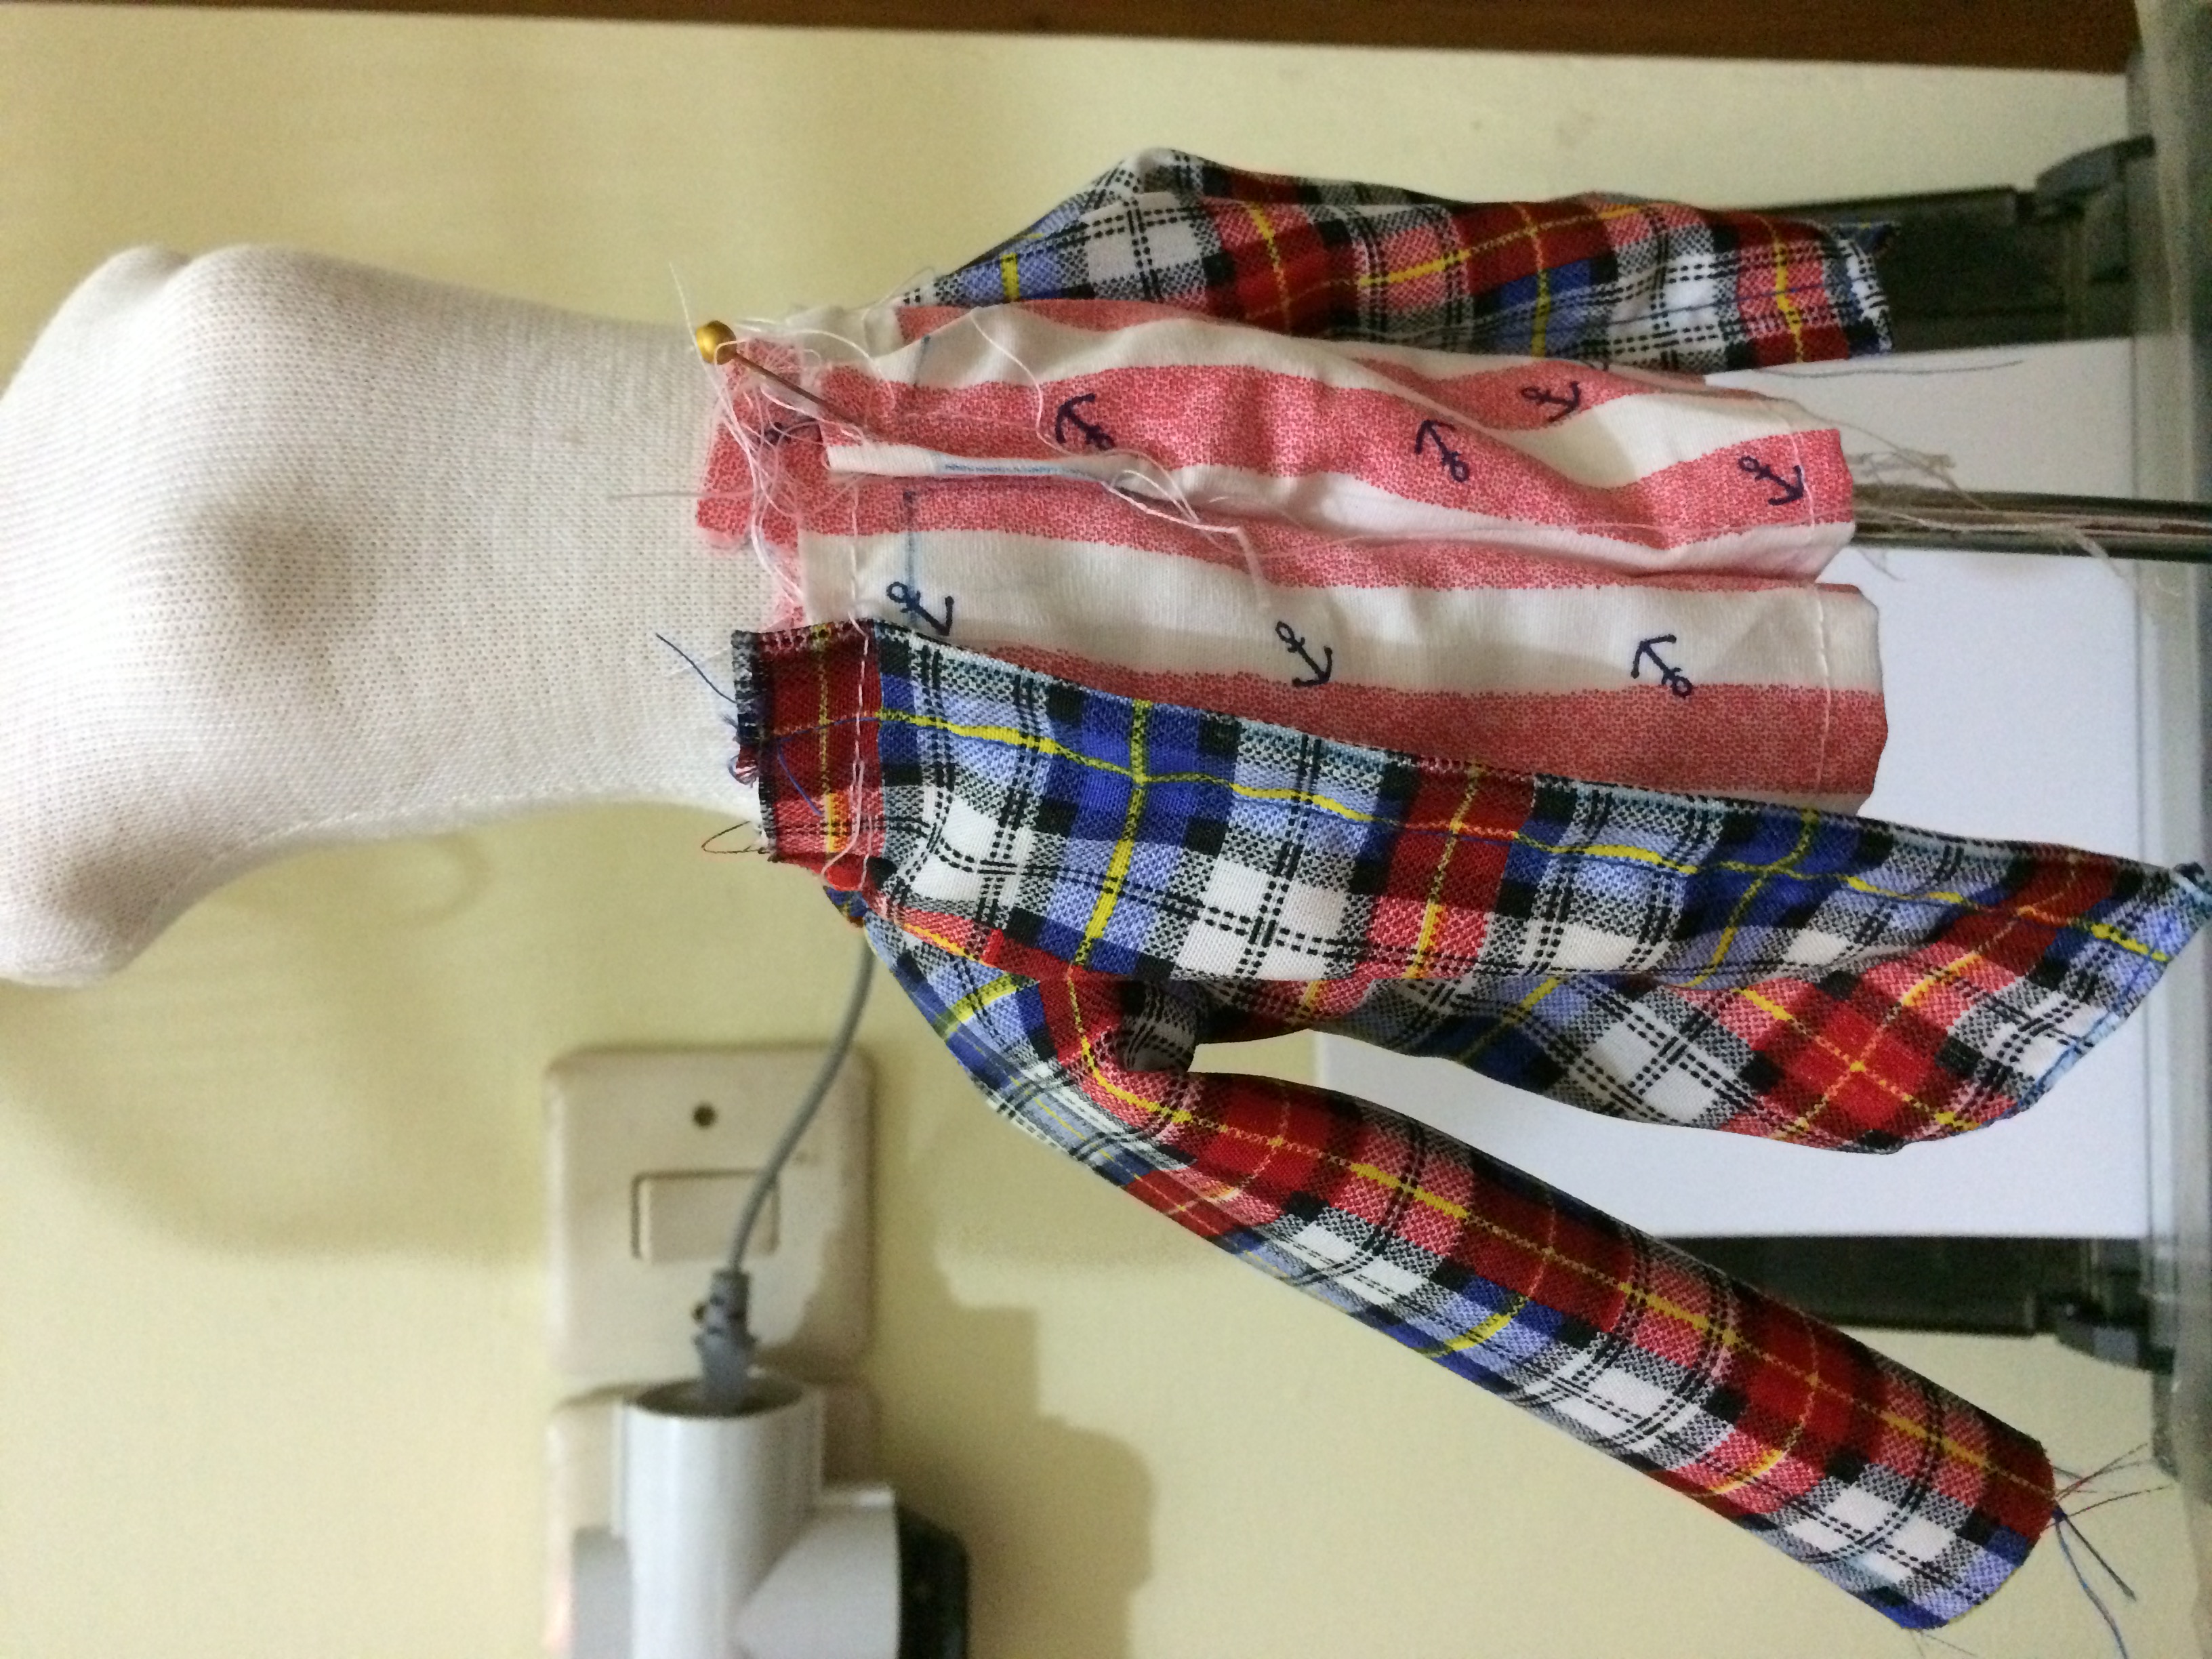
I didn’t use the collar. I thought about it but it’s not necessary even if i want to make it look close to as if the real shirt is wrapped around pants/waist.
I start the pattern from the lower shoulder ‘line’.
The arm sleeves are FULLY made. and sew to the bodice like usually we do when sewing shirt. In this case, that lower shoulder back and front must be ‘a bit’ sew so the sleeve can be sewn on.
After that, arrange the ‘line’ of lower shoulder back to the front on the pants waist and sew it on.
I actually serge the shirt. It’s difficult to explain how I do it even if I show the pic. My suggestion is, just serge it as you usually do, and you’ll find a way how to do it next (aka sewing to the waist) naturally. It’s actually easy but a bit ‘confusing’ when doing serge on the sleeves part. Yet, as I said, just do it as you usually do and the rest will come naturally. It’s OK though if you don’t want to serge. Here, i just want to say that it’s POSSIBLE to serge.
This pants is kind of trend but not too hits. My friend asked me to make one. She gave me an example picture which the placement of the front shirt on the waist is like the right picture. She actually gave me not too clear picture. The focus of of the camera is ok but the pattern of the pants is kinda confusing and makes me hard to read how the maker sew the pants. So, I just figured out myself about the pattern. All I want is the shirt can be natural look when it’s wrapped around the waist.
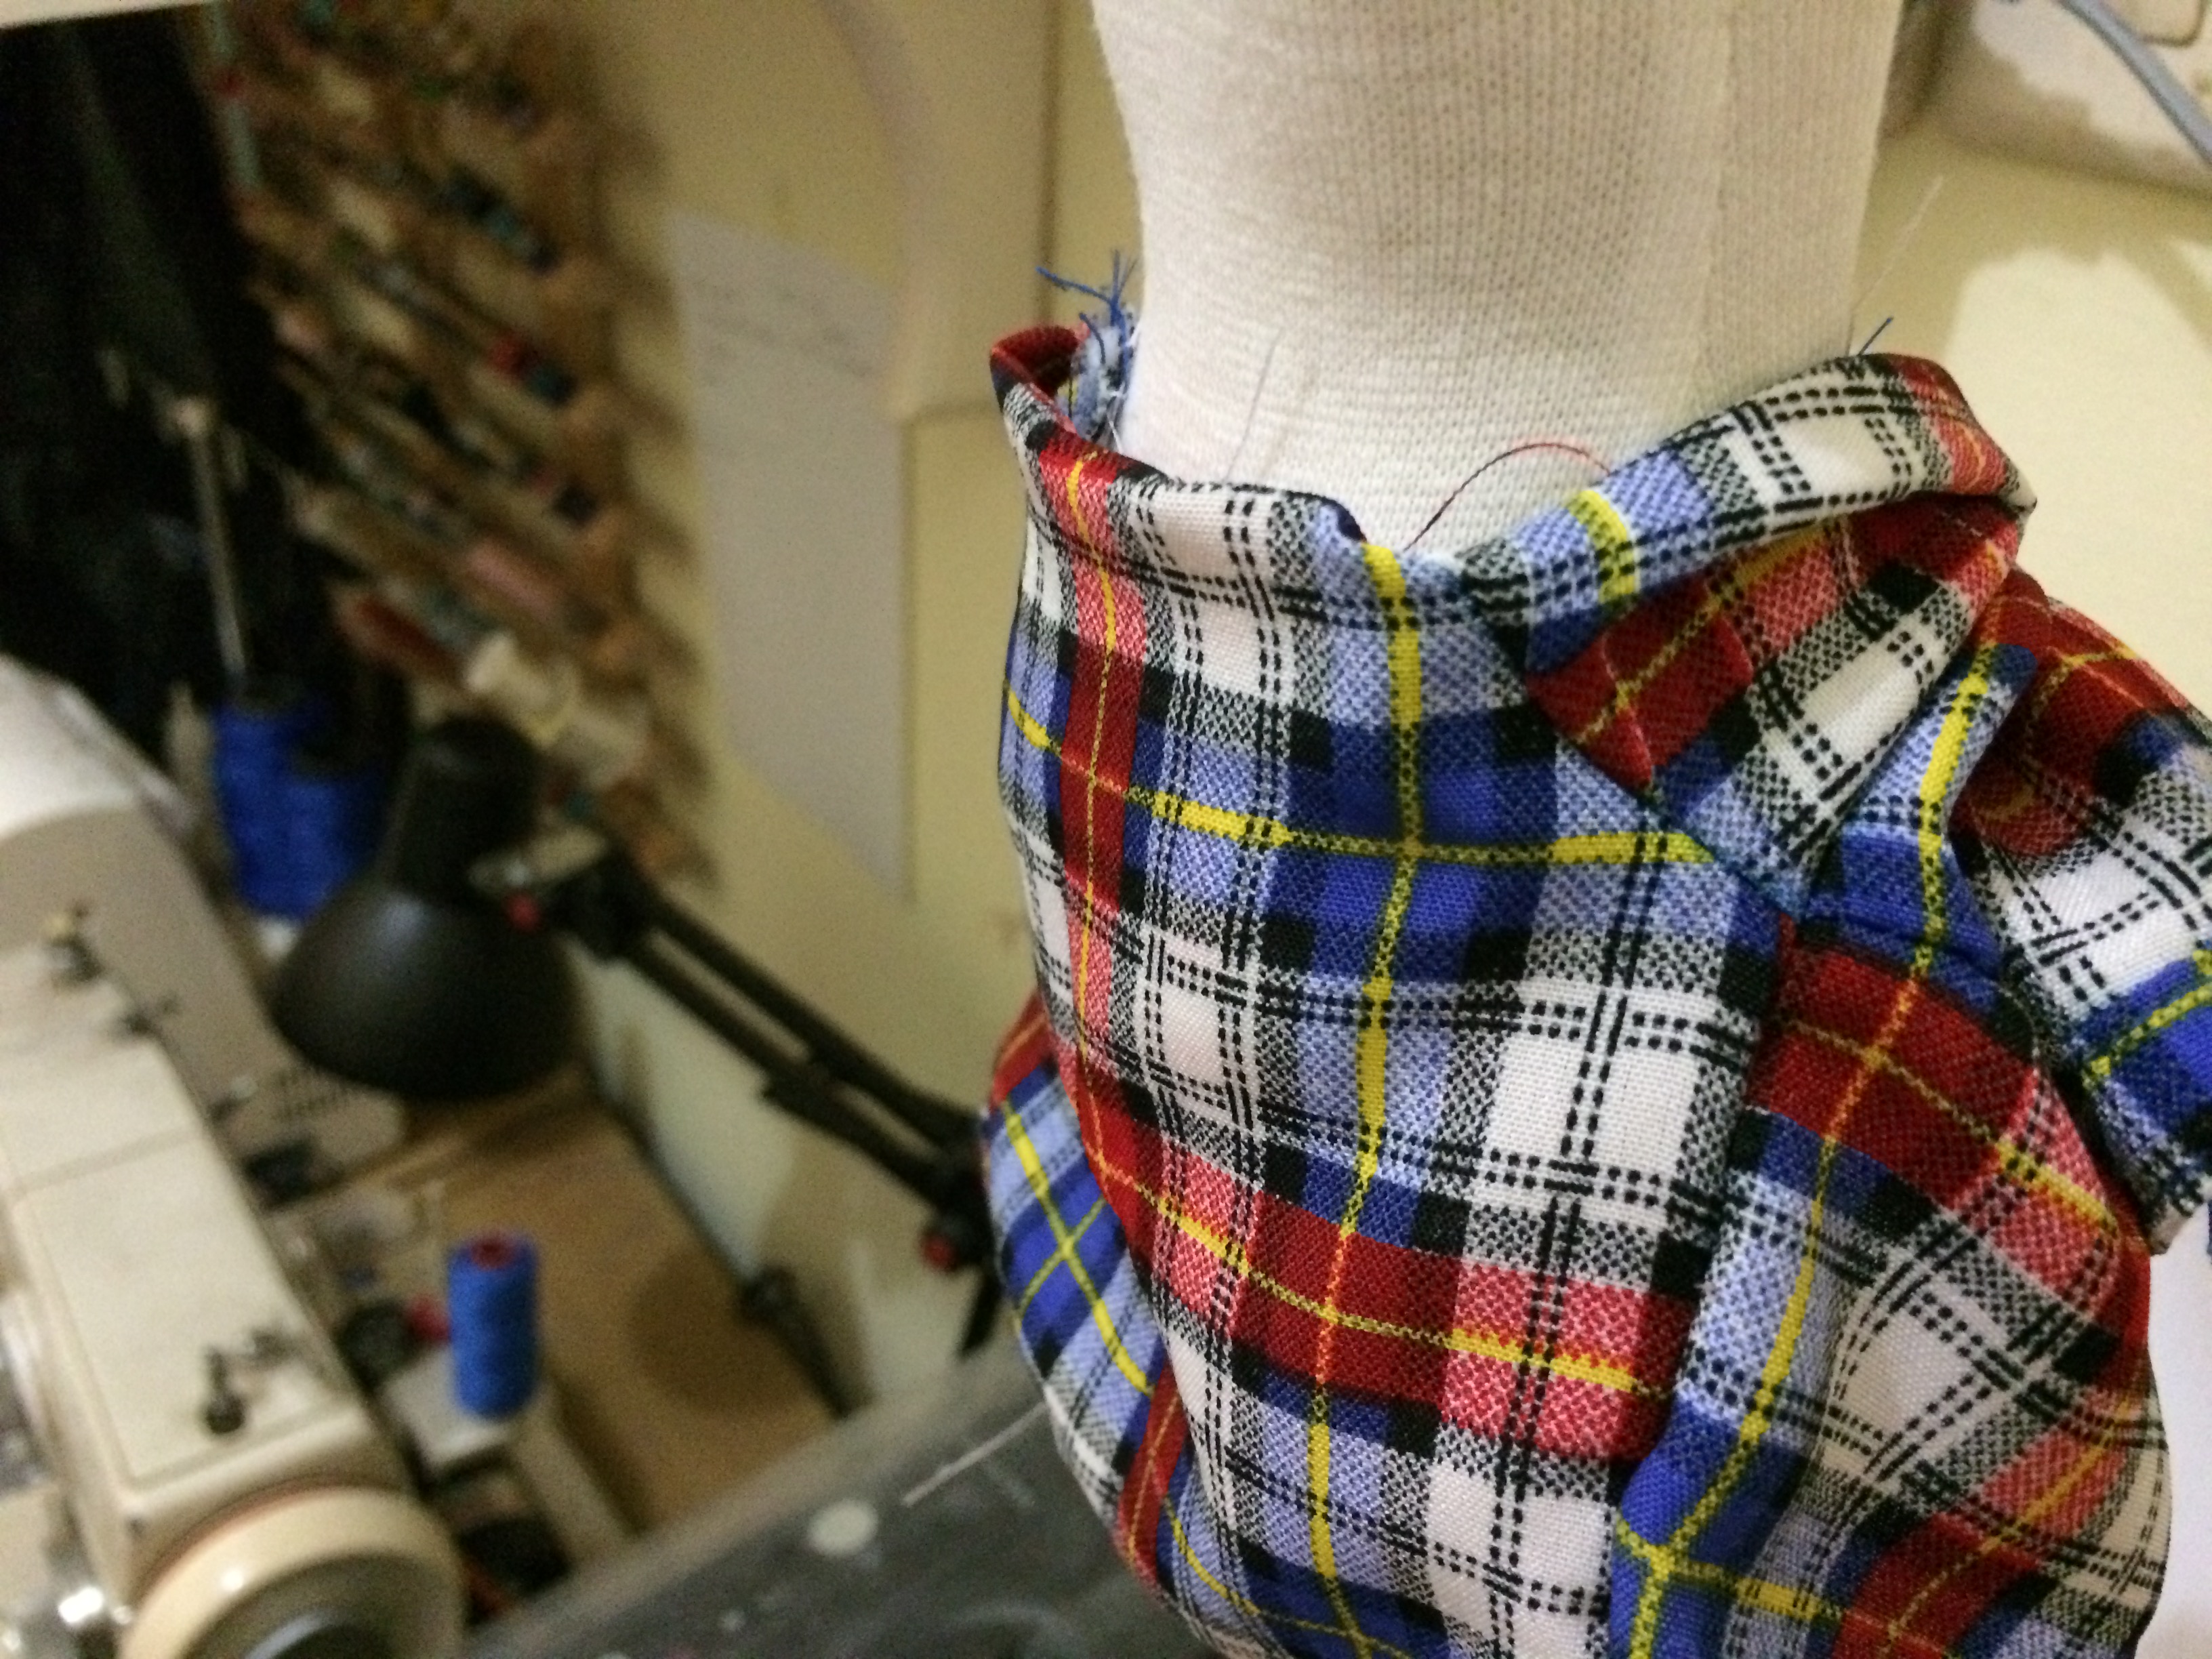
My problem now is finding the right fabric. I thought this shirt fabric is thin enough. It may be thin but how it falls is stiff! I’m still going to finish this project because I’ve been thinking of using softener to tame the fabric. Checker fabric for making shirt like this do not have many option in terms of kind of fabrics.
this is my second trial using this viscose fiber. It’s very smooth and light. I found it was more difficult to handle straight and smooth fiber like this rather than curly hair.
It is still a mess because the glue is still seen on top. ?. i am going to make more but still waiting for my fiber and while waiting, i ll be practicing to make a descent wig cap. haha. believe it or not, before, i made it with paper tape. Not that it was wrong but i just want to get more serious in making wig.
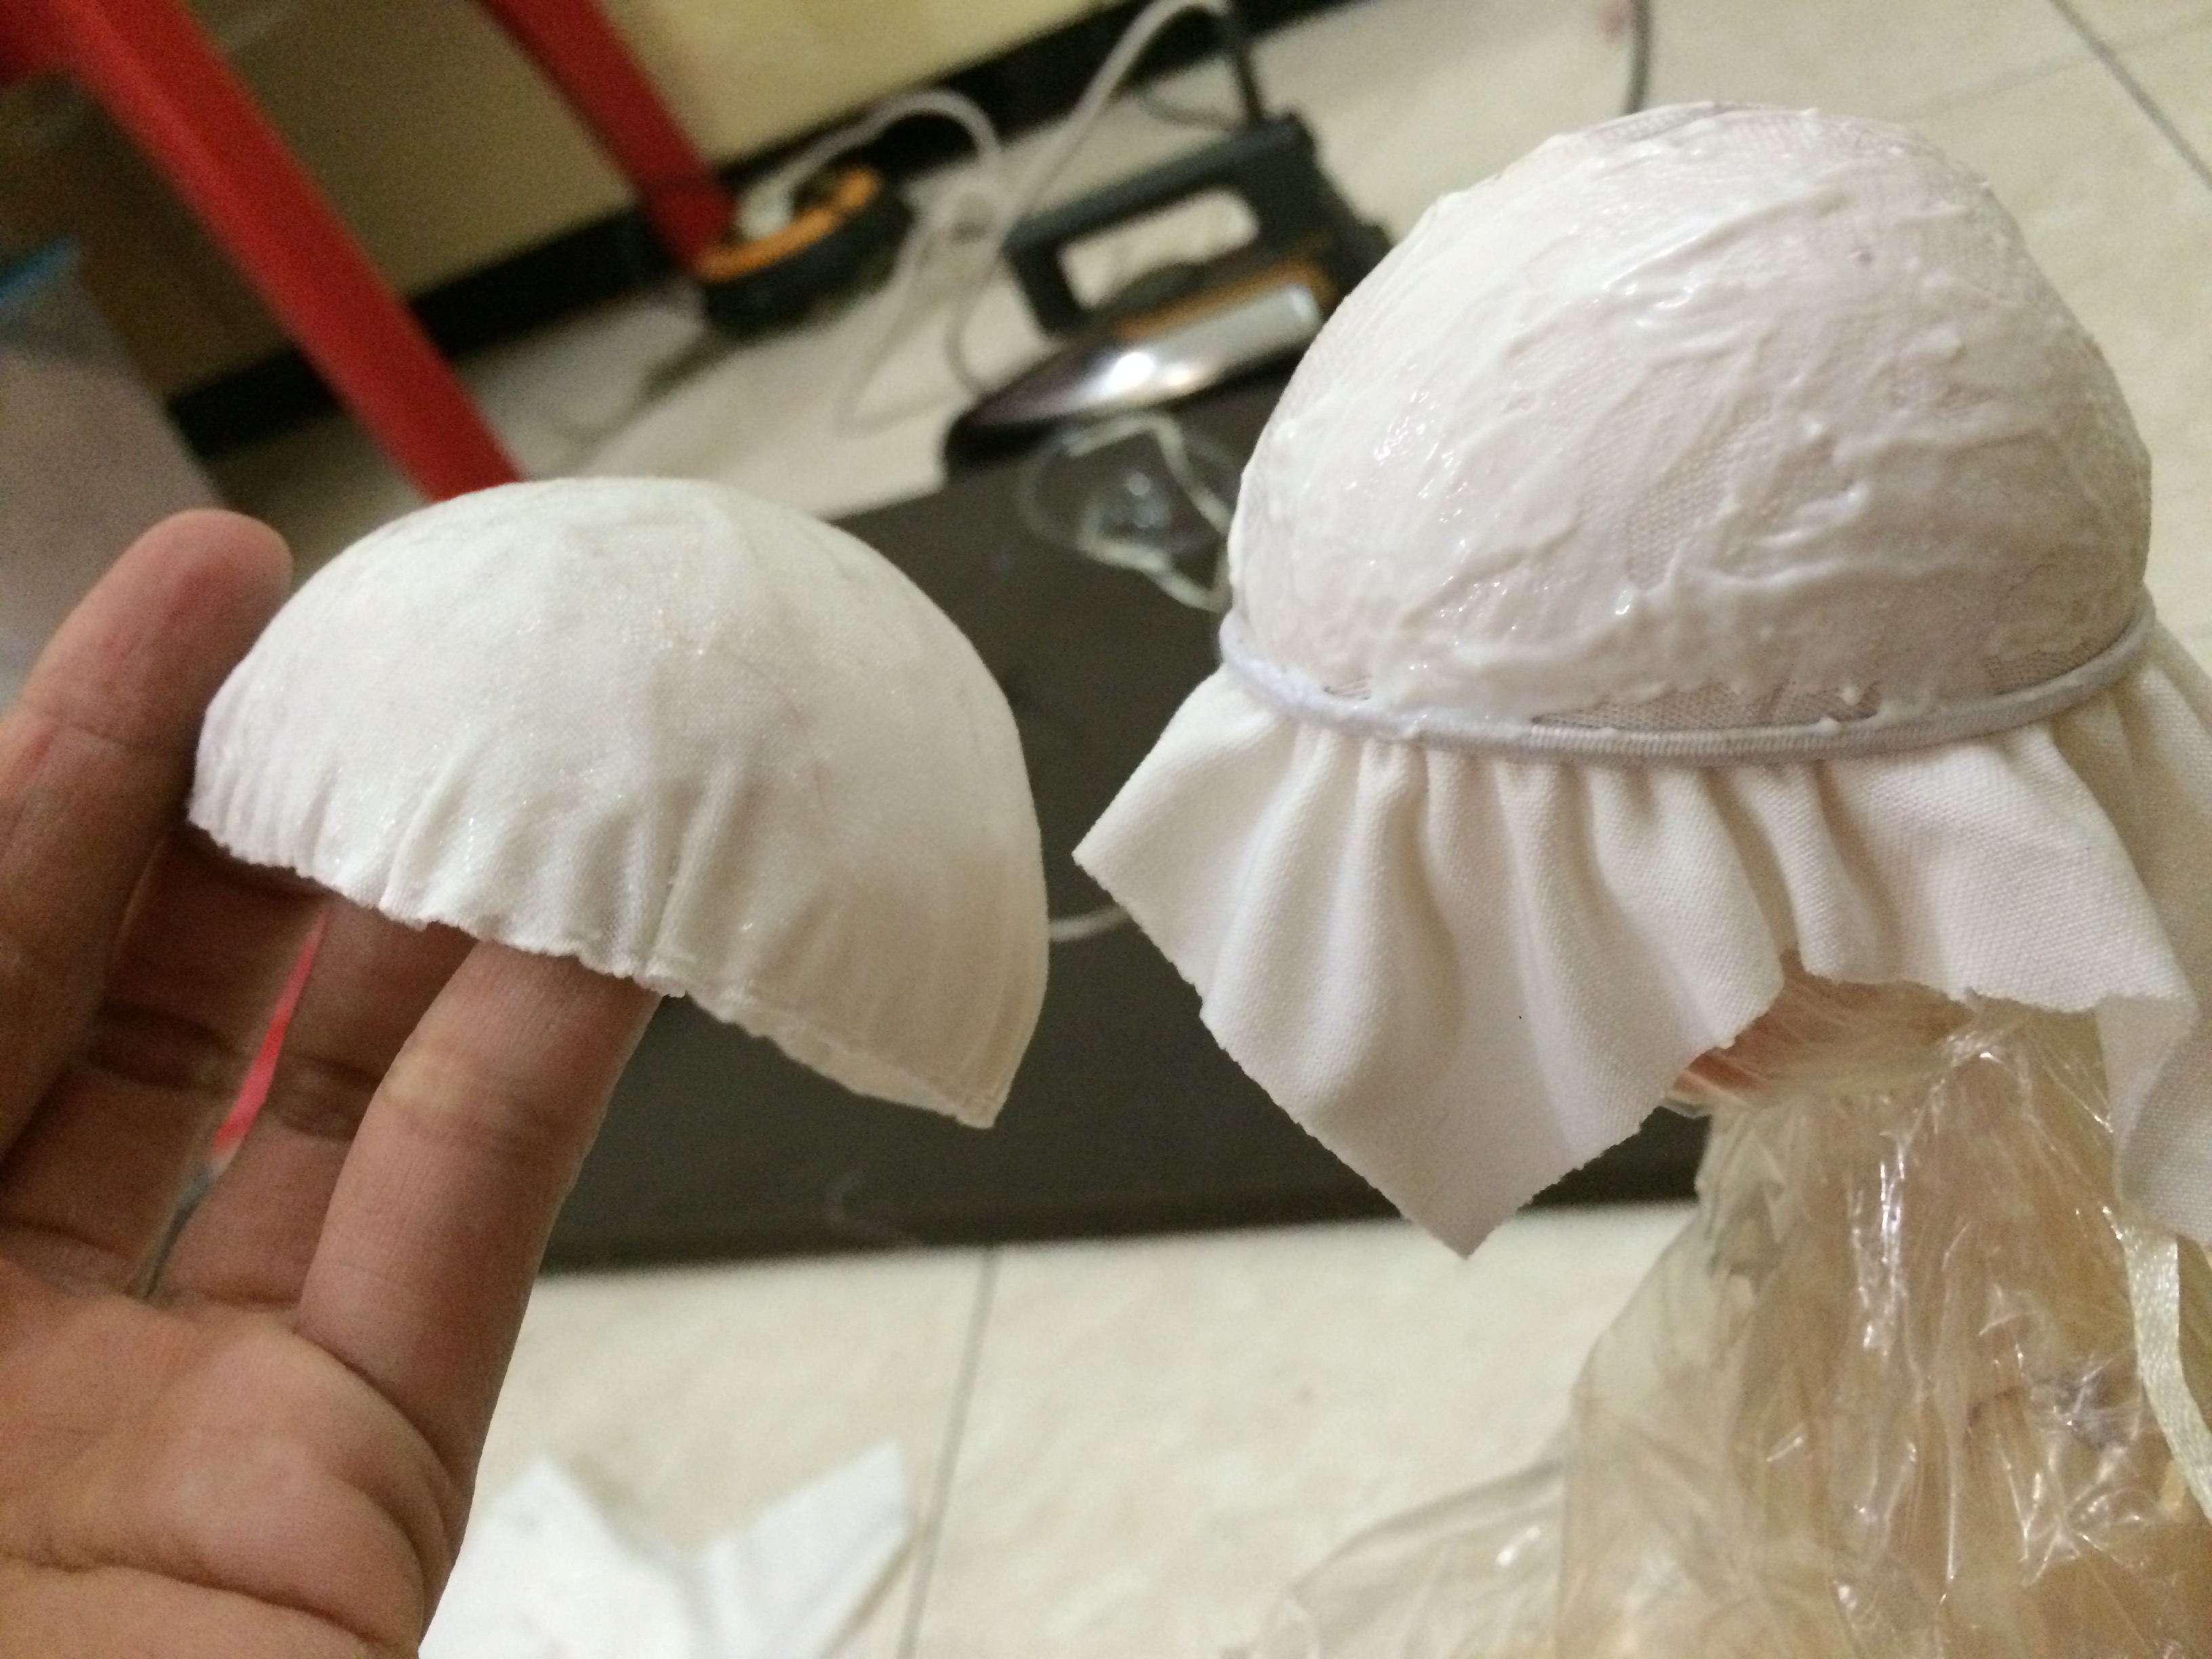
Using stretch fabric is recommended because we can create a smooth wig cap. The left one is also using stretch fabric but I didn’t pull down too much so the wrinkle still existed. Use string rubber to hold the fabric and pull down the fabric until the wrinkle disappeared. After wipe it with glue and leave it over night, the glue will dry and the stretch is disappeared. You can take off the stretch string and cut the unused fabric. The wig cap will be thinner because we pull it but that’s ok. if you think, it’s too think, may be you want to double the fabric next time making wig cap. For me, 1 layer so far is enough.
*lots of tutorial in youtube for making wig cap and wig itself. I only share my opinion here. Please find yourself by searching in youtube about making wig cap and wig itself. Thank you.